Introduzione
If your Ricoh Shotmaster 130Z (also known as the Shotmaster Zoom series) has a zoom lens that’s stuck, cracked, or won’t focus, this guide will show you how to replace it. You’ll learn how to remove the damaged lens and install a new one using basic tools.
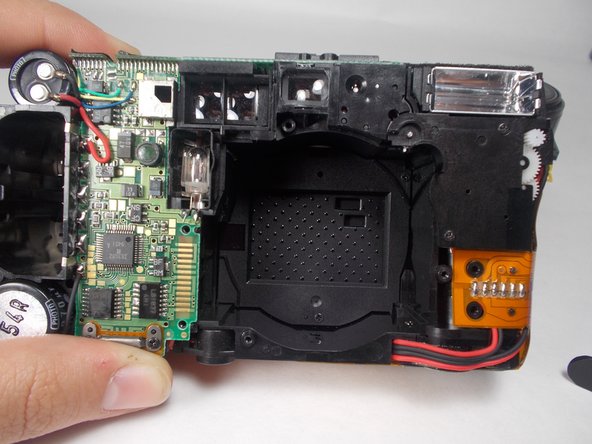
The zoom lens is the part that controls focusing and magnifying your shots. When it fails, the camera may show symptoms like a lens that won’t extend, blurry photos, or grinding noises. If you’re not sure the lens is the issue, check the Lens Problems section in your troubleshooting page.
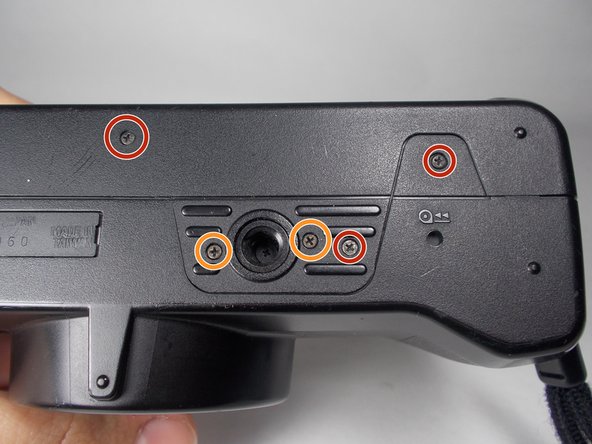
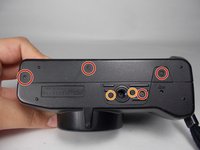
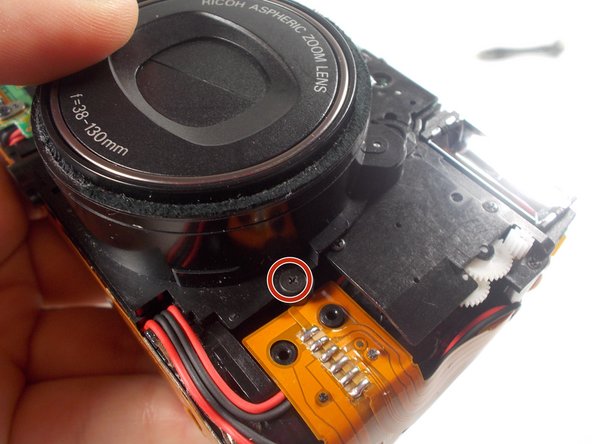
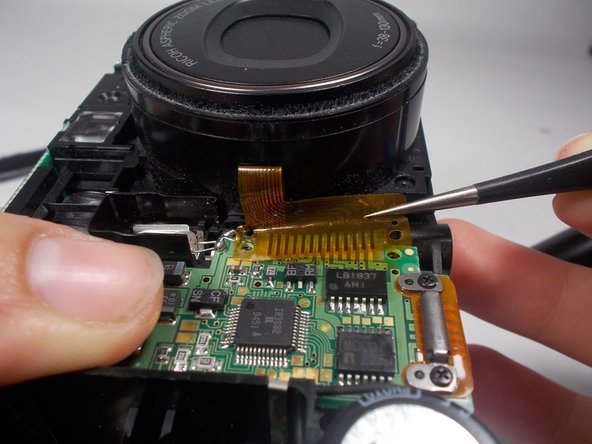
Before you start, take out the camera batteries and be careful when handling the lens assembly since the ribbon cables are thin and easy to tear. Avoid static electricity and do not force anything if it feels stuck.
For extra help and general info about this camera series, you can visit the Ricoh Shotmaster page.
Cosa ti serve


To reassemble your device, follow these instructions in reverse order.

Team

UMass Dartmouth, Team 3-4, Isaacson Fall 2016 Membro di UMass Dartmouth, Team 3-4, Isaacson Fall 2016
UMASSD-ISAACSON-F16S3G4
3 Membri
10 Guide realizzate