Salta al contenuto principale

Rexing V1P Plus Rear Camera Replacement

Cosa ti serve

  1. Rexing V1P Plus Rear Camera Replacement, Rear Camera: passo 1, immagine 1 di 3 Rexing V1P Plus Rear Camera Replacement, Rear Camera: passo 1, immagine 2 di 3 Rexing V1P Plus Rear Camera Replacement, Rear Camera: passo 1, immagine 3 di 3
    • Begin by orienting the rear camera lens facing up.

    • Twist the adhesive mount surface parallel to the camera lens.

    • Pull the mounting ring axially away from the camera case.

  2. Rexing V1P Plus Rear Camera Replacement: passo 2, immagine 1 di 3 Rexing V1P Plus Rear Camera Replacement: passo 2, immagine 2 di 3 Rexing V1P Plus Rear Camera Replacement: passo 2, immagine 3 di 3
    • Locate the small indentation on the camera case previously covered by the mounting ring.

    • Insert a spudger in the case seam and twist it to lever open the camera case.

    • Use the spudger to pry the case the rest of the way open.

    • Remove the top casing from the rear camera.

  3. Rexing V1P Plus Rear Camera Replacement: passo 3, immagine 1 di 2 Rexing V1P Plus Rear Camera Replacement: passo 3, immagine 2 di 2
    • Remove the camera and camera motherboard from the casing.

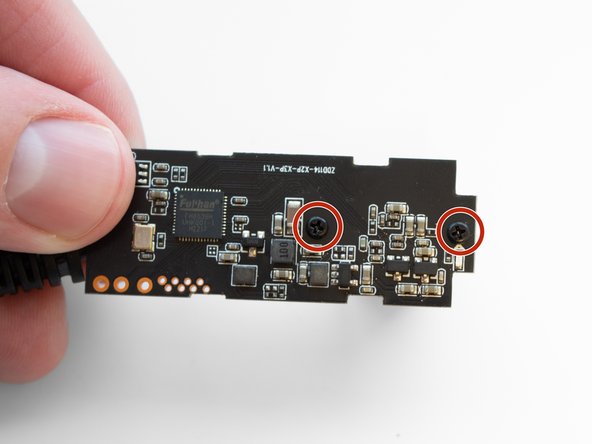
    • Flip the camera board over revealing the two 3.5 mm screws on the back holding the rear camera to the board.

  4. Rexing V1P Plus Rear Camera Replacement: passo 4, immagine 1 di 3 Rexing V1P Plus Rear Camera Replacement: passo 4, immagine 2 di 3 Rexing V1P Plus Rear Camera Replacement: passo 4, immagine 3 di 3
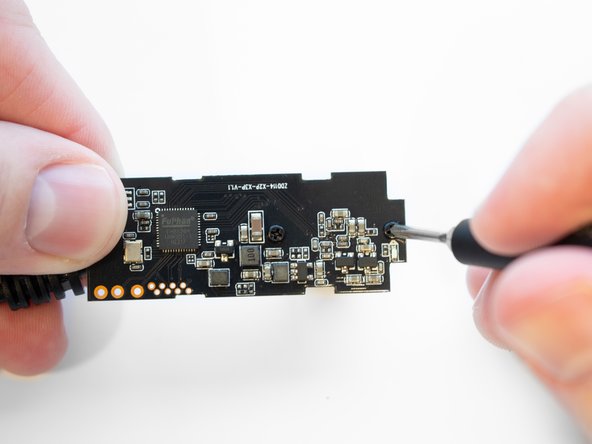
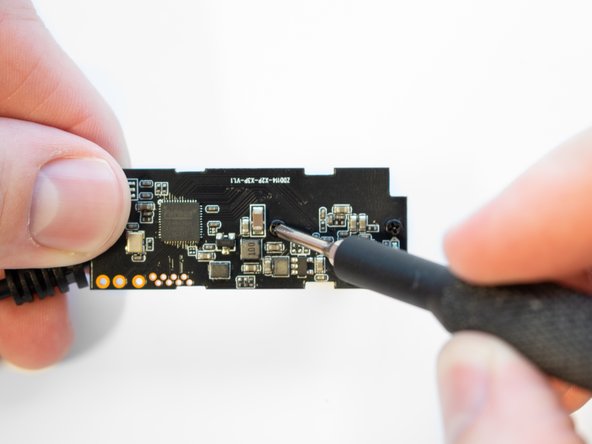
    • Remove the two 3.5 mm screws securing the camera to the motherboard using the Phillips #00 screwdriver.

  5. Rexing V1P Plus Rear Camera Replacement: passo 5, immagine 1 di 1
    • With the screws removed, the rear camera can be separated from the motherboard.

Conclusione

To reassemble your device, follow these instructions in reverse order.

0 Commenti

Aggiungi Commento

Visualizza Statistiche:

Ultime 24 Ore: 1

Ultimi 7 Giorni: 3

Ultimi 30 Giorni: 15

Tutti i Tempi: 209