Introduzione
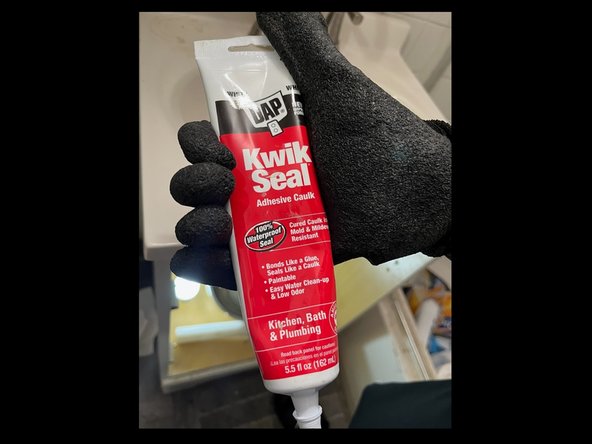
Replacing a sink is important to do when it is old or doesn't appeal to the eye. Some people don't change it because it could be an expensive job when you involve a plumber. But it turns out to be a simple job that anyone can do. It will not only save time but will also save money. Due to covid, some homeowners might not want to bring in strangers to their homes. This avoids the fear and discomfort of being placed in said situation. All you need is a plier and gloves. If you are changing the hardware you might need to purchase a plumber's cement.
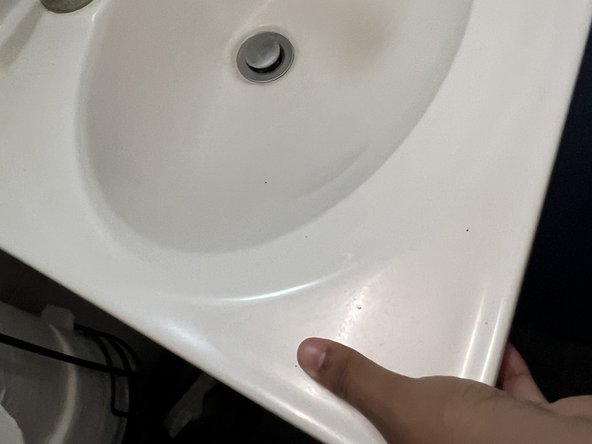
Once the job is complete, check for leaks under the sink to avoid damage to the sink cabinet.
Cosa ti serve
-
-
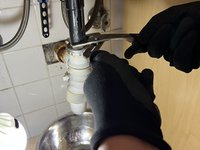
Turn off the water source beneath the sink.
-
Wear Gloves for better grip of knobs and to prevent spills over your hand or arm.
-
-


To conclude, replacing a sink seems like a tedious job. But, any beginner can do it without a plumber's assistance. Therefore, saving lots of money on labor.
To conclude, replacing a sink seems like a tedious job. But, any beginner can do it without a plumber's assistance. Therefore, saving lots of money on labor.

Team

CSU Los Angeles, Team 1-24, Briggs Spring 2023 Membro di CSU Los Angeles, Team 1-24, Briggs Spring 2023
CSULA-BRIGGS-S23S1G24
1 Membro
1 Guida realizzata