Introduzione
This guide will walk you through the replacement of an LE 12-Inch 18 Watt Dimmable LED Flush Mount Ceiling Light.
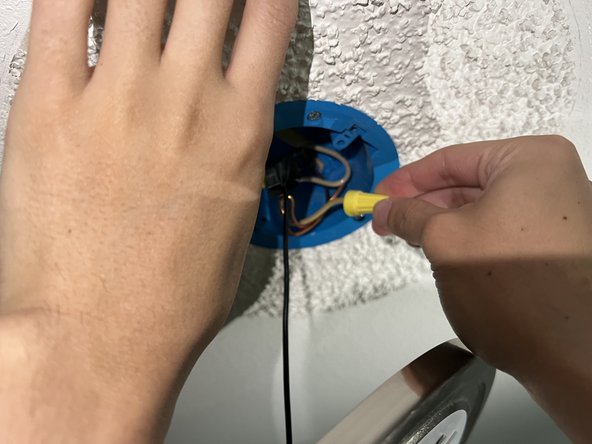
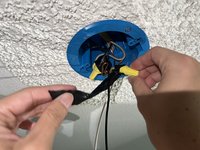
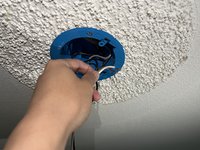
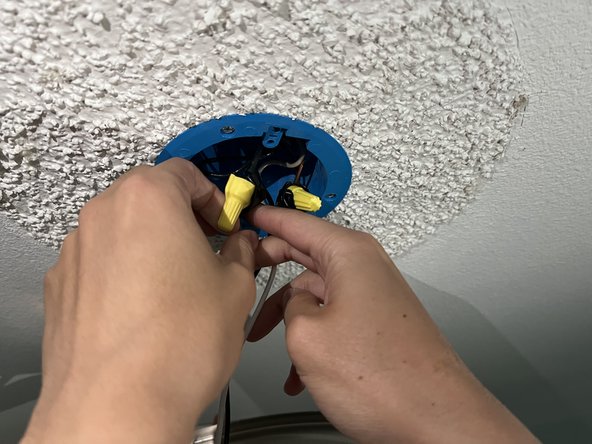
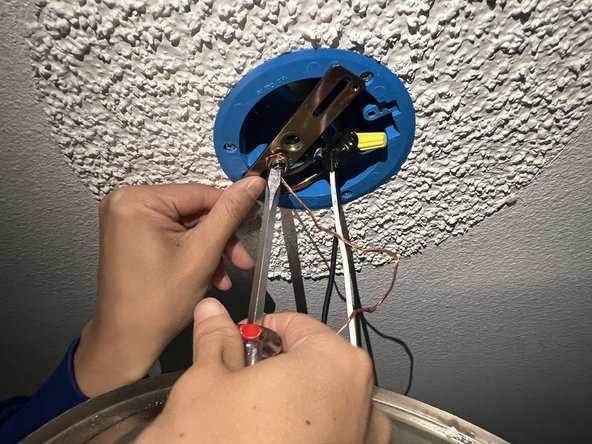
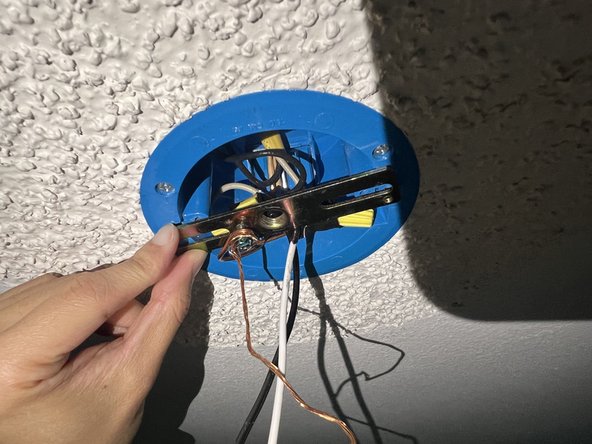
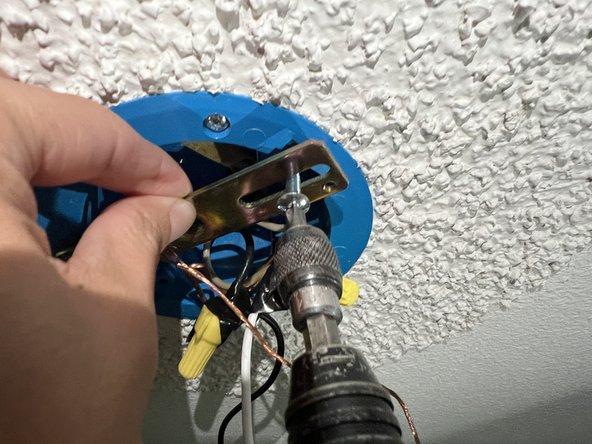
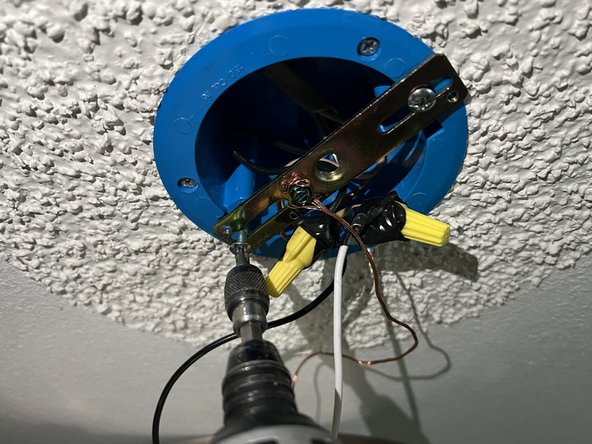
We will start by safely showing you how to turn off the electricity provided to the light fixture. As this replacement involves minor electrical work, turning off the electricity and checking to see if the electrical box for the light fixture is not receiving power are crucial steps. After the proper safety precautions are taken, this guide will show you how to unwire the broken light fixture from the electrical box and how to wire the new light fixture into the same electrical box.
Cosa ti serve
-
-
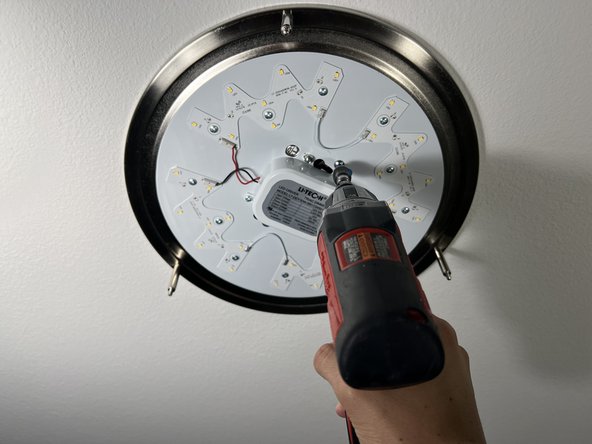
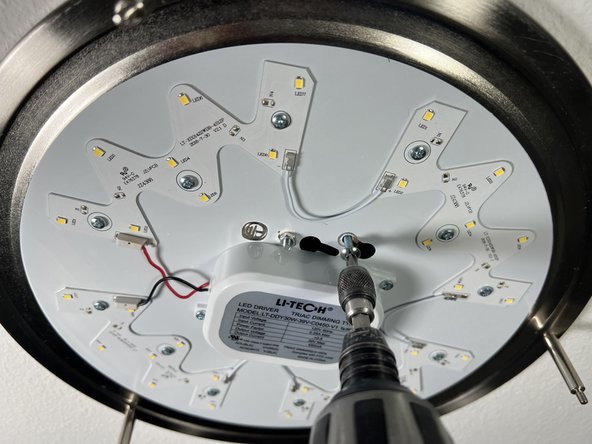
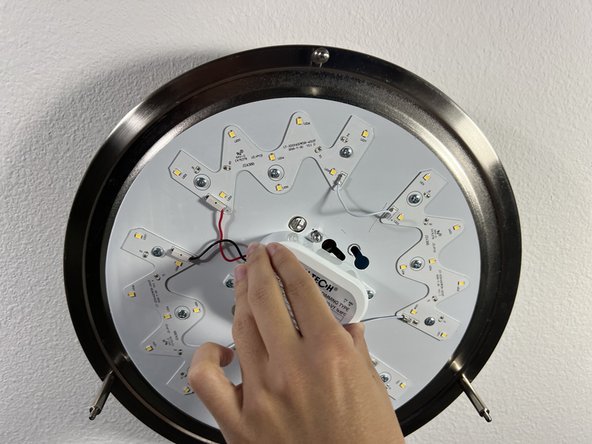
Set up a ladder under the light fixture, and remove the three thumb screws holding up the fixture's cover.
-
Hold the light cover with your free hand while you unscrew the last two screws.
-
-
-
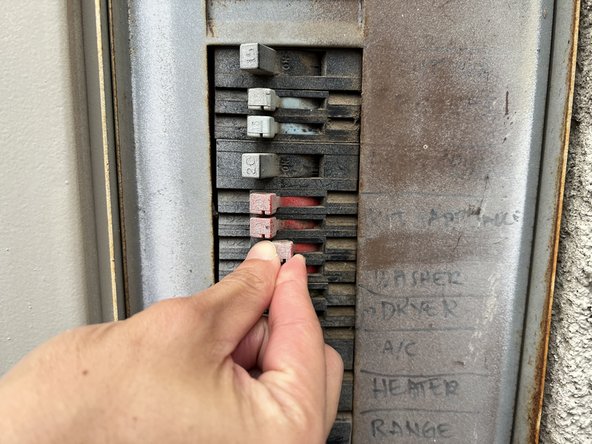
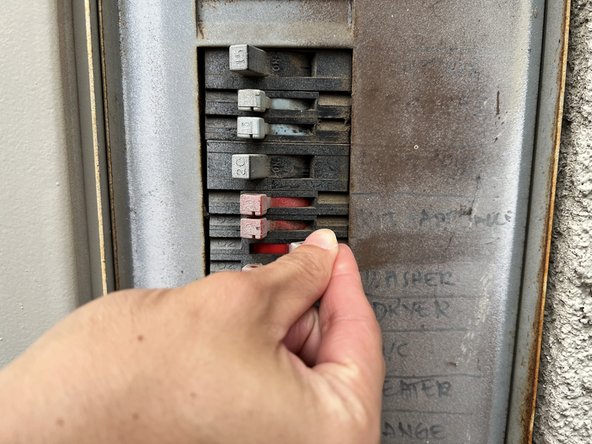
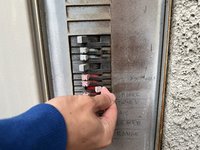
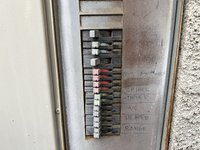
Locate the breaker to your house/unit and identify the switch which provides power to the light fixture.
-
Flip the switch on the breaker to the right to turn off the power to the light fixture.
-
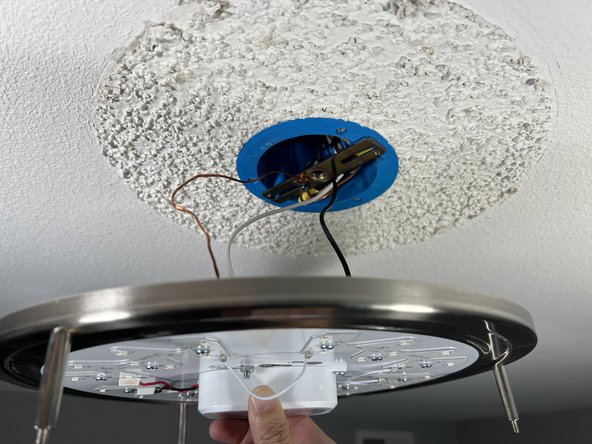
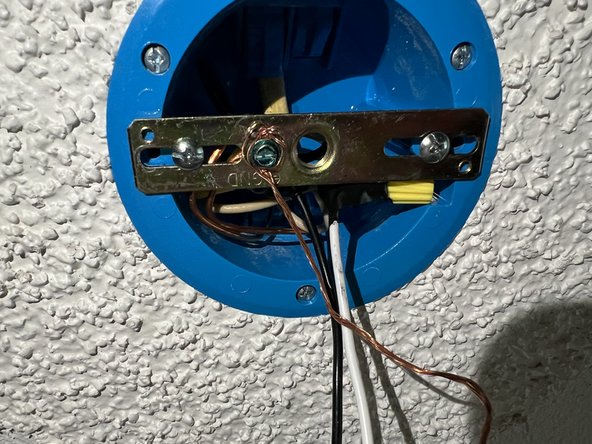
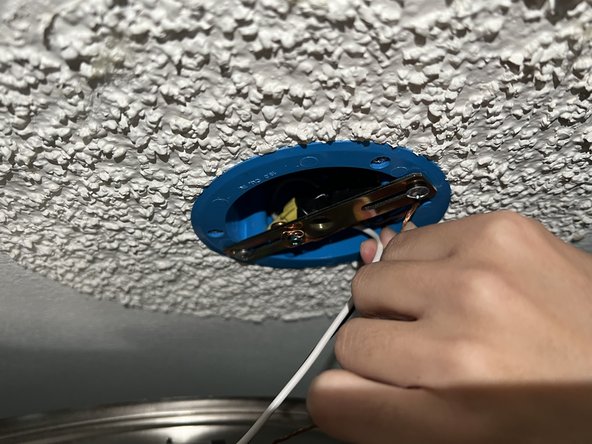
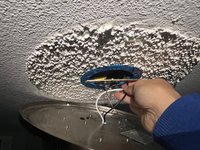
Go back to the light fixture, and check if it is still receiving power with the voltage detector.
-
-


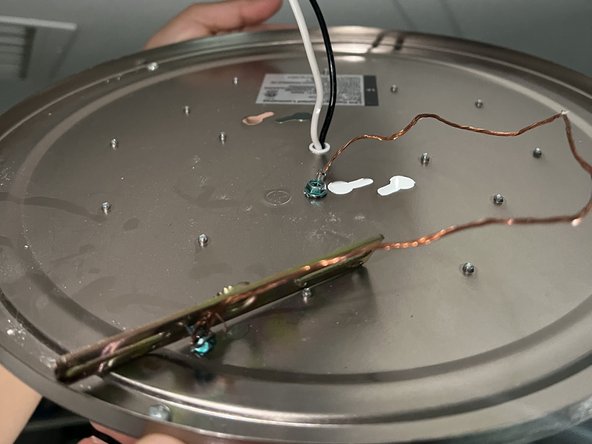


To reassemble your device, follow these instructions in reverse order.

Team

UC Davis, Team 1-3, Morris Spring 2024 Membro di UC Davis, Team 1-3, Morris Spring 2024
UCD-MORRIS-S24S1G3
3 Membri
2 Guide realizzate