Introduzione
This guide is intended to show a non expert how to properly replace a broken sprinkler extension. A broad overview of the steps include digging a hole, unscrewing the extension, and replacing the extension. All you need are some basic tools and general knowledge about actions you preform on a daily basis. Before beginning the project, make sure the water is off and check for hazardous insects. Be aware that digging forcefully could damage the pipeline.
Cosa ti serve
-
-
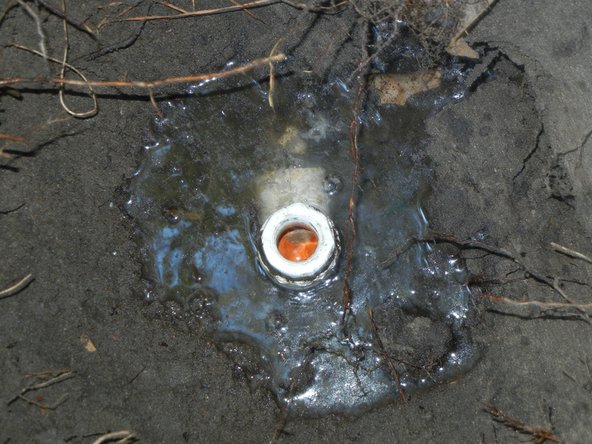
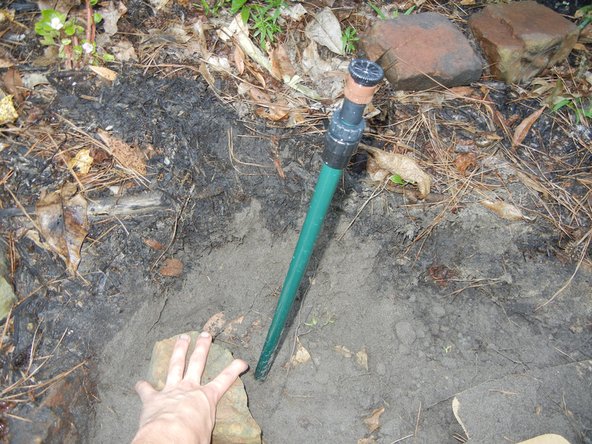
Dig a one foot wide hole around the broken sprinkler extension down to the pipe fitting.
-
-


If you have completed the steps successfully you should have a fully functioning sprinkler extension.
If you have completed the steps successfully you should have a fully functioning sprinkler extension.
Team

Sam Houston State, Team 16-5, Nardone Fall 2015 Membro di Sam Houston State, Team 16-5, Nardone Fall 2015
SHSU-NARDONE-F15S16G5
5 Membri
1 Guida realizzata