Introduzione
Use this guide if your Bissel PowerForce Helix vacuum (Model #'s 1240, 12401, 1240R, 1700, 1701, 1797, 2190, 2191, 21913, 2691, 2692, 3313, 3313U, 3332, 3333) hose has little to no suction.
Vacuum hoses are designed to clean hard to reach spaces that the vacuum itself can’t get to.
Before using this guide, inspect the hose to ensure replacement is necessary. Check for any internal obstructions and that the hose is properly inserted. You can remove obstructions with a thin brush or compressed air. The vacuum cleaner's canister may overfill after several cleaning sessions, which can also impede suction.
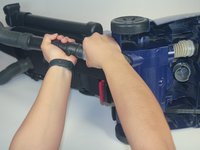
Now that you have assessed the hose, make sure the vacuum is unplugged before you begin.
Cosa ti serve
-
-
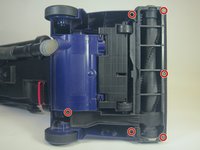
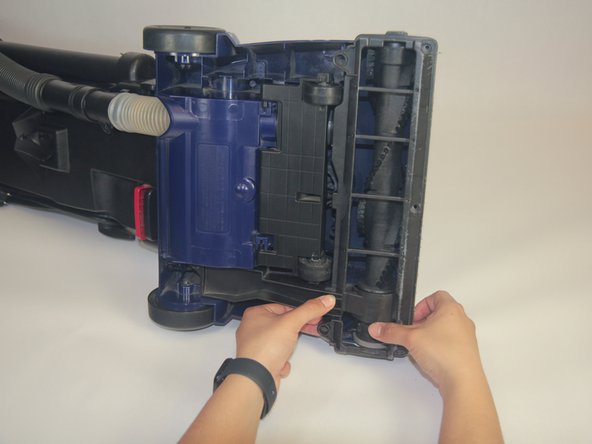
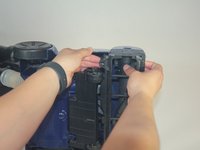
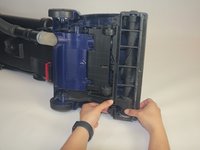
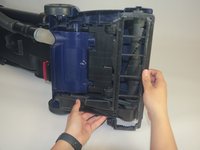
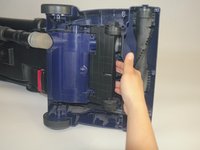
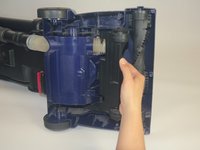
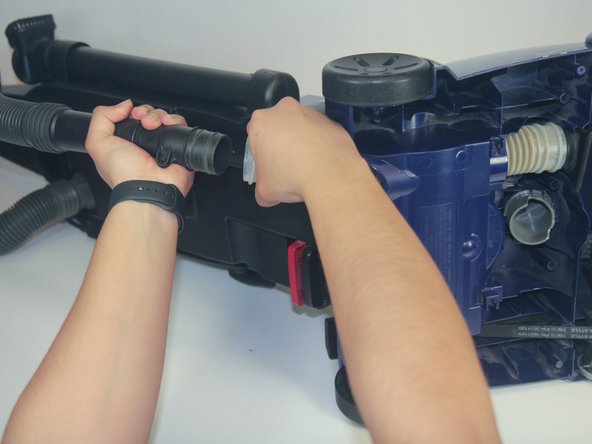
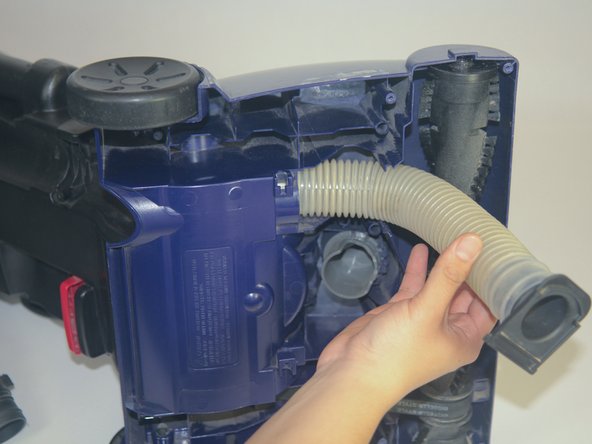
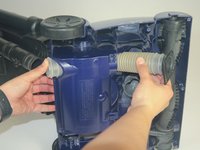
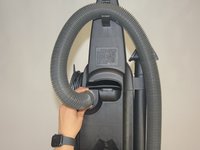
Remove the single 4 mm Phillips screw that attaches the lower hose to the machine.
-
-


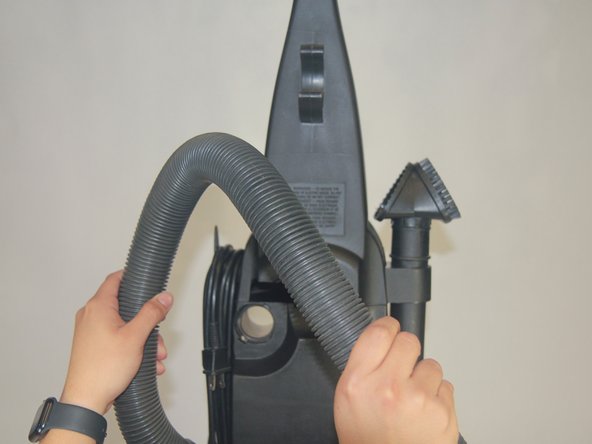


To reassemble your device, follow these instructions in reverse order.

Team

UC Davis, Team 2-9, Andersen Winter 2024 Membro di UC Davis, Team 2-9, Andersen Winter 2024
UCD-ANDERSEN-W24S2G9
2 Membri
1 Guida realizzata