Questa versione può contenere modifiche errate. Passa all'ultima istantanea verificata.
Cosa ti serve
-
Questo passaggio è privo di traduzione. Aiuta a tradurlo
-
Turn off the refrigerator by unplugging it or turning the breaker off.
-
-
Questo passaggio è privo di traduzione. Aiuta a tradurlo
-
With a Phillips screwdriver, unscrew and remove the two screws on the hinge located directly in the middle of the door, connecting the assembly flap to the door.
-
-
Questo passaggio è privo di traduzione. Aiuta a tradurlo
-
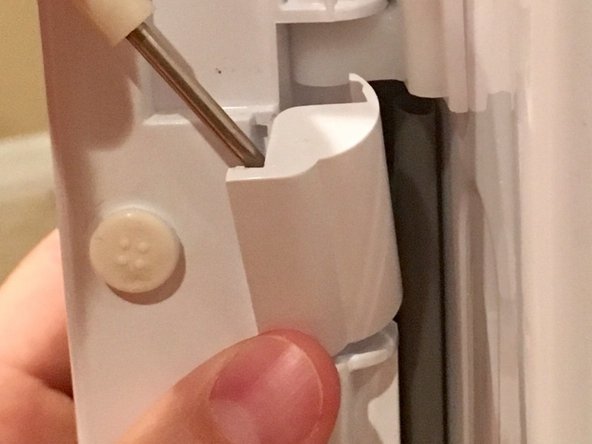
Located at the bottom of the assembly flap, remove the bottom plastic piece by gently shimmying it out with a small flat head screwdriver.
-
-
-
Questo passaggio è privo di traduzione. Aiuta a tradurlo
-
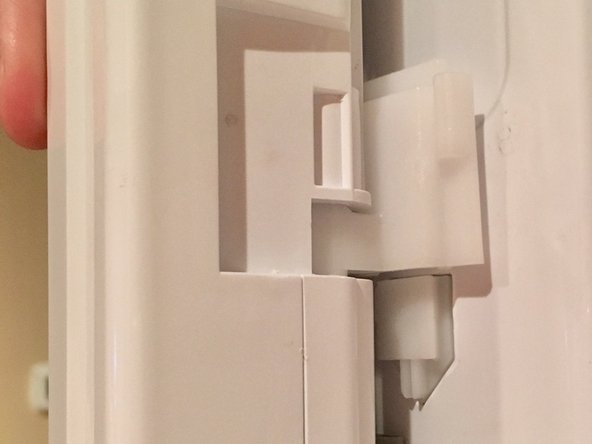
Carefully lift the assembly flap upward guiding it along the top and bottom plastic hinge just before it comes off.
-
-
Questo passaggio è privo di traduzione. Aiuta a tradurlo
-
On the bottom of the assembly flap, carefully insert the spring into the plastic holes. One is connected to the bottom plastic hinge and the other is attached to the assembly flap.
-
Slide the assembly flap down into place. Be sure the top and bottom plastic hinge slides into place. You’ll notice the spring securely sliding into the plastic holes.
-
-
Questo passaggio è privo di traduzione. Aiuta a tradurlo
-
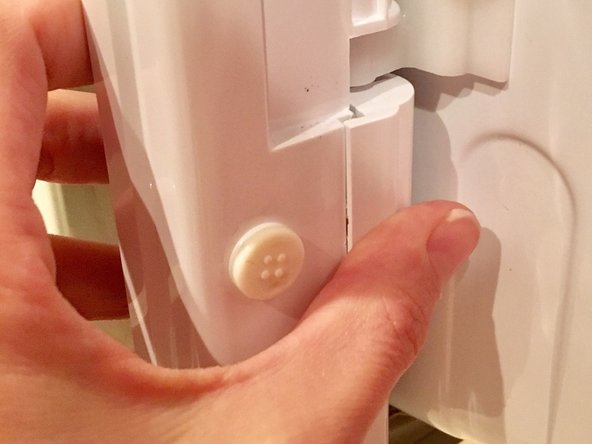
Re-insert the bottom plastic piece by pressing it in until it snaps.
-
-
Questo passaggio è privo di traduzione. Aiuta a tradurlo
-
Replace the two screws on the middle, metal hinge.
-
Turn the power on. Fast Fix is complete.
-


Annulla: non ho completato questa guida.
Altre 3 persone hanno completato questa guida.

Team

USF Sarasota-Manatee, Team S1-G1, Stewart Spring 2018 Membro di USF Sarasota-Manatee, Team S1-G1, Stewart Spring 2018
USFSM-STEWART-S18S1G1
15 Membri
25 Guide realizzate