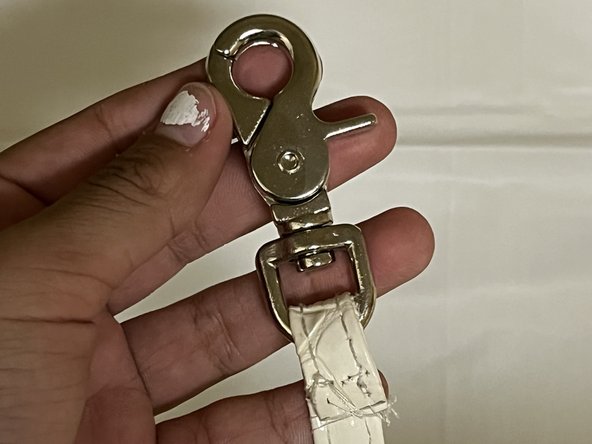
Salta al contenuto principale
Unisciti alla Community delle riparazioni - Crea un account

Replacement of Hardware on a Crossbody bag

Cosa ti serve

  1. Replacement of Hardware on a Crossbody bag, Hardware on a Crossbody bag: passo 1, immagine 1 di 2 Replacement of Hardware on a Crossbody bag, Hardware on a Crossbody bag: passo 1, immagine 2 di 2
    • Remove the old stitching with the seam ripper blade.

    • Use the seam ripper blade carefully as it is very sharp.

    Chiedi a FixBot
  2. Replacement of Hardware on a Crossbody bag: passo 2, immagine 1 di 2 Replacement of Hardware on a Crossbody bag: passo 2, immagine 2 di 2
    • Remove the previous hardware from the strap.

    Chiedi a FixBot
  3. Replacement of Hardware on a Crossbody bag: passo 3, immagine 1 di 1
    • Measure, and ensure the new hardware fits.

    • Place the new hardware through the strap.

    Chiedi a FixBot
  4. Replacement of Hardware on a Crossbody bag: passo 4, immagine 1 di 2 Replacement of Hardware on a Crossbody bag: passo 4, immagine 2 di 2
    • Use the needle and thread to stitch the new hardware into place.

    • Using the adequate needle for the material you need is essential, as some materials may be thicker and need a larger needle.

    • Use needle and thread carefully, as the needle can be sharp.

    Chiedi a FixBot
  5. Replacement of Hardware on a Crossbody bag: passo 5, immagine 1 di 1
    • Verify the stitching is secure by hanging the crossbody bag.

    Chiedi a FixBot
Linea Traguardo

Un'altra persona ha completato questa guida.

joanna

Membro da: 02/20/24

122 Reputazione

Una guida realizzata

0Commenti sulla guida

Aggiungi Commento

Visualizza statistiche:

Ultime 24 ore: 1

Ultimi 7 giorni: 5

Ultimi 30 giorni: 34

Tutti i Tempi: 423