Salta al contenuto principale

Replace the Saeco Moltio coffee spout

Cosa ti serve

  1. Replace the Saeco Moltio coffee spout, Decorative frames made of metal or plastic: passo 1, immagine 1 di 2 Replace the Saeco Moltio coffee spout, Decorative frames made of metal or plastic: passo 1, immagine 2 di 2
    • First check which model you have in front of you: is the decorative frame made of chrome-plated metal (picture 1) or made of metallized plastic (picture 2). In the first case use this guide, in the second case use this guide. Then come back here.

    • Also make sure that the power plug is unplugged.

  2. Replace the Saeco Moltio coffee spout, Coffee spout: passo 2, immagine 1 di 2 Replace the Saeco Moltio coffee spout, Coffee spout: passo 2, immagine 2 di 2
    • n this step the control panel is removed. The control panel consists of several layers, when reassembling make sure that they fit well again and check whether the microswitches click. If necessary, lift up the rubber mat and check whether the small spacers are correctly seated on the microswitches.

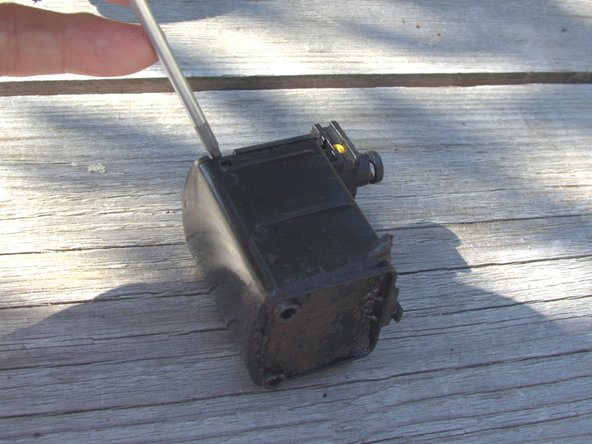
    • The control panel is locked at the bottom. Very carefully pull the labeled plate of the control panel upwards and put it to one side.

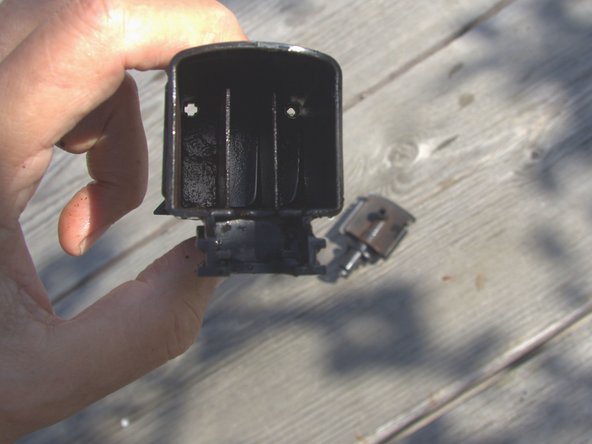
    • The electrical part of the control panel is still attached to the left and right at the bottom with two Torx T10 screws. Loosen this and carefully remove the control panel.

    • Do not remove the control panel, it is still connected to a delicate ribbon cable. Put it on top of the machine.

  3. Replace the Saeco Moltio coffee spout: passo 3, immagine 1 di 2 Replace the Saeco Moltio coffee spout: passo 3, immagine 2 di 2
    • The coffee spout is attached at the top with two Torx T10 screws. Twist them out.

    • Lift the outer part of the coffee spout up and away. The notches may jam a bit

  4. Replace the Saeco Moltio coffee spout: passo 4, immagine 1 di 1
    • The inner part of the coffee spout is attached with a bayonet. Use a fair amount of force to push the coffee dispenser up and then pull it out away from the machine.

  5. Replace the Saeco Moltio coffee spout: passo 5, immagine 1 di 1
    • The inlet hose is attached to the coffee dispenser with a clamp. Use a pair of tweezers to pull the clip out and peel off the tubing.

    • Two O-rings are attached to the end of the hose. They either get stuck on the hose or in the coffee dispenser. Be careful not to lose them.

  6. Replace the Saeco Moltio coffee spout: passo 6, immagine 1 di 3 Replace the Saeco Moltio coffee spout: passo 6, immagine 2 di 3 Replace the Saeco Moltio coffee spout: passo 6, immagine 3 di 3
    • For information, the spout is already completely disassembled in the first picture. The chrome-plated cover does not necessarily have to be removed.

    • The coffee spout consists of an outer part and the inner coffee spout container, which is firmly locked in the outer part.

    • Slide out the inner coffee dispenser. Watch out for the yellow rubber slip brakes, they can easily fall out.

    • The inner coffee spout is free and can be cleaned / replaced.

  7. Replace the Saeco Moltio coffee spout: passo 7, immagine 1 di 2 Replace the Saeco Moltio coffee spout: passo 7, immagine 2 di 2
    • The lid on the coffee dispenser is very firmly locked in place. Carefully peel it off.

    • Thoroughly clean the coffee dispenser with coffee oil remover or dishwasher detergent.

Conclusione

To reassemble your device, follow these instructions in reverse order.

Un ringraziamento speciale a questi traduttori:

de en

100%

oldturkey03 ci sta aiutando ad aggiustare il mondo! Vuoi partecipare?
Inizia a tradurre ›

VauWeh

Membro da: 10/19/15

201.568 Reputazione

246 Guide realizzate

Team

Repair is War on Entropy Membro di Repair is War on Entropy

Community

24 Membri

1.097 Guide realizzate

0 Commenti

Aggiungi Commento

Visualizza Statistiche:

Ultime 24 Ore: 0

Ultimi 7 Giorni: 10

Ultimi 30 Giorni: 81

Tutti i Tempi: 4,779