Salta al contenuto principale

Repairing a Ripped Winter Coat Sleeve

Cosa ti serve

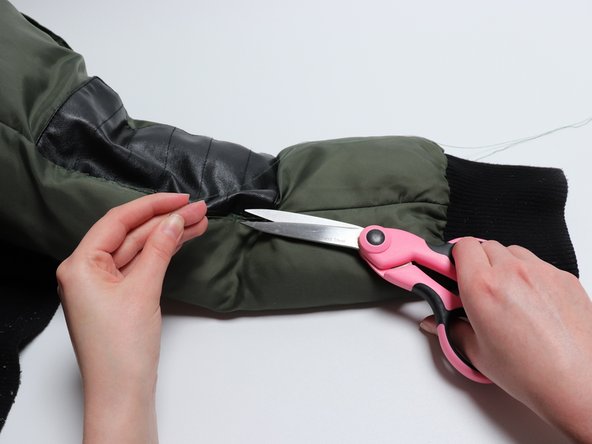
  1. Repairing a Ripped Winter Coat Sleeve, Repairing a Ripped Winter Coat Sleeve: passo 1, immagine 1 di 1
    • Carefully cut off any long frays from the tear.

  2. Repairing a Ripped Winter Coat Sleeve: passo 2, immagine 1 di 1
    • Apply a fray sealer to the edge of the tear to help prevent any further fraying.

    • Let the product dry before continuing to the next step.

  3. Repairing a Ripped Winter Coat Sleeve: passo 3, immagine 1 di 2 Repairing a Ripped Winter Coat Sleeve: passo 3, immagine 2 di 2
    • Thread a sewing needle.

    • Tie a secure knot at the end.

  4. Repairing a Ripped Winter Coat Sleeve: passo 4, immagine 1 di 1
    • Slightly fold the edges of the tear and bring them together.

  5. Repairing a Ripped Winter Coat Sleeve: passo 5, immagine 1 di 3 Repairing a Ripped Winter Coat Sleeve: passo 5, immagine 2 di 3 Repairing a Ripped Winter Coat Sleeve: passo 5, immagine 3 di 3
    • Push the needle from the inside of the edge closest to you.

    • Push the needle into the other side, joining the two edges together.

    • Push the needle back through the edge closest to you, pulling the needle and thread tightly.

    • Continue this motion across the rest of the tear, keeping the stitches tight and close together.

  6. Repairing a Ripped Winter Coat Sleeve: passo 6, immagine 1 di 3 Repairing a Ripped Winter Coat Sleeve: passo 6, immagine 2 di 3 Repairing a Ripped Winter Coat Sleeve: passo 6, immagine 3 di 3
    • Tie a secure knot after making the last stitch.

    • Trim the excess thread.

Linea Traguardo

Un'altra persona ha completato questa guida.

0 Commenti

Aggiungi Commento

Visualizza Statistiche:

Ultime 24 Ore: 1

Ultimi 7 Giorni: 8

Ultimi 30 Giorni: 62

Tutti i Tempi: 7,312