Salta al contenuto principale

Repairing VTech Touch and Swipe Baby Phone Screen Alignment

Cosa ti serve

  1. Repairing VTech Touch and Swipe Baby Phone Screen Alignment, Battery: passo 1, immagine 1 di 2 Repairing VTech Touch and Swipe Baby Phone Screen Alignment, Battery: passo 1, immagine 2 di 2
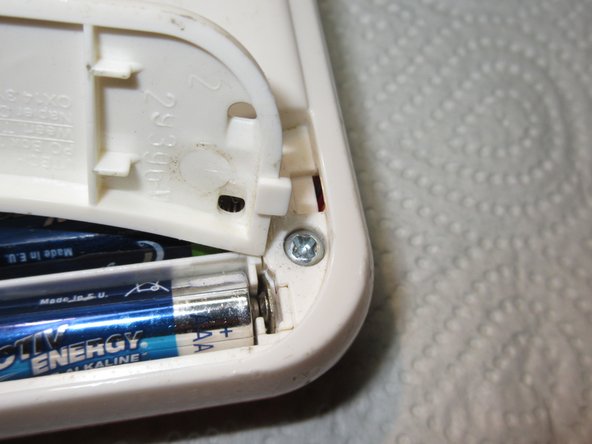
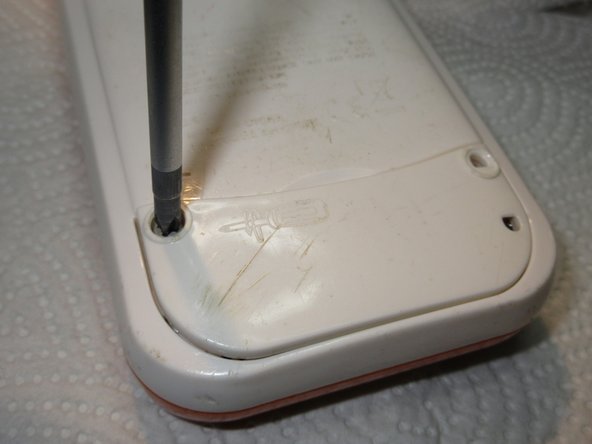
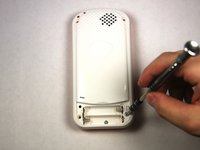
    • Using a Phillips #1 screwdriver, remove the 4.8mm screw on the battery cover by twisting the screwdriver counter-clockwise.

  2. Repairing VTech Touch and Swipe Baby Phone Screen Alignment: passo 2, immagine 1 di 3 Repairing VTech Touch and Swipe Baby Phone Screen Alignment: passo 2, immagine 2 di 3 Repairing VTech Touch and Swipe Baby Phone Screen Alignment: passo 2, immagine 3 di 3
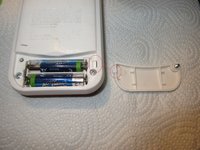
    • Remove the two AAA batteries by pulling on one end of the battery and lifting it straight out.

  3. Repairing VTech Touch and Swipe Baby Phone Screen Alignment: passo 3, immagine 1 di 3 Repairing VTech Touch and Swipe Baby Phone Screen Alignment: passo 3, immagine 2 di 3 Repairing VTech Touch and Swipe Baby Phone Screen Alignment: passo 3, immagine 3 di 3
    • When reassembling, align the notch on the battery panel with the slot on the phone.

  4. Repairing VTech Touch and Swipe Baby Phone Screen Alignment, Repairing VTech Touch and Swipe Baby Phone Screen Alignment: passo 4, immagine 1 di 2 Repairing VTech Touch and Swipe Baby Phone Screen Alignment, Repairing VTech Touch and Swipe Baby Phone Screen Alignment: passo 4, immagine 2 di 2
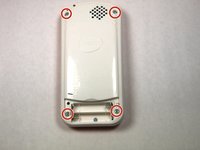
    • Remove four 13.8mm screws from the back of the device using a Phillips #1 screwdriver.

  5. Repairing VTech Touch and Swipe Baby Phone Screen Alignment: passo 5, immagine 1 di 3 Repairing VTech Touch and Swipe Baby Phone Screen Alignment: passo 5, immagine 2 di 3 Repairing VTech Touch and Swipe Baby Phone Screen Alignment: passo 5, immagine 3 di 3
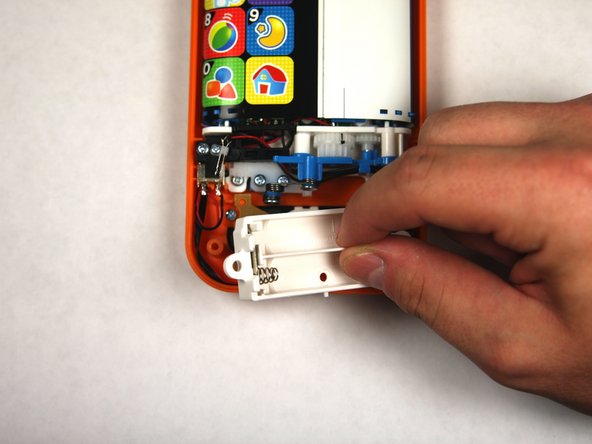
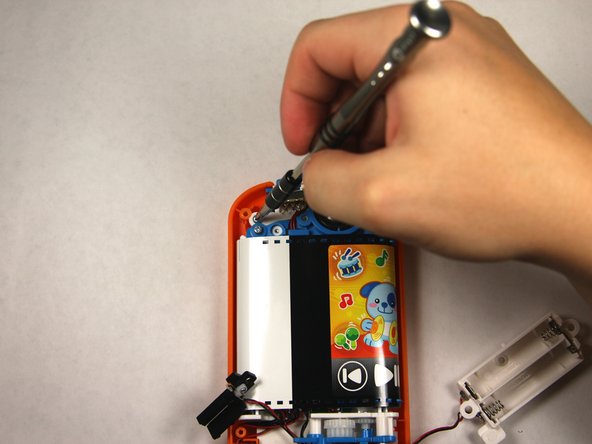
    • Remove a single 4.8 mm screw with a Phillips #0 screwdriver and lift away the battery pack being careful of the wires.

  6. Repairing VTech Touch and Swipe Baby Phone Screen Alignment: passo 6, immagine 1 di 2 Repairing VTech Touch and Swipe Baby Phone Screen Alignment: passo 6, immagine 2 di 2
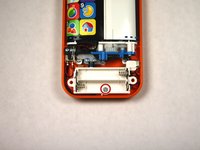
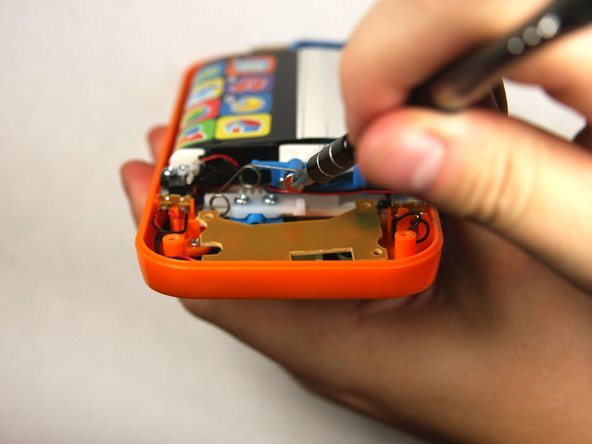
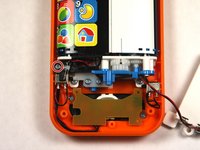
    • Remove two 7.2 mm screws with a Phillips #0 screwdriver.

    • Slide off the spring.

  7. Repairing VTech Touch and Swipe Baby Phone Screen Alignment: passo 7, immagine 1 di 3 Repairing VTech Touch and Swipe Baby Phone Screen Alignment: passo 7, immagine 2 di 3 Repairing VTech Touch and Swipe Baby Phone Screen Alignment: passo 7, immagine 3 di 3
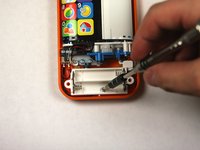
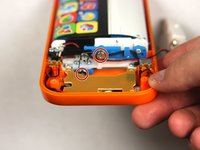
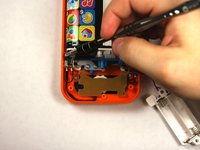
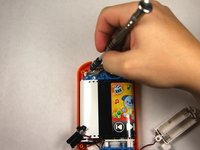
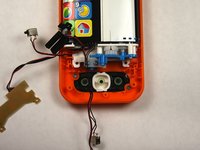
    • Remove the single 7.5mm screw with a Phillips #0 screwdriver.

    • Lift up the black plastic piece.

  8. Repairing VTech Touch and Swipe Baby Phone Screen Alignment: passo 8, immagine 1 di 2 Repairing VTech Touch and Swipe Baby Phone Screen Alignment: passo 8, immagine 2 di 2
    • Remove four 7.5mm screws with a Phillips #0 screwdriver.

  9. Repairing VTech Touch and Swipe Baby Phone Screen Alignment: passo 9, immagine 1 di 2 Repairing VTech Touch and Swipe Baby Phone Screen Alignment: passo 9, immagine 2 di 2
    • Remove the two buttons, noting how wires are placed for reassembly.

  10. Repairing VTech Touch and Swipe Baby Phone Screen Alignment: passo 10, immagine 1 di 2 Repairing VTech Touch and Swipe Baby Phone Screen Alignment: passo 10, immagine 2 di 2
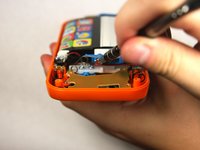
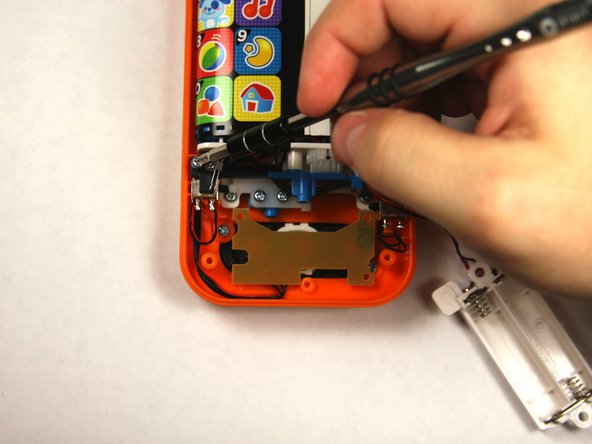
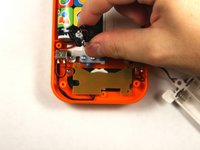
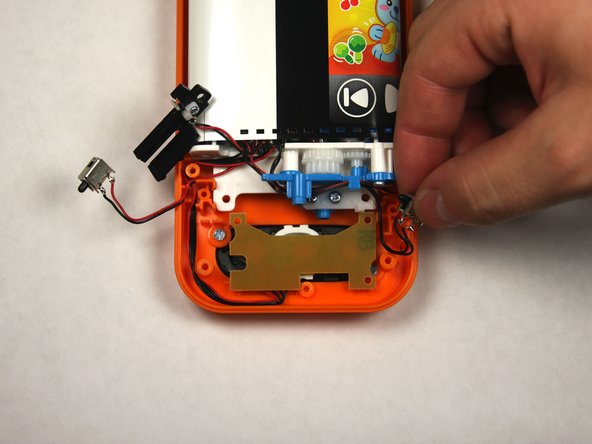
    • Lift the button board up and away to clear room for lifting the motherboard.

    • Tilt the assembly up but being wary that it is still attached to the front panel.

  11. Repairing VTech Touch and Swipe Baby Phone Screen Alignment: passo 11, immagine 1 di 1
    • Slide the toothed slider towards you to remove.

  12. Repairing VTech Touch and Swipe Baby Phone Screen Alignment: passo 12, immagine 1 di 1
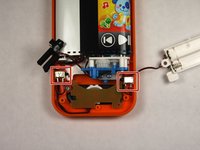
    • To reassemble, align the two black lines together by moving the belt back and forth.

    • Once aligned reinsert the toothed slider at the exact point shown.

Conclusione

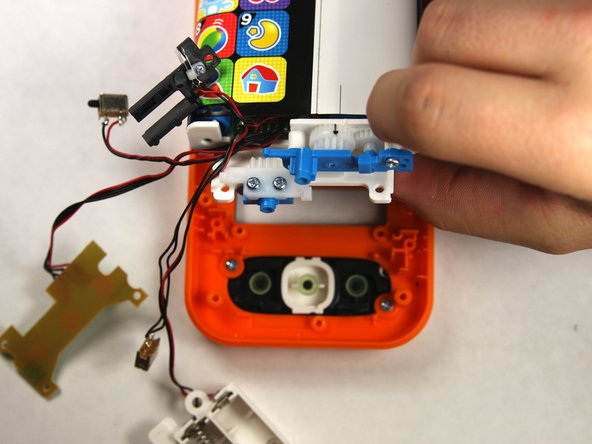
To reassemble your device, follow these instructions in reverse order, skipping step 10 as the toothed slider has already been put in for proper alignment.

Un'altra persona ha completato questa guida.

Sean Webb

Membro da: 09/04/15

384 Reputazione

2 Guide realizzate

Team

USF Tampa, Team 2-4, Sullivan Fall 2015 Membro di USF Tampa, Team 2-4, Sullivan Fall 2015

USFT-SULLIVAN-F15S2G4

3 Membri

12 Guide realizzate

Un commento

Good work !

Nice.

I did not see the black line in mine,

i opened the foil and glued it new together . Not so nice. :D

But it works.

Schwarzstein - Replica

Aggiungi Commento

Visualizza Statistiche:

Ultime 24 Ore: 0

Ultimi 7 Giorni: 3

Ultimi 30 Giorni: 5

Tutti i Tempi: 1,290