Questa versione può contenere modifiche errate. Passa all'ultima istantanea verificata.
Cosa ti serve
-
Questo passaggio è privo di traduzione. Aiuta a tradurlo
-
Pry off the mouse feet located at the front and back of the underside of the mouse by wedging a flat head screw driver into the depressed groove and applying upward force.
-
-
Questo passaggio è privo di traduzione. Aiuta a tradurlo
-
Using a Phillips #00 screwdriver, unscrew the three screws that hold the top and bottom halves of the mouse together.
-
-
Questo passaggio è privo di traduzione. Aiuta a tradurlo
-
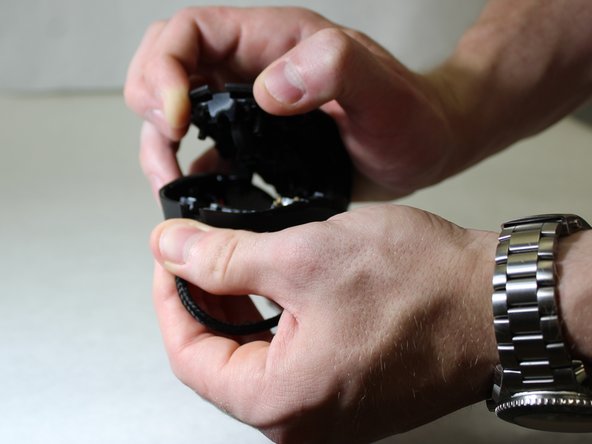
Grip the mouse cable with one had and the top buttons with the other and apply force in opposite directions to separate the two halves of the mouse.
-
-
-
Questo passaggio è privo di traduzione. Aiuta a tradurlo
-
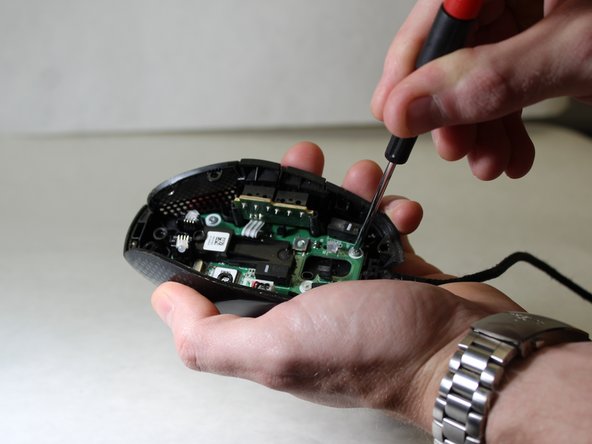
Using the Phillips #00 screwdriver, unscrew the three internal screws.
-
-
Questo passaggio è privo di traduzione. Aiuta a tradurlo
-
Remove the internal operating board by lifting it out of the bottom half of the mouse.
-
-
Questo passaggio è privo di traduzione. Aiuta a tradurlo
-
First Adhesive Method:
-
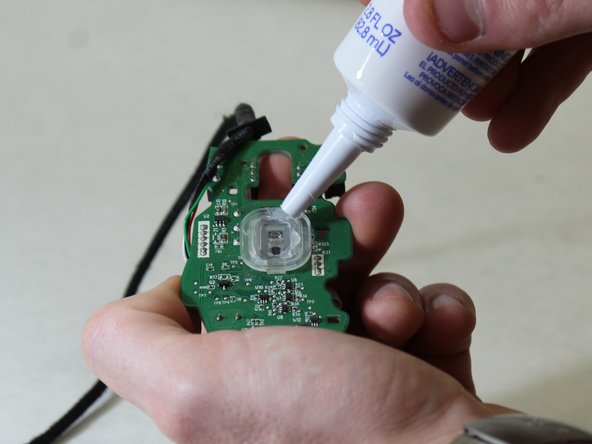
Apply a thin bead of the Silicon caulk to the rim of the sensor component.
-
-
Questo passaggio è privo di traduzione. Aiuta a tradurlo
-
Second Adhesive Method:
-
Attach the double sided tape to the bottom half of the housing. Place them directly over the central grooves.
-
Annulla: non ho completato questa guida.
Altre 2 persone hanno completato questa guida.


