Introduzione
This guide will demonstrate how to access the R1's speakers and reattach them to the motherboard.
Cosa ti serve
-
-
Insert your plastic spudger into the opening near the HDMI port.
-
Gently pry the back cover of the R1 from the the front by using the spudger along the edges.
-
-
-
-
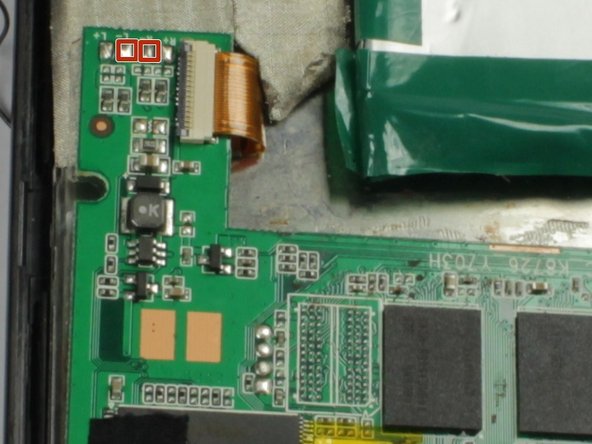
Solder the black cable of the left speaker to the nodule marked L+ on the motherboard.
-
Solder the black cable of the Right speaker to the nodule marked R+ on the motherboard.
-
Solder the red cable of the left speaker to the nodule marked L- on the motherboard.
-
Solder the red cable of the right speaker to the nodule marked R- on the motherboard.
-
To reassemble your device, follow these instructions in reverse order.
To reassemble your device, follow these instructions in reverse order.
Annulla: non ho completato questa guida.
Un'altra persona ha completato questa guida.


