Salta al contenuto principale

Questa versione può contenere modifiche errate. Passa all'ultima istantanea verificata.

Cosa ti serve

  1. Questo passaggio è privo di traduzione. Aiuta a tradurlo

    : passo 1, immagine 1 di 2 : passo 1, immagine 2 di 2
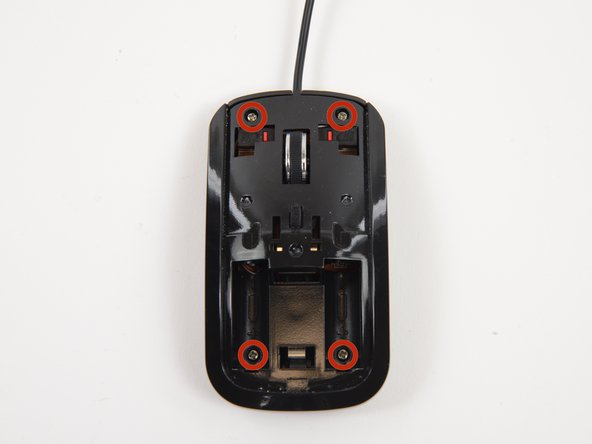
    • Slide the tab on the bottom of the mouse to release the top panel.

  2. Questo passaggio è privo di traduzione. Aiuta a tradurlo

    : passo 2, immagine 1 di 2 : passo 2, immagine 2 di 2
    • Remove the top panel from the mouse.

  3. Questo passaggio è privo di traduzione. Aiuta a tradurlo

    : passo 3, immagine 1 di 1
    • Remove four 7mm Phillips #1 screws.

  4. Questo passaggio è privo di traduzione. Aiuta a tradurlo

    : passo 4, immagine 1 di 3 : passo 4, immagine 2 di 3 : passo 4, immagine 3 di 3
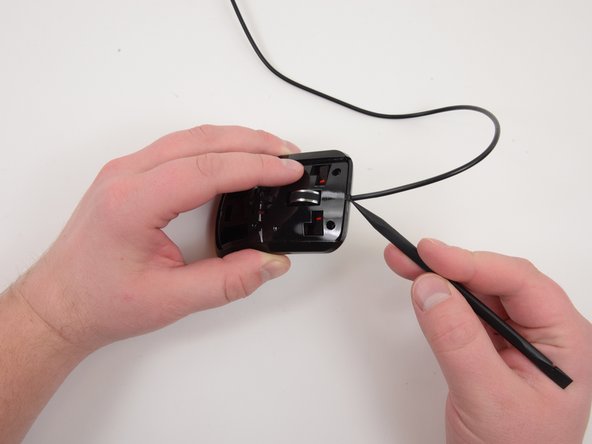
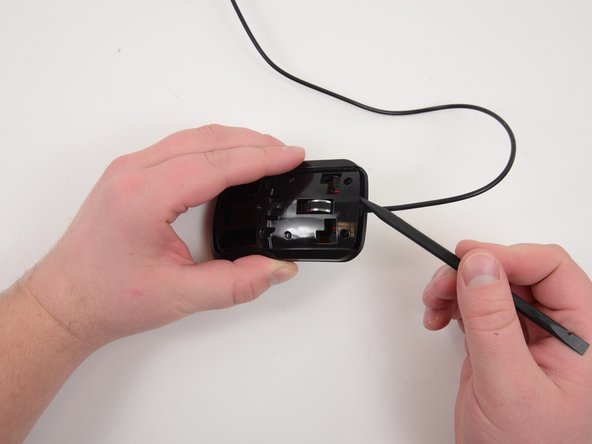
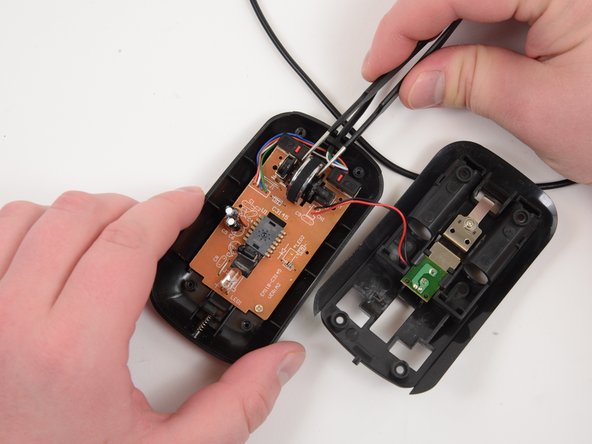
    • Use a spudger to pry the upper shell from the mouse at the cord entrance.

    • Move slowly. The upper case is connected to the mouse with delicate wires.

  5. Questo passaggio è privo di traduzione. Aiuta a tradurlo

    : passo 5, immagine 1 di 2 : passo 5, immagine 2 di 2
    • Lift the scroll wheel out of the mouse.

  6. Questo passaggio è privo di traduzione. Aiuta a tradurlo

    : passo 6, immagine 1 di 1
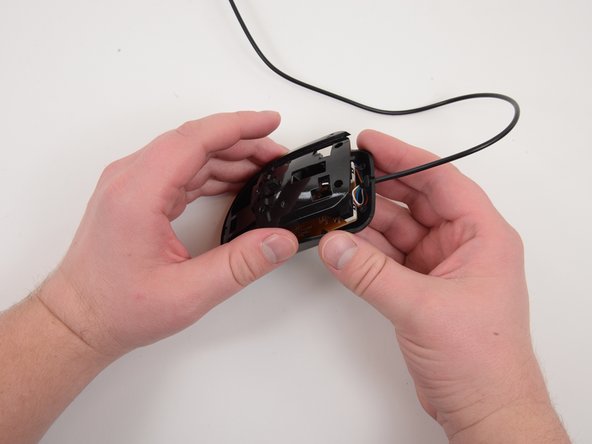
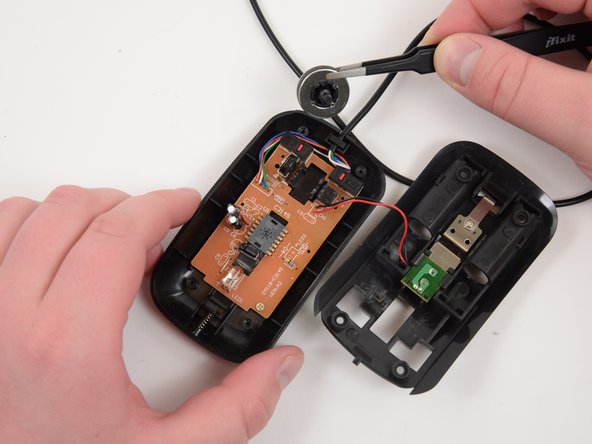
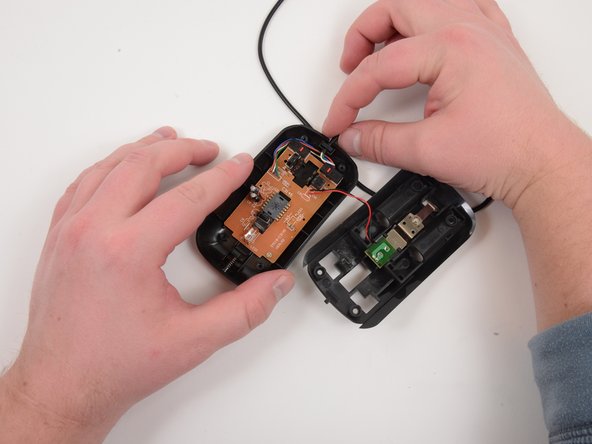
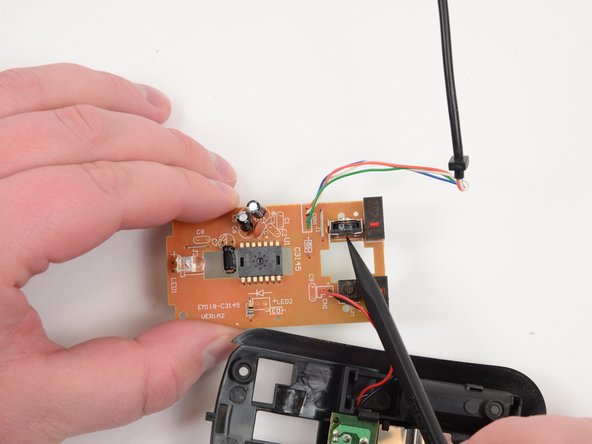
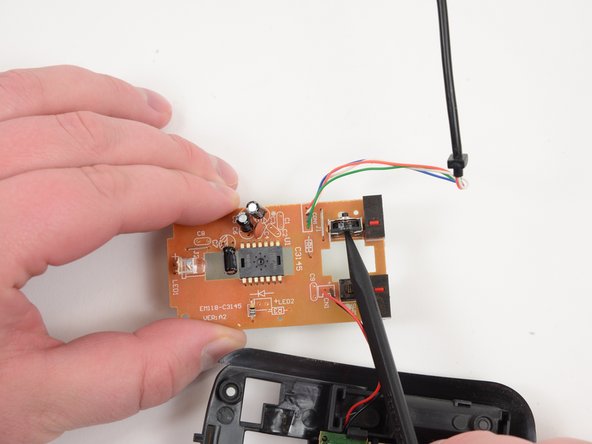
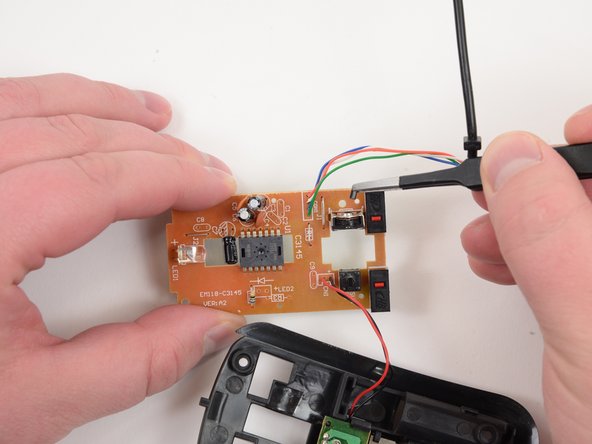
    • Wiggle the USB cord free of the mouse.

    • Resist the temptation to yank the cord free. The wires are very delicate and soldered connections are weak

  7. Questo passaggio è privo di traduzione. Aiuta a tradurlo

    : passo 7, immagine 1 di 1
    • Remove one 3mm Phillips #1 screw.

    • The quantity and location of screws holding the board to the mouse depends on the manufacture date of this mouse. All screws should be easy to find.

  8. Questo passaggio è privo di traduzione. Aiuta a tradurlo

    : passo 8, immagine 1 di 3 : passo 8, immagine 2 di 3 : passo 8, immagine 3 di 3
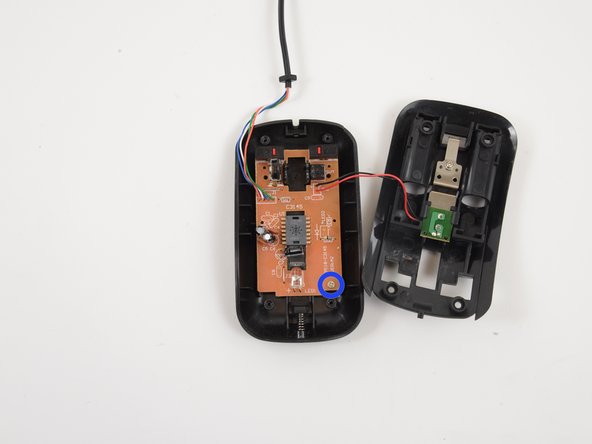
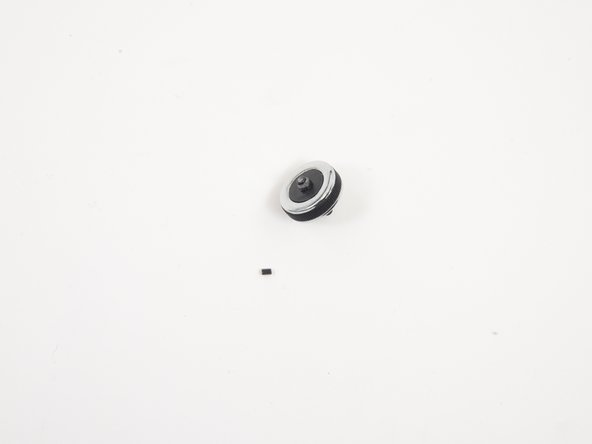
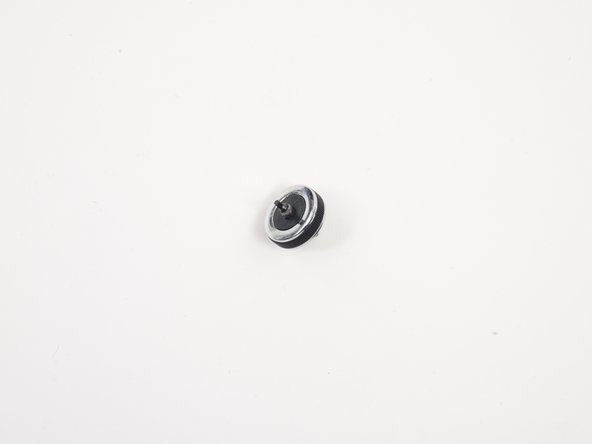
    • Push the broken axle piece out of the socket.

  9. Questo passaggio è privo di traduzione. Aiuta a tradurlo

    : passo 9, immagine 1 di 2 : passo 9, immagine 2 di 2
    • Glue broken axle piece back onto the scroll wheel.

    • This repair will last only as long as your glue or epoxy holds. The axle will re-break with weak glue and heavy use. My axle survived several heavy use days, just long enough for Monoprice to send me a new mouse.

Linea Traguardo

Un'altra persona ha completato questa guida.

Jeff Snyder

Membro da: 02/07/13

8.808 Reputazione

4 Guide realizzate

Team

iFixit Membro di iFixit

Staff

135 Membri

17.207 Guide realizzate

0 Commenti

Aggiungi Commento

Visualizza Statistiche:

Ultime 24 Ore: 0

Ultimi 7 Giorni: 6

Ultimi 30 Giorni: 13

Tutti i Tempi: 849