Introduzione
We will remove the moulded plastic wrapping and the cable from a USB A connector so that we can add it to our spare part box (or somehow reuse it).
Cosa ti serve
-
-
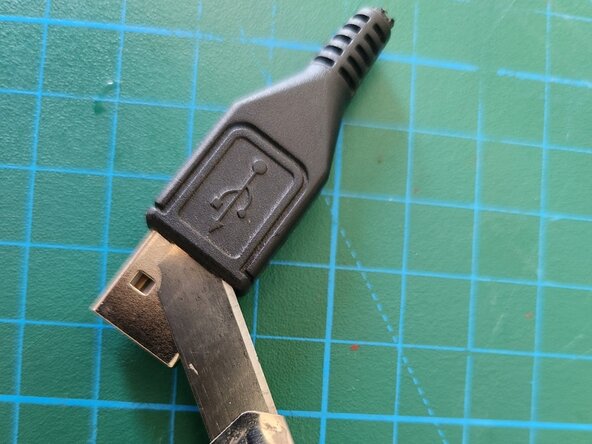
The first step is to work on removing the moulded plastic from the metal. Start with the connecting line at the side using a utility knife. Once you completely cut the plastic from the both sides, push the utility knife between the metal and plastic as in the image to remove the plastic from the metal.
-
-
-
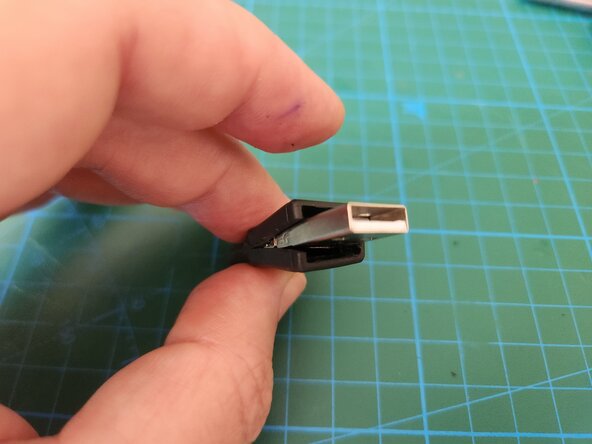
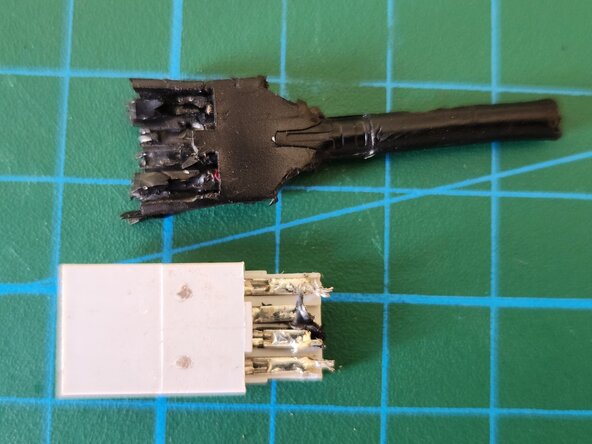
Once you pried the plastic housing from the metal part, carefully and slowly pry the plastic towards the back of the connector. The plastic will come off as in the image.
-
-
-
-
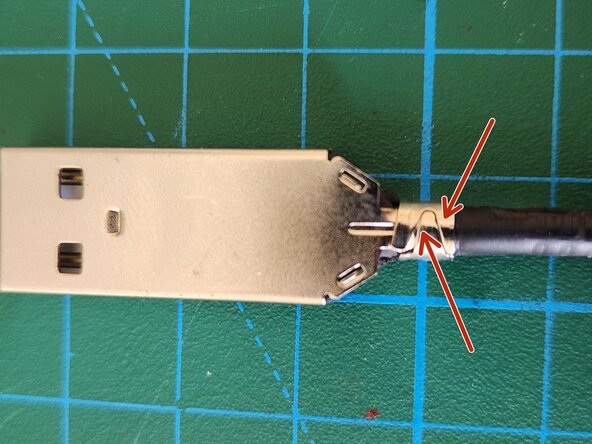
Note the fastener clips that go round the cable as pointed. Remove the clips using a nose plier.
-
-
-
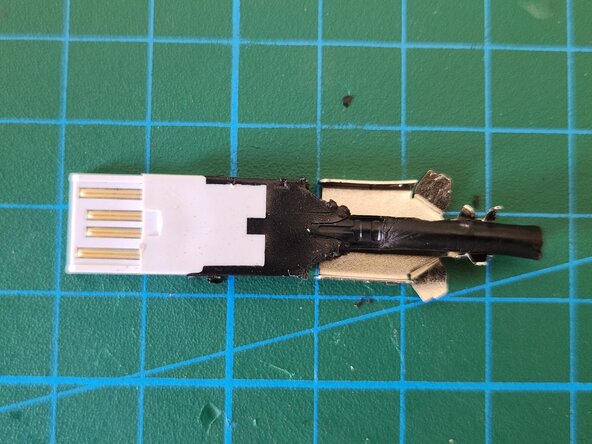
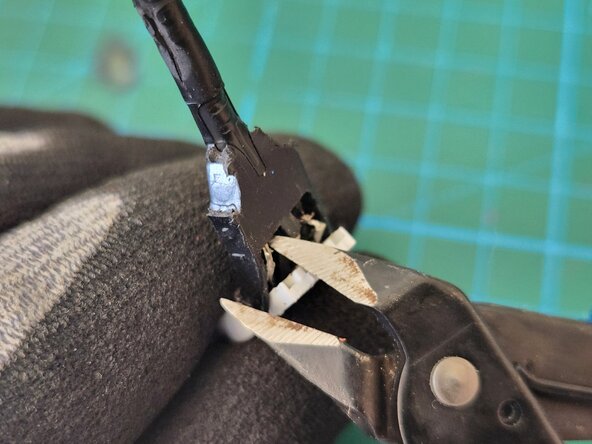
In this step we completely remove the moulded plastic from the connector. Bear in mind that since the mould was hot, the plastic was in liquid form and thus dispersed throughout the connector. Remove the plastic carefully and if the plastic is stuck/stubborn, use the cable cutter to cut/remove it.
-
-
-
Now that we dismantled our USB connector from the moulded plastic, the remaining part is to clean up the remains -if any.
-
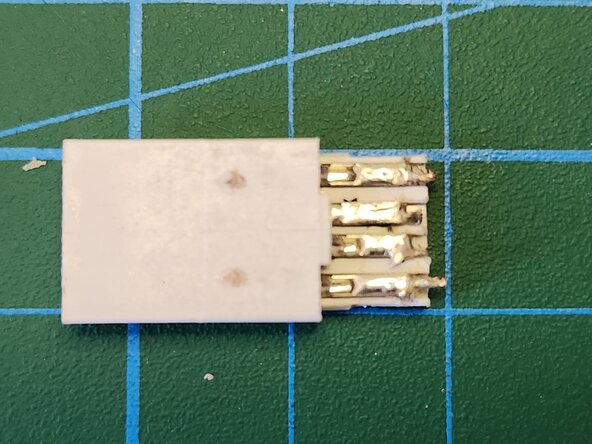
Before adding the connector to our spare parts, the final step is to make sure that all the pins are in working order. Visually inspect the pins and recheck they all work with a connectivity test in your multimeter.
-


Since the cable is of moulded type, we cannot bring the cable to its initial state.
Un ringraziamento speciale a questi traduttori:
100%
Tolga Balcı ci sta aiutando ad aggiustare il mondo! Vuoi partecipare?
Inizia a tradurre ›