Questa versione può contenere modifiche errate. Passa all'ultima istantanea verificata.
Cosa ti serve
-
-
Se il vetro del display è rotto, l'uso del nastro adesivo sulla superficie impedisce alla rottura di espandersi e previene danni fisici dovuti alle schegge di vetro.
-
Stendi delle strisce sovrapposte di nastro adesivo da pacchi trasparente sul display dell'iPad fino a coprire l'intera superficie. Per rotture molto serie, può essere necessario applicare due strati di nastro sovrapposti.
-
Cerca di seguire al meglio il resto della guida. Tuttavia, una volta che il vetro è crepato, continuerà a rompersi sempre di più mentre procederai alla riparazione. Potresti aver bisogno di strumenti metallici per rimuovere il vetro.
-
-
-
-
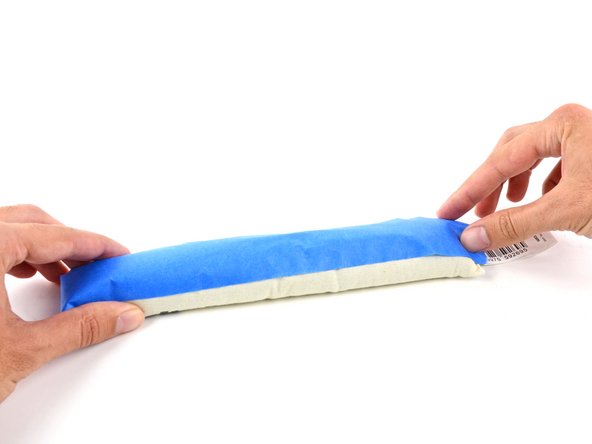
Riempi una pentola o una padella con abbastanza acqua per immergerci un iOpener.
-
Scalda l'acqua finché non bolle. Spegni il fuoco.
-
Posiziona l'iOpener nell'acqua calda per 2-3 minuti. Assicurati che l'iOpener sia completamente immerso nell'acqua.
-
Usa delle pinze per estrarre l'iOpener scaldato dall'acqua calda.
-
Asciuga accuratamente l'iOpener con un asciugamano.
-
Il tuo iOpener è pronto all'uso! Se devi scaldare di nuovo l'iOpener, scalda l'acqua fino all'ebollizione, spegni il fuoco e immergi l'iOpener in acqua per 2-3 minuti.
-
-
Questo passaggio è privo di traduzione. Aiuta a tradurlo
-
Use your hot iOpener to heat up all four edges of the front panel. Let the iOpener rest on each edge for at least 90 seconds, microwaving for 30 seconds at a time as needed.
-
Once all of the adhesive is warmed, pick out the edge with the largest uncracked section of glass.
-
-
Questo passaggio è privo di traduzione. Aiuta a tradurlo
-
Work your way around the entire perimeter of the front panel with an opening pick.
-
Remove the taped-together glass panel from the iPad. Be careful as this will have sharp edges and may drop pieces of glass. Dispose of safely.
-
-
Questo passaggio è privo di traduzione. Aiuta a tradurlo
-
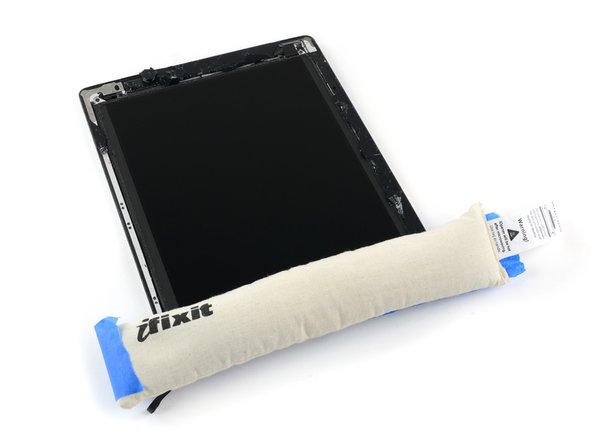
To protect your iOpener from the glass and keep it from filling with glass dust, stick some masking tape to one side.
-
Heat the iOpener and apply it to one edge of the iPad, directly on top of the pieces of glass that are still adhered to the rear case of the iPad.
-
Leave the iOpener there for at least 90 seconds, to soften the adhesive holding these small pieces in place.
-
-
Questo passaggio è privo di traduzione. Aiuta a tradurlo
-
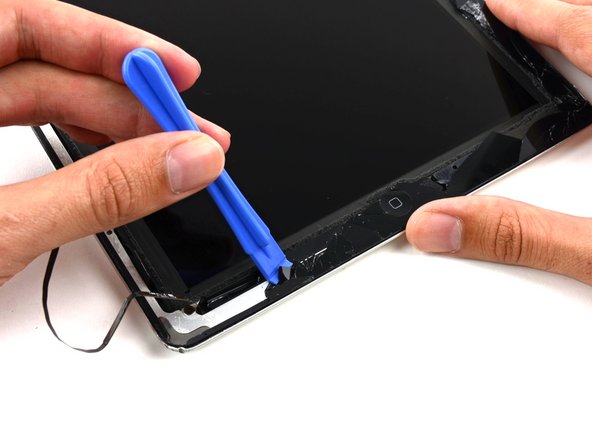
Grab your favorite plastic tool and start prying out the remaining pieces of glass from the iPad frame.
-
This is a slow and tedious process, but benefits greatly from heating the adhesive.
-
Remove all of the glass and residual adhesive and continue your repair.
-


Annulla: non ho completato questa guida.
Altre 17 persone hanno completato questa guida.

Un commento
During step 9, if you can manage to grab an end of the adhesive going under glass, see if you can slowly pull it out and to the side of the frame. If the strip doesn’t break too much, this should greatly reduce shard spread and increase speed!