Questa guida ha delle modifiche più recenti. Passa all'ultima versione non verificata.
Introduzione
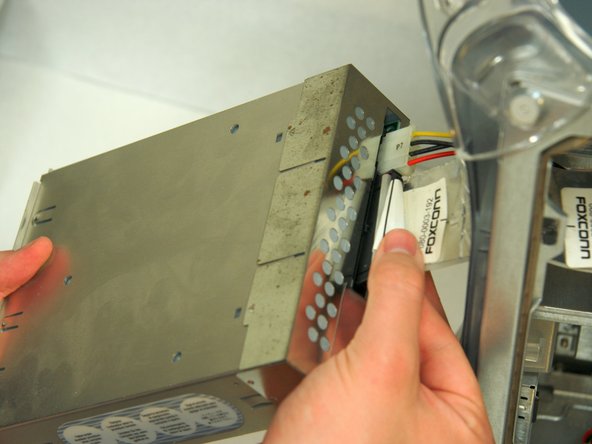
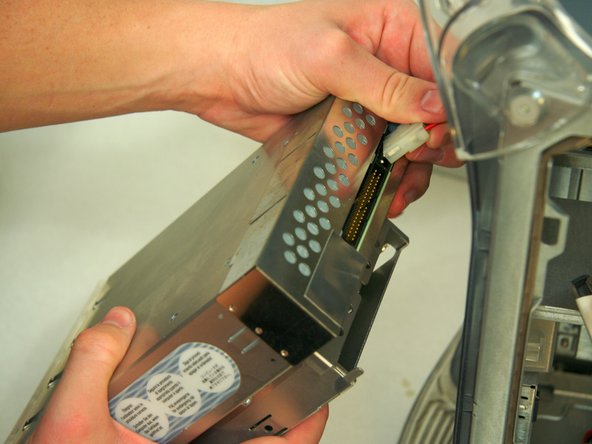
Removing and replacing the DVD-ROM drive.
Cosa ti serve
-
-
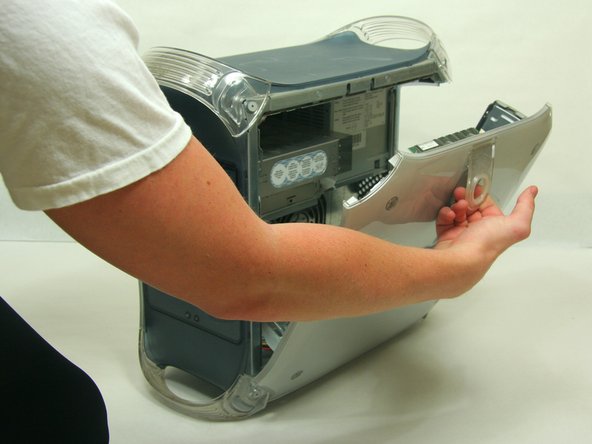
Pull on outer latch.
-
Lower door until it is level with your work surface.
-
-
-
Removing the faceplate.
-
On the inside of the case, find the two plastic tabs.
-
While depressing the tabs, remove the faceplate by pulling and rotating outward.
-
-


Annulla: non ho completato questa guida.
Altre 26 persone hanno completato questa guida.
Team

Cal Poly, Team 13-24, Maness Winter 2010 Membro di Cal Poly, Team 13-24, Maness Winter 2010
CPSU-MANESS-W10S13G24
4 Membri
25 Guide realizzate