Questa versione può contenere modifiche errate. Passa all'ultima istantanea verificata.
Cosa ti serve
-
Questo passaggio è privo di traduzione. Aiuta a tradurlo
-
Remove the four rubber caps from the back by using the Phillips #00 screwdriver.
-
-
Questo passaggio è privo di traduzione. Aiuta a tradurlo
-
Remove the four screws holding the cover in place by using the Phillips #00 screwdriver.
-
-
-
Questo passaggio è privo di traduzione. Aiuta a tradurlo
-
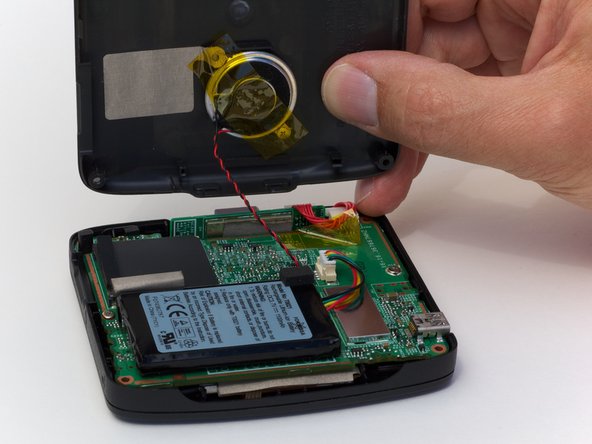
Remove the back cover from the device by separating the back cover along its seam.
-
-
Questo passaggio è privo di traduzione. Aiuta a tradurlo
-
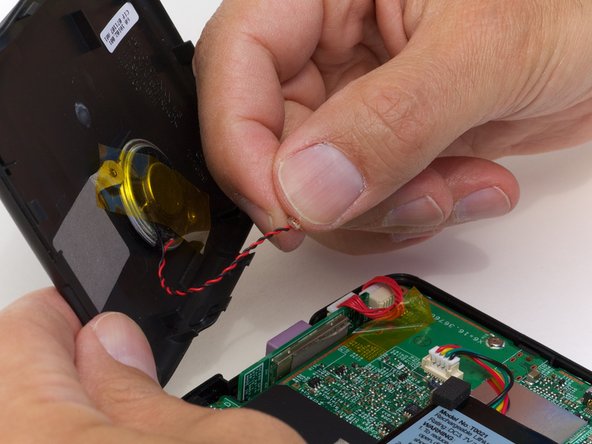
Pull the speaker cord, horizontally, by its base, away from the motherboard.
-


Annulla: non ho completato questa guida.
Altre 2 persone hanno completato questa guida.
