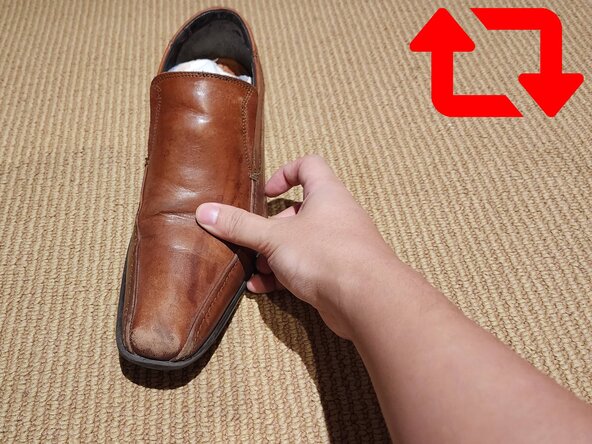
Salta al contenuto principale

Removing Leather Shoe Creases with a Blow Dryer

Cosa ti serve

  1. Removing Leather Shoe Creases with a Blow Dryer, Removing Leather Shoe Creases with a Blow Dryer: passo 1, immagine 1 di 2 Removing Leather Shoe Creases with a Blow Dryer, Removing Leather Shoe Creases with a Blow Dryer: passo 1, immagine 2 di 2
    • Carefully remove the shoe laces from both of your shoes.

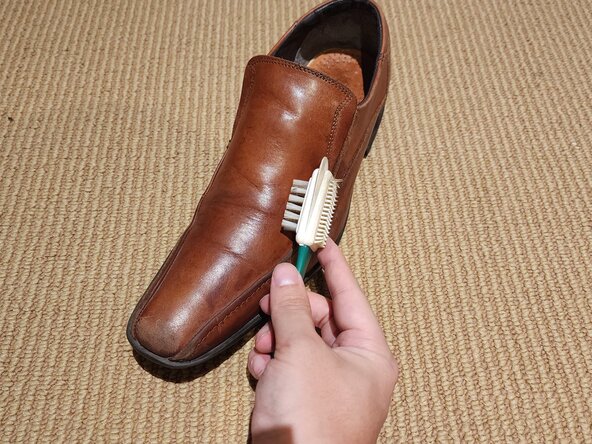
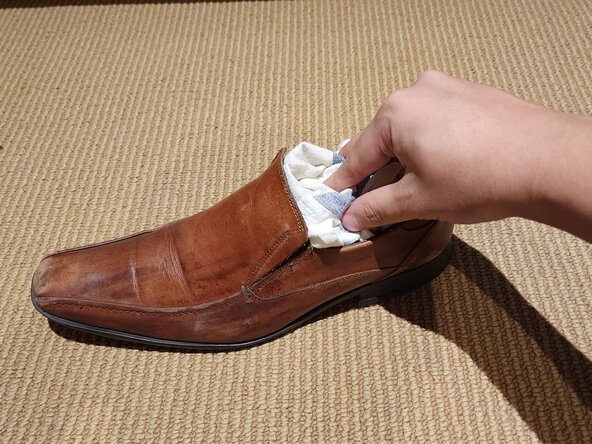
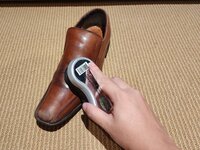
    • Use a soft brush or damp cloth to gently clean the surface of the shoe, removing any dirt or dust.

    • The leather should be free of dirt of debris before beginning to work on the creased area.

  2. Removing Leather Shoe Creases with a Blow Dryer: passo 2, immagine 1 di 2 Removing Leather Shoe Creases with a Blow Dryer: passo 2, immagine 2 di 2
    • Stuff each shoe with a soft towel or with a crumpled newspaper.

    • By doing this, you are helping to preserve and maintain the shoe’s natural shape while also preventing any further creasing when you apply heat. This will help support the leather from the inside.

  3. Removing Leather Shoe Creases with a Blow Dryer: passo 3, immagine 1 di 3 Removing Leather Shoe Creases with a Blow Dryer: passo 3, immagine 2 di 3 Removing Leather Shoe Creases with a Blow Dryer: passo 3, immagine 3 di 3
    • Use a hair dryer at a low/medium setting to warm the leather until it's pliable.

    • Hold the hair dryer 6-8 inches away from the creased area on the shoe.

  4. Removing Leather Shoe Creases with a Blow Dryer: passo 4, immagine 1 di 3 Removing Leather Shoe Creases with a Blow Dryer: passo 4, immagine 2 di 3 Removing Leather Shoe Creases with a Blow Dryer: passo 4, immagine 3 di 3
    • Once the leather is heated, use your fingertips to gently massage the creased area.

    • This motion will help relax the fibers in the leather, which will help eliminate the appearance of the crease.

  5. Removing Leather Shoe Creases with a Blow Dryer: passo 5, immagine 1 di 2 Removing Leather Shoe Creases with a Blow Dryer: passo 5, immagine 2 di 2
    • Heat and massage the creased parts.

    • Use small, deliberate strokes on the creases.

    • Repeat as many times as necessary to achieve the desired outcome.

  6. Removing Leather Shoe Creases with a Blow Dryer: passo 6, immagine 1 di 1
    • Stop heating the shoes and allow them to cool down.

    • This cooling period is important as it allows the leather to settle into its new, smooth, and uncreased form.

    • You should let them cool for at least thirty minutes.

  7. Removing Leather Shoe Creases with a Blow Dryer: passo 7, immagine 1 di 3 Removing Leather Shoe Creases with a Blow Dryer: passo 7, immagine 2 di 3 Removing Leather Shoe Creases with a Blow Dryer: passo 7, immagine 3 di 3
    • (Optional) You may apply a leather conditioner. This type of conditioner can help keep the shoe’s material smooth.

    • Once you have applied a leather conditioner, you might also want to add a shoe polish, which can restore your shoe’s shine while also increasing protection.'

Conclusione

To reassemble your device, follow these instructions in reverse order.

Stephen Ang

Membro da: 02/06/25

145 Reputazione

1 Guida realizzata

Team

0Commenti sulla guida

Aggiungi Commento

Visualizza Statistiche:

Ultime 24 Ore: 3

Ultimi 7 Giorni: 8

Ultimi 30 Giorni: 45

Tutti i Tempi: 307