Introduzione
Use esta guía para reemplazar la batería de iones de litio en su Motorola Moto G5 Plus. Con un uso diario, una batería típica dura entre 18 y 24 meses antes de perder una capacidad significativa. Si tu batería no tiene una carga completa o está causando paradas inesperadas, puede seguir las instrucciones a continuación para restaurar su teléfono a un buen funcionamiento.
'Antes de desmontar el teléfono, descarga la batería por debajo del 25%.'556 Una batería cargada de iones de litio puede incendiarse y/o explotar si se perfora accidentalmente.
Si tu batería está hinchada, no calientes tu teléfonotoma las precauciones adecuadas. Si es necesario, puedes usar un gotero o jeringa para inyectar alcohol isopropílico (90%) alrededor de los bordes de la pantalla para debilitar el adhesivo. Las baterías inflamadas pueden ser muy peligrosas, por lo tanto, usa protección para los ojos y haz el debido cuidado, o llévalo a un profesional si no está seguro de cómo proceder.
Cosa ti serve
-
-
Usa una punta de expulsión de tarjeta SIM, una herramienta de expulsión SIM o clip de papel para remover la tarjeta SIM de tu teléfono.
-
-
-
Prepara un iOpener y calienta la parte frontal del teléfono a lo largo del borde izquierdo durante dos minutos o hasta que esté un caliente al tacto. Esto ayudará a ablandar el adhesivo que sujeta la pantalla.
-
-
-
Aplica una ventosa en la pantalla, cerca del medio del borde izquierdo.
-
Jala de la ventosa con presión firme y constante para crear un ligero espacio libre entre el panel de pantalla y la caja trasera.
-
Si la pantalla no se separa aun con fuerza significativa, aplica más calor para ablandar el adhesivo e intentar nuevamente. El adhesivo se enfría rápidamente, así que tendrás que usar calor repetidamente.
-
-
-
-
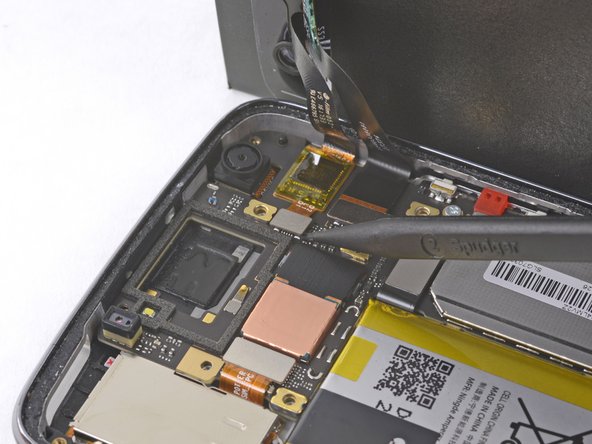
Una vez que la batería esta suelta, remuévela del teléfono.
-
Quita cualquier adhesivo que quede del teléfono y limpia el área completa debajo de la batería con alcohol isopropílico.
-
Aplica unas tiras nuevas de adhesivo pre-cortado o cinta Tesa.
-
Si estás colocando la batería con un adhesivo cortado a medida, sigue esta guía.
-
Presiona la batería nueva firmemente en su lugar durante 5-10 segundos.
-


Para volver a ensamblar tu dispositivo, sigue estas instrucciones en orden inverso.
Luego de completar esta guía, calibra tu batería recién instalada.
Lleva tus residuos electrónicos a un centro de reciclaje certificado.
¿La reparación no salió como lo planificaste? Consulta la comunidad de respuestas para ayuda en la resolución de problemas.
Annulla: non ho completato questa guida.
Altre 45 persone hanno completato questa guida.
Un ringraziamento speciale a questi traduttori:
100%


Questi traduttori ci stanno aiutando ad aggiustare il mondo! Vuoi partecipare?
Inizia a tradurre ›

19 Commenti
I agree with Andy. Tutorial is perfectly explained, but construction design obviously is to avoid buyers change without risk of damage in comparison like other phones like Moto G 2nd version or Nexus 4 which are not piece of cake however is not to difficult. I hate that mind of developers trying to fix on design “battery for life of device”. That is the issue. Almost the problem is the battery. No matter how much well it is, continue being the critical lifetime part. Must need replaceable for users.
I personally wish phone makers would stop doing this crud, the battery is the least of the worries and should be easily replaceable, likely folks will want to upgrade to a new phone before battery is “dead” and more likely you will have to buy a new screen because of how fragile they make these things especially the new fad of ALL GLASS design >:(…wish moto would not advertise any water proof of any sort, just had my moto G4 Play die because of a small bit of water getting on the screen, now have to buy a brand new one, there goes over $400 down the drain….got so mad I beat the crud out of it smashed it right to bits when it refused to power on at all after drying out in dry rice for a few days, but at least it had an easy to remove battery with nowhere to buy a $20 battery for less then $90 (ship and tax)
The article is great, but I wouldn’t go through such torture. And the cost to have a repair shop do it might be 40% of the price of a new phone. I agree with Andy and Zacarias. This practice of non-replaceable batteries, claiming that this design is “waterproof” and makes the phone slimmer, is all just a racket. I kept my Samsung S3 with replaceable battery for four years, and only gave it up because it couldn’t take the Android updates anymore. Now only LG sells phones with replaceable batteries, but the LG phone I tried was a piece of junk. It looks like I’ll just have to replace my Moto phone every two years now. That’s unfair.
Totally agree to comments by Claude. Real Water sealing is not being achieved by making batteries non replaceable. Now nano coating technology is there to make circuits water repellent. So water sealing is no longer an excuse for manufacturers. Hard to replace battery is just planned obsolescence.
Rineez -