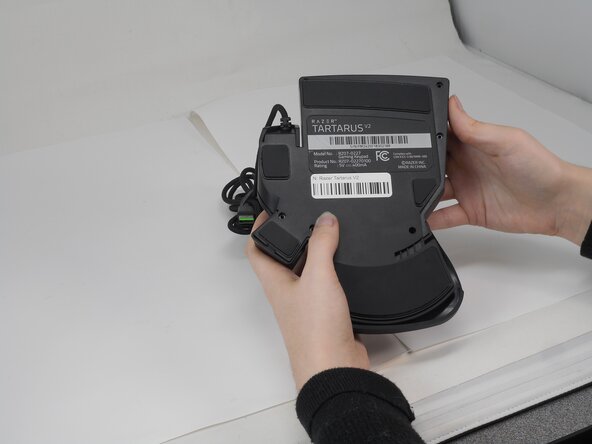
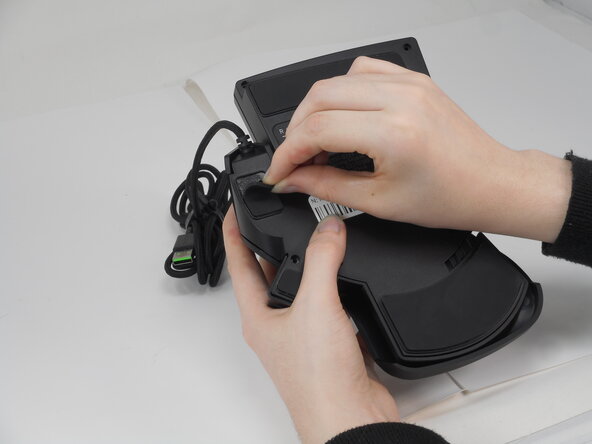
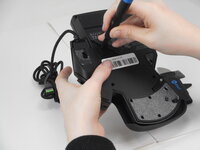
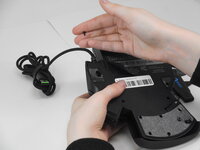
Salta al contenuto principale

Razer Tartarus V2 Keycap Stabilizers Replacement

Cosa ti serve

  1. Razer Tartarus V2 Keycap Stabilizers Replacement, Razer Tartarus V2 Case Disassembly: passo 1, immagine 1 di 2 Razer Tartarus V2 Keycap Stabilizers Replacement, Razer Tartarus V2 Case Disassembly: passo 1, immagine 2 di 2
    • Turn the keypad upside down.

  2. Razer Tartarus V2 Keycap Stabilizers Replacement: passo 2, immagine 1 di 3 Razer Tartarus V2 Keycap Stabilizers Replacement: passo 2, immagine 2 di 3 Razer Tartarus V2 Keycap Stabilizers Replacement: passo 2, immagine 3 di 3
    • Gently peel off the rubber feet with a Jimmy.

    • Set the rubber grip pads aside so you can reapply them later.

    • Use a Phillips #0 screwdriver to remove the following screws:

    • Twelve 6.4 mm-long screws

    • Two 3.7 mm-long screws

  3. Razer Tartarus V2 Keycap Stabilizers Replacement: passo 3, immagine 1 di 3 Razer Tartarus V2 Keycap Stabilizers Replacement: passo 3, immagine 2 di 3 Razer Tartarus V2 Keycap Stabilizers Replacement: passo 3, immagine 3 di 3
    • Peel up the bottom left corner of the largest sticker.

    • Remove the 6.4 mm-long Phillips #0 screw.

  4. Razer Tartarus V2 Keycap Stabilizers Replacement: passo 4, immagine 1 di 3 Razer Tartarus V2 Keycap Stabilizers Replacement: passo 4, immagine 2 di 3 Razer Tartarus V2 Keycap Stabilizers Replacement: passo 4, immagine 3 di 3
    • Carefully lift the joystick module up and out.

    • Separate the top and bottom casing of the keypad.

    • Use an Opening tool to pry the case open along the edges if necessary.

  5. Razer Tartarus V2 Keycap Stabilizers Replacement, Keycap Stabilizers: passo 5, immagine 1 di 2 Razer Tartarus V2 Keycap Stabilizers Replacement, Keycap Stabilizers: passo 5, immagine 2 di 2
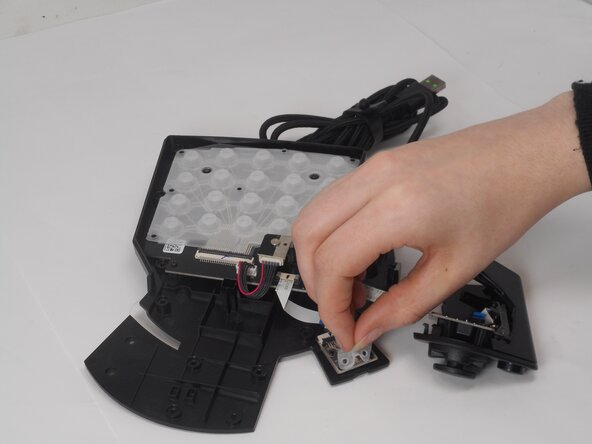
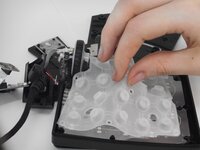
    • Locate the two rubber stabilizers:

    • One large stabilizer is positioned under keys 1–19.

    • One small stabilizer is under key 20.

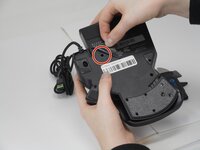
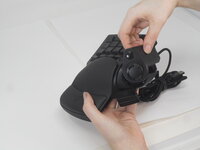
    • Carefully pull each stabilizer up by hand from its respective board (motherboard or daughterboard)

    • Avoid applying excessive force or using sharp tools to prevent scratching or damaging the boards beneath the stabilizers.

Conclusione

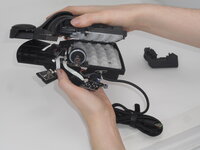
To reassemble your device, follow these instructions in reverse order.

0Commenti sulla guida

Aggiungi Commento

Visualizza Statistiche:

Ultime 24 Ore: 0

Ultimi 7 Giorni: 3

Ultimi 30 Giorni: 17

Tutti i Tempi: 155