Questa guida ha delle modifiche più recenti. Passa all'ultima versione non verificata.
Introduzione
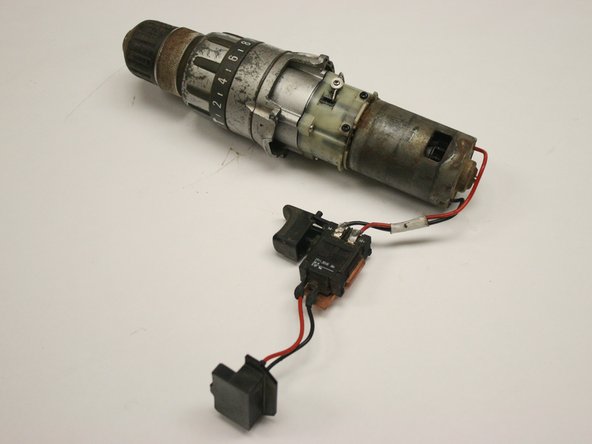
Use for a diagnosed wiring problem.
Cosa ti serve
-
-
Remove the backplate.
-
Using a Torx T20 screwdriver, remove the four screws attaching the back plate.
-
-
-
-
Use a multimeter set above 18V DC to check electrical connections where wires meet drill, switch, or battery terminal.
-


To reassemble your device, follow these instructions in reverse order.
To reassemble your device, follow these instructions in reverse order.
Annulla: non ho completato questa guida.
Un'altra persona ha completato questa guida.
Team

Cal Poly, Team 15-48, Garner Spring 2010 Membro di Cal Poly, Team 15-48, Garner Spring 2010
CPSU-GARNER-S10S15G48
6 Membri
10 Guide realizzate