Salta al contenuto principale

RIDGID R32104 Motor Bearings Replacement

Cosa ti serve

  1. RIDGID R32104 Motor Bearings Replacement, Motor Brush: passo 1, immagine 1 di 2 RIDGID R32104 Motor Bearings Replacement, Motor Brush: passo 1, immagine 2 di 2
    • Turn off your saw and unplug before starting.

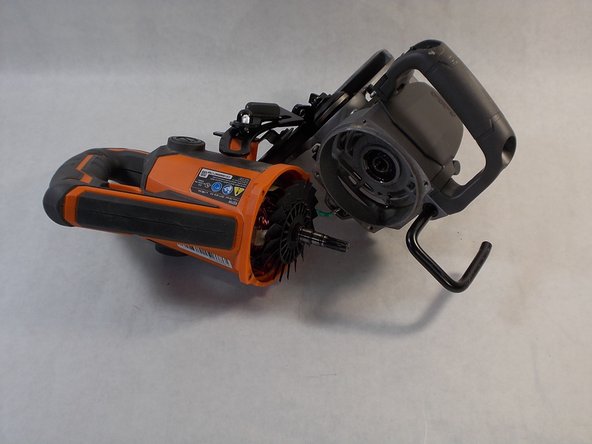
    • Place down the Worm Drive Saw on a sturdy surface.

    • The motor brush cap is located on the side of the main housing assembly, it can be identified as a large black plastic cap with a slit running down its surface.

  2. RIDGID R32104 Motor Bearings Replacement: passo 2, immagine 1 di 2 RIDGID R32104 Motor Bearings Replacement: passo 2, immagine 2 di 2
    • Using a flathead screwdriver, remove the motor brush cap from the main housing assembly.

  3. RIDGID R32104 Motor Bearings Replacement: passo 3, immagine 1 di 1
    • With the cap removed, the motor brush should now be accessible.

    • Carefully remove the motor brush by sliding it out of the main housing assembly.

  4. RIDGID R32104 Motor Bearings Replacement, Upper Blade Guard Assembly: passo 4, immagine 1 di 3 RIDGID R32104 Motor Bearings Replacement, Upper Blade Guard Assembly: passo 4, immagine 2 di 3 RIDGID R32104 Motor Bearings Replacement, Upper Blade Guard Assembly: passo 4, immagine 3 di 3
    • Maneuver the RIDGID saw, in order to easily remove the upper blade guard assembly.

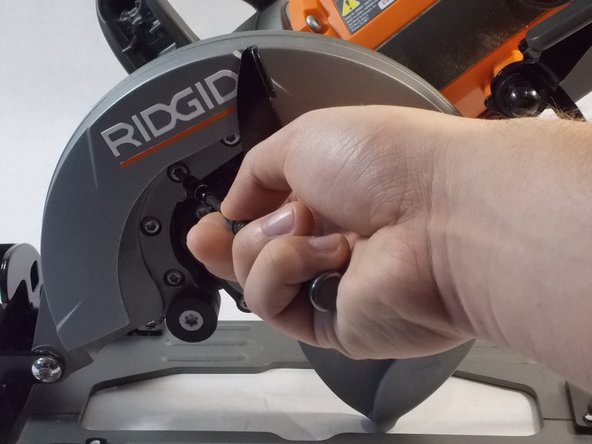
    • Using the T20 Torx Screwdriver, remove the four 4/10 cm screws that attach to the gear box.

  5. RIDGID R32104 Motor Bearings Replacement: passo 5, immagine 1 di 2 RIDGID R32104 Motor Bearings Replacement: passo 5, immagine 2 di 2
    • Using the T50 Torx Screwdriver, remove the one 5/10 screw that attach to the gear box.

  6. RIDGID R32104 Motor Bearings Replacement: passo 6, immagine 1 di 2 RIDGID R32104 Motor Bearings Replacement: passo 6, immagine 2 di 2
    • Using the T20 Torx Screwdriver, remove the two 4/10 cm screws that attach to the handle of the device.

  7. RIDGID R32104 Motor Bearings Replacement: passo 7, immagine 1 di 2 RIDGID R32104 Motor Bearings Replacement: passo 7, immagine 2 di 2
    • Maneuver the saw to get to the base plate.

    • Using the T20 Torx Screwdriver, remove the two 4/10 cm screws that attach the upper blade guard’s base plate to the main housing assembly.

  8. RIDGID R32104 Motor Bearings Replacement, Main Housing Assembly: passo 8, immagine 1 di 2 RIDGID R32104 Motor Bearings Replacement, Main Housing Assembly: passo 8, immagine 2 di 2
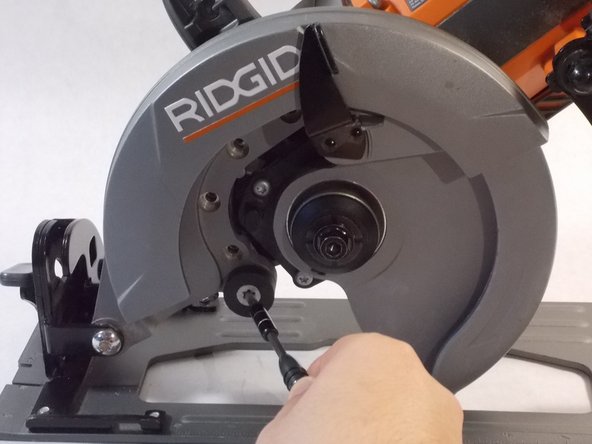
    • Using the T20 Torx Screwdriver, remove the four 10 cm screws that attaches the main housing assembly to the gear box.

  9. RIDGID R32104 Motor Bearings Replacement, Gear Box: passo 9, immagine 1 di 2 RIDGID R32104 Motor Bearings Replacement, Gear Box: passo 9, immagine 2 di 2
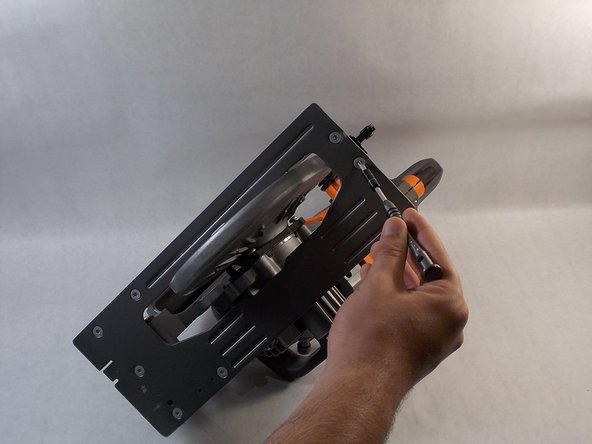
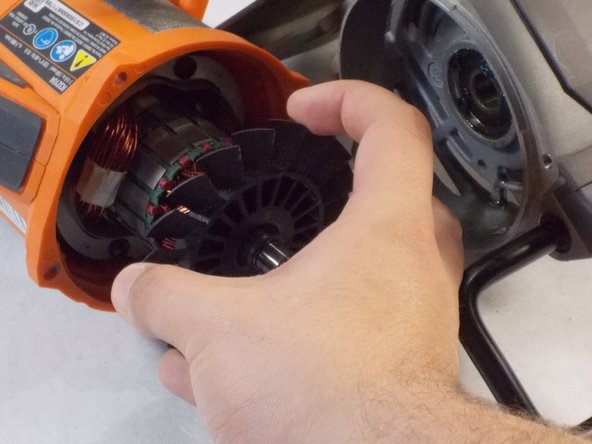
    • Wiggle out the gear box to easily gain access to the motor rotor.

    • Once taken out, the motor rotor is easily accessible.

  10. RIDGID R32104 Motor Bearings Replacement, Motor Rotor: passo 10, immagine 1 di 3 RIDGID R32104 Motor Bearings Replacement, Motor Rotor: passo 10, immagine 2 di 3 RIDGID R32104 Motor Bearings Replacement, Motor Rotor: passo 10, immagine 3 di 3
    • The motor rotor is lodged in between the armature and can be identified as a rod containing a fan blade.

    • Carefully remove the motor rotor from the device.

  11. RIDGID R32104 Motor Bearings Replacement, Motor Bearings: passo 11, immagine 1 di 1
    • The bearings are located on the opposite end of the motor rotor, from where the fan blade was.

    • Carefully remove the motor bearings from the motor rotor.

Conclusione

To reassemble your device, follow these instructions in reverse order.

Altre 2 persone hanno completato questa guida.

Lucas Pimentel

Membro da: 04/02/19

1.010 Reputazione

8 Guide realizzate

Team

0 Commenti

Aggiungi Commento

Visualizza Statistiche:

Ultime 24 Ore: 1

Ultimi 7 Giorni: 1

Ultimi 30 Giorni: 3

Tutti i Tempi: 538