Questa versione può contenere modifiche errate. Passa all'ultima istantanea verificata.
Cosa ti serve
-
Questo passaggio è privo di traduzione. Aiuta a tradurlo
-
Remove the 5 screws that secure the control panel (located on the top of the device) by using your small flathead screwdriver.
-
Loosen the panel from the device until you are able to remove it.
-
-
Questo passaggio è privo di traduzione. Aiuta a tradurlo
-
Remove the remaining 21 screws on the camcorder.
-
Begin separating the plastic casing from the inner components of the device.
-
-
-
Questo passaggio è privo di traduzione. Aiuta a tradurlo
-
Grasping the viewfinder in hand, carefully remove the two screws that secure the mounting device.
-
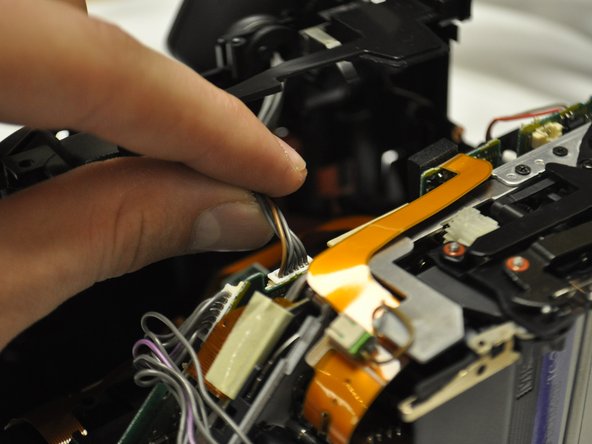
Locate the gray electrical cord that connects the viewfinder to the inner components of the camera. Gently unplug the gray cord and loosen the viewfinder from the device.
-
-
Questo passaggio è privo di traduzione. Aiuta a tradurlo
-
Separate the viewfinder from the device and feed the gray cord through the hole in the plastic casing.
-


Team

James Madison, Team 2-1, Allen Fall 2011 Membro di James Madison, Team 2-1, Allen Fall 2011
JMU-ALLEN-F11S2G1
2 Membri
4 Guide realizzate