Introduzione
If your Electronic Speed Control is no longer working on your Remote Controlled vehicle, use this guide to replace and guarantee your ESC functions correctly again.
The Electronic Speed Control unit sends signals to the remote control to allow the car to move at different speeds. A broken or faulty Electronic Speed Control unit will not transmit the signal to the control, ultimately making your vehicle not able to move.
In this Electronic Speed Control tutorial, I will be showing you how to replace and install your new Electronic Speed Control unit. To complete this guide you will only need a few tools and some household items. This is fairly simple to do and I'm positive you will be able to complete it!
Cosa ti serve
-
Attrezzo utilizzato in questo passaggio:iFixit Opening Tool$1.99
-
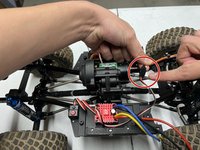
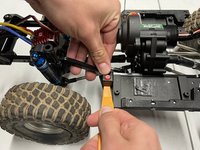
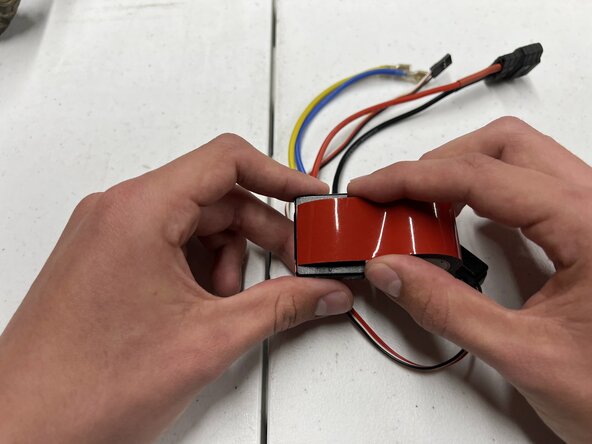
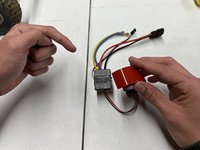
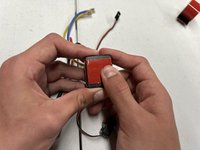
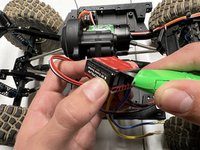
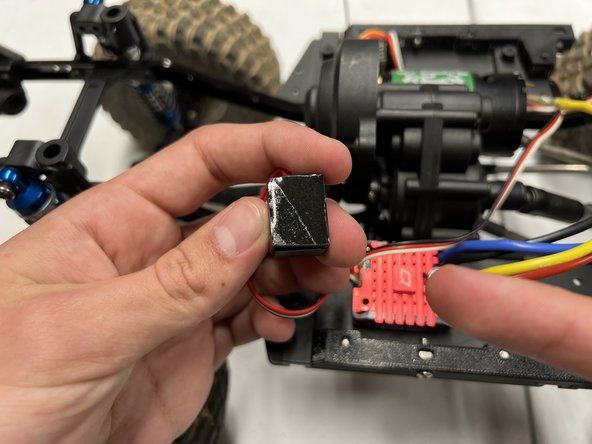
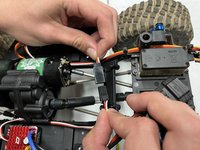
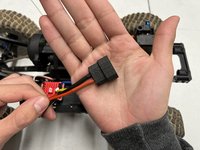
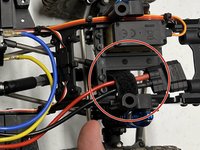
Slide an opening tool beneath the red controller unit.
-
Pry upwards with moderate force until the controller unit is detached.
-
-
Attrezzo utilizzato in questo passaggio:iFixit Opening Tool$1.99
-
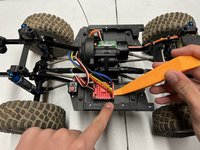
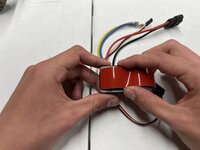
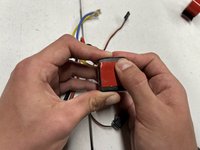
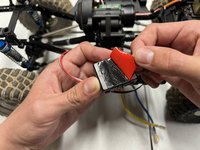
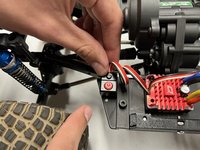
Slide an opening tool beneath the power button.
-
Pry upwards with moderate force until the power button is detached.
-
-
-
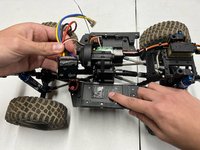
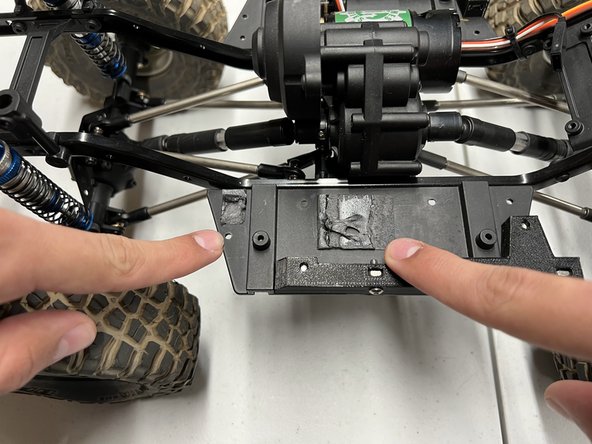
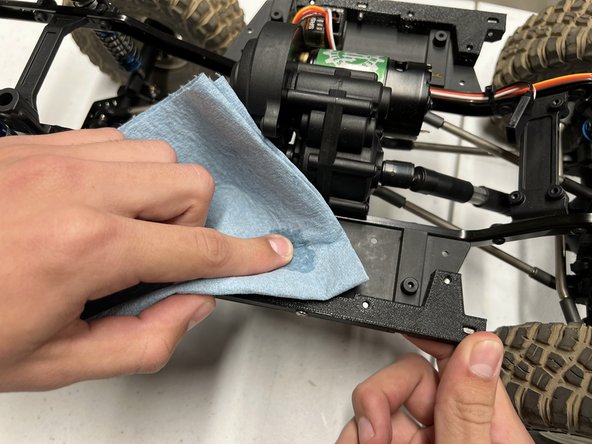
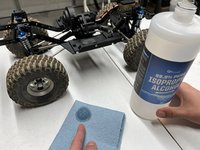
Dampen a shop towel with 99.9% pure isopropyl alcohol.
-
Rub the dampened towel over any residual adhesive on the car.
-
Clean the residue until the surface is smooth.
-
-
-
-
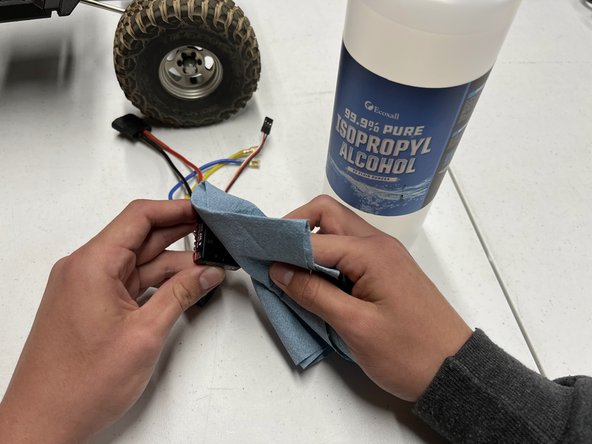
Dampen a shop towel with 99.9% pure isopropyl alcohol.
-
Rub the dampened towel over the bottom of the controller unit.
-
-
-
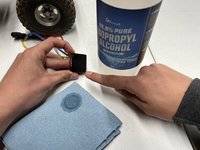
Dampen the shop towel with more 99.9% pure isopropyl alcohol.
-
Rub the dampened towel over the bottom of the power button.
-
-
-
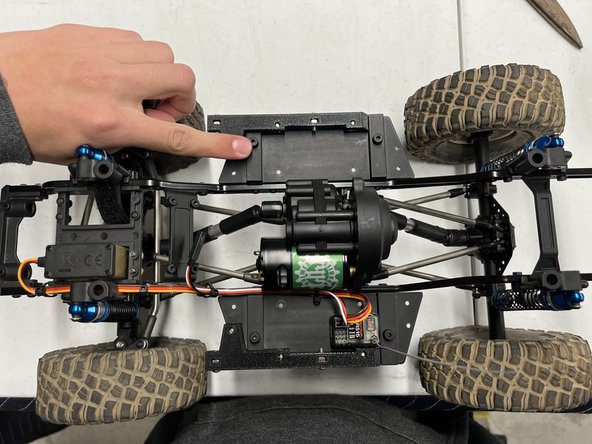
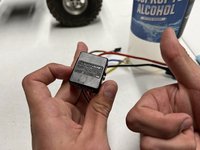
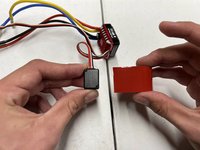
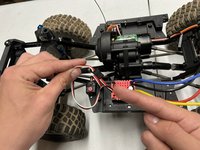
Position the controller unit so that the bottom faces upwards.
-
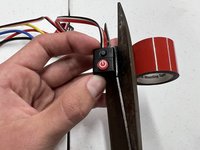
Unwind 1 inch of double-sided adhesive.
-
Center the adhesive on the bottom and press down to secure it.
-
-
-
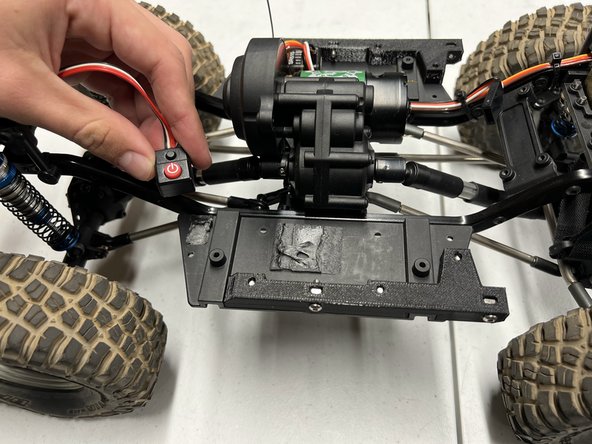
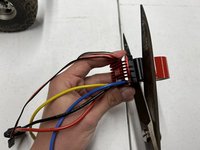
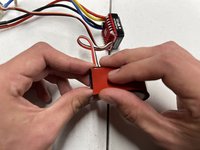
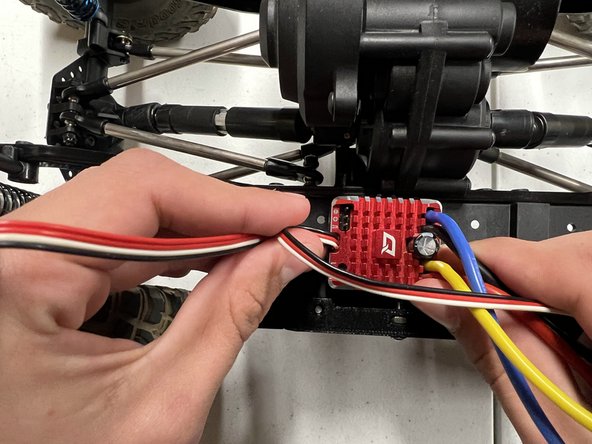
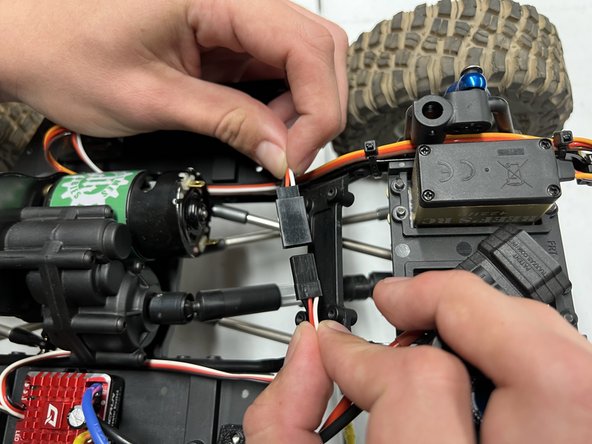
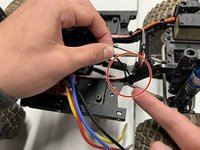
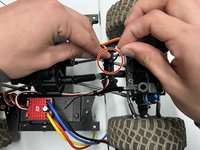
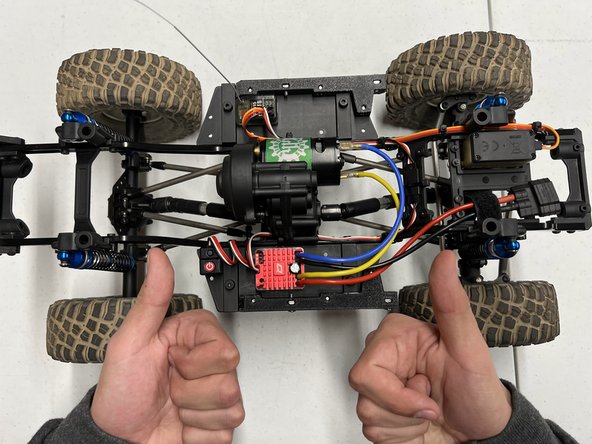
Secure the black, white, and red wires to the frame of your car using two 4-inch zip ties.
-