Questa guida ha delle modifiche più recenti. Passa all'ultima versione non verificata.
Introduzione
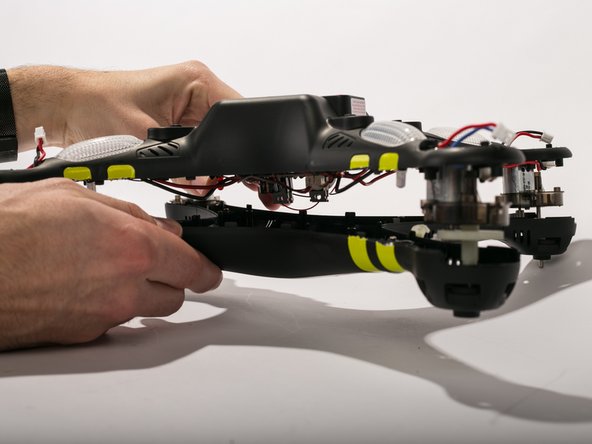
This guide will walk you through the 16 steps to replace the top shell of the Drone.
Cosa ti serve
-
-
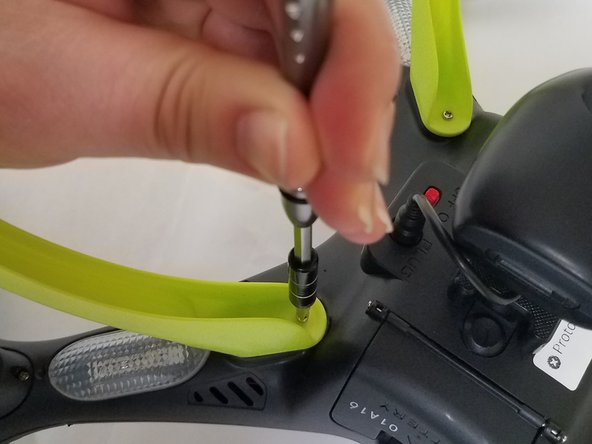
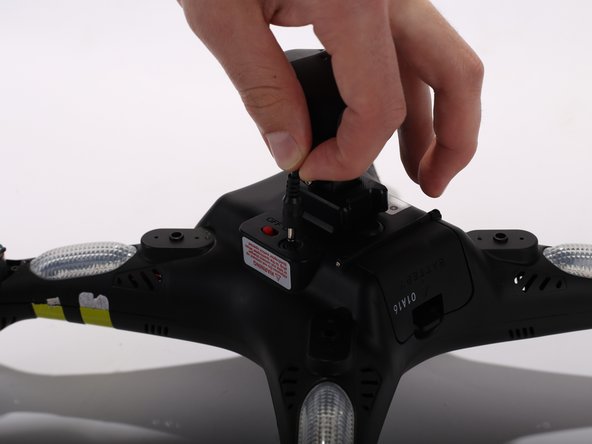
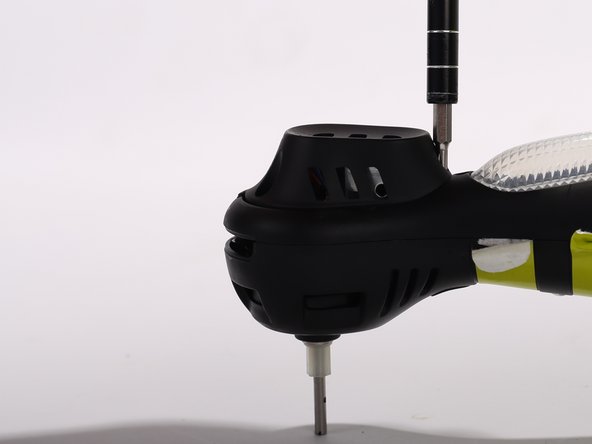
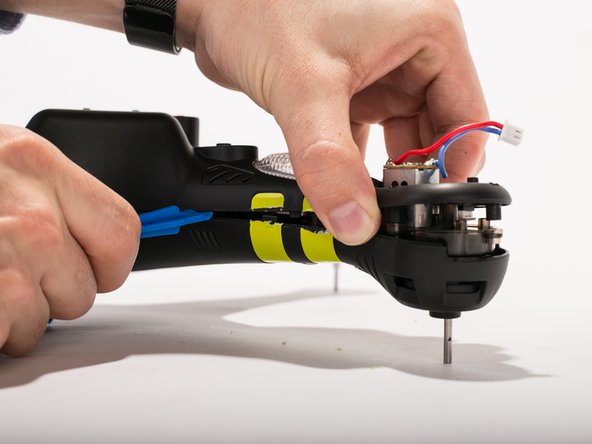
Use the heavy duty spudger tool to pry off metal caps by pushing the spudger up into the cap.
-
-
-
-
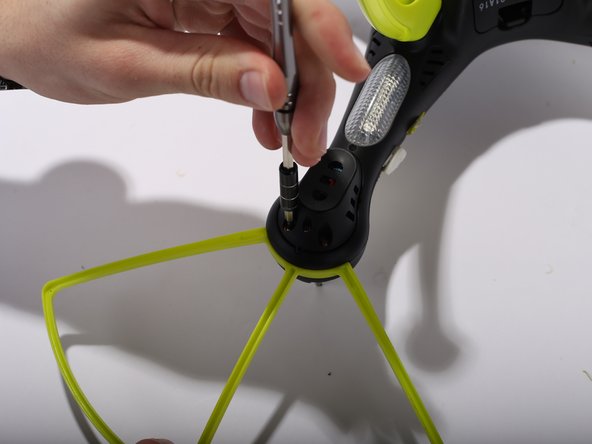
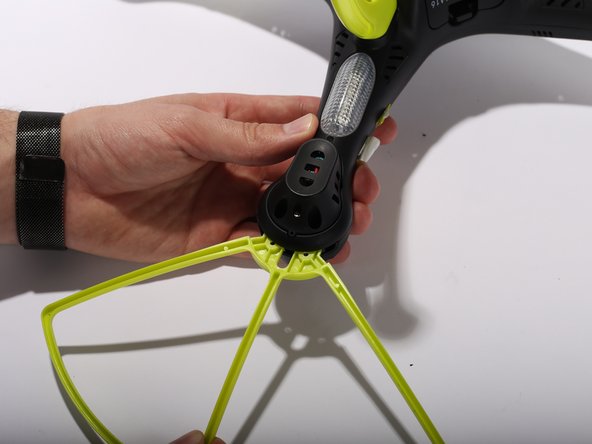
Remove Blade Guards by unscrewing two 13 millimeter screws using Philips #0. Pull out the guards. Repeat the steps for the other three corners.
-


To reassemble your device, follow these instructions in reverse order.
To reassemble your device, follow these instructions in reverse order.

Team

UW Tacoma, Team 2-3, Rose Winter 2017 Membro di UW Tacoma, Team 2-3, Rose Winter 2017
UWT-ROSE-W17S2G3
4 Membri
5 Guide realizzate