Salta al contenuto principale
Unisciti alla Community delle riparazioni - Crea un account
ProntoTec Axius Camera Replacement

ProntoTec Axius Camera Replacement

Antonio Irons

Antonio Irons e 5 altri collaboratori

Ultimo aggiornamento il 14 apr 2019

Nessuna stima
Moderato
Dettagli Mancanti

Introduzione

Vai al passo 1

Repeated dropping and use of your tablet can result in damaging various physical and electrical components like the camera. If your device's camera is malfunctioning, follow this guide to access and replace it.

Cosa ti serve

Strumenti

  1. ProntoTec Axius Camera Replacement, Camera: passo 1, immagine 1 di 1
    • Make sure the device is completely turned off before you begging taking it apart to avoid electrocution risks.

    • Place the tablet face-up on a flat table.

  2. ProntoTec Axius Camera Replacement: passo 2, immagine 1 di 1
    • Starting near the headphone port, fit the flat end of the spudger in between the screen and back case.

    • Pry the back case from the screen around each point on the device to release the clips securing the case halves to each other.

  3. ProntoTec Axius Camera Replacement: passo 3, immagine 1 di 1
    • Gently remove the back case of the device and lay it in a flat surface as shown in the photo.

    • Make sure not to sever the wires (red and black) connected to the speaker that is located in the back case.

  4. ProntoTec Axius Camera Replacement: passo 4, immagine 1 di 1
    • Remove only the yellow tape that touches the battery.

    • Be careful not to cut or damage the wires (red and black) that are under the yellow tape.'

  5. ProntoTec Axius Camera Replacement: passo 5, immagine 1 di 2 ProntoTec Axius Camera Replacement: passo 5, immagine 2 di 2
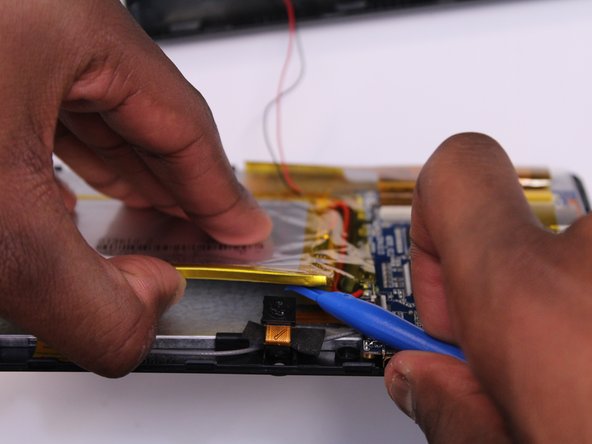
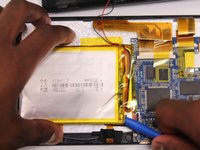
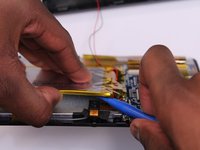
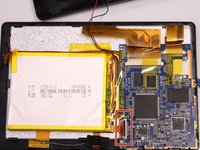
    • Use the flat end of the spudger to gently pry the top left corner battery from the back of the screen in order to access the camera.

  6. ProntoTec Axius Camera Replacement: passo 6, immagine 1 di 3 ProntoTec Axius Camera Replacement: passo 6, immagine 2 di 3 ProntoTec Axius Camera Replacement: passo 6, immagine 3 di 3
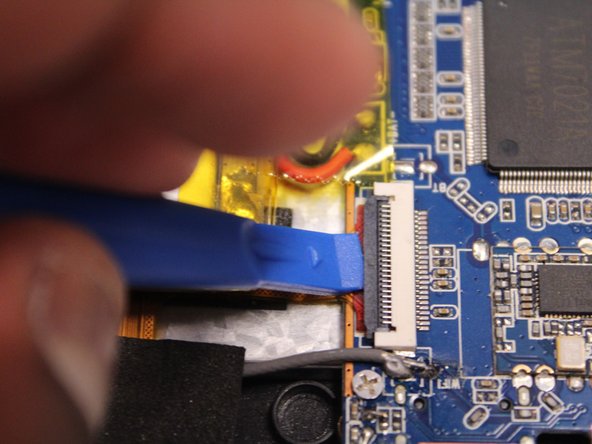
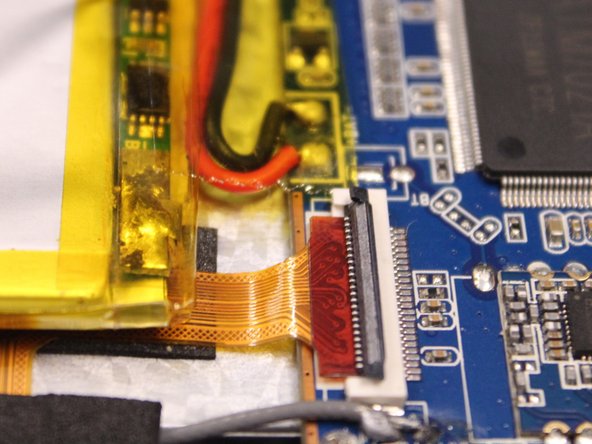
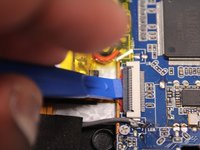
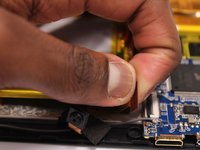
    • Use the spudger to lift the black clamp as shown in the photo to disconnect the camera from the motherboard.

  7. ProntoTec Axius Camera Replacement: passo 7, immagine 1 di 2 ProntoTec Axius Camera Replacement: passo 7, immagine 2 di 2
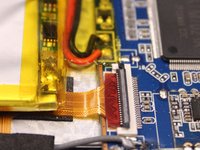
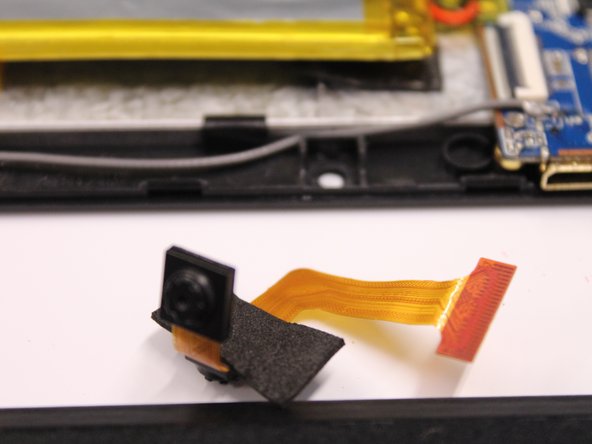
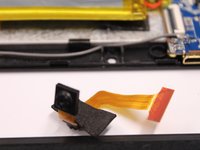
    • Disconet the camera from the motherboard.

    • Pull the camera from the back of the screen.

Conclusione

To reassemble your device, follow these instructions in reverse order.

Un'altra persona ha completato questa guida.

Team

UMass Dartmouth, Team 5-3, Martin Fall 2016 Membro di UMass Dartmouth, Team 5-3, Martin Fall 2016

UMASSD-MARTIN-F16S5G3

3 Membri

10 Guide realizzate

0Commenti sulla guida

Aggiungi Commento

Visualizza Statistiche:

Ultime 24 Ore: 0

Ultimi 7 Giorni: 1

Ultimi 30 Giorni: 4

Tutti i Tempi: 205