Questa guida ha delle modifiche più recenti. Passa all'ultima versione non verificata.
Introduzione
This guide is intended to help users resolve issues with the projector. Please see the Sony Dream Machine ICF-C717PJ Troubleshooting page: Sony Dream Machine ICF-C717PJ to eliminate other possible issues before you begin. This guide will help assist you in repair the issues impacting the clarity of the projection display.
Cosa ti serve
-
-
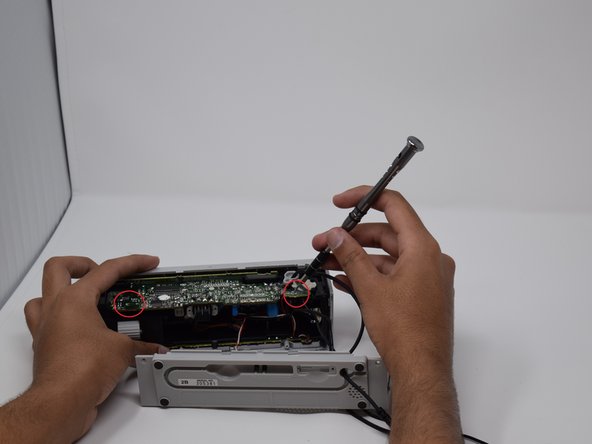
Remove the screw from the backside cover of the Sony Dream Machine with a Phillips Screwdriver.
-
-


Quasi finito!
Linea Traguardo
Team

UW Tacoma, Team S1-G3, Liner Summer 2018 Membro di UW Tacoma, Team S1-G3, Liner Summer 2018
UWT-LINER-SU18S1G3
4 Membri
5 Guide realizzate