Salta al contenuto principale

PowerLead Puto PLD003 Back Buttons Replacement

Cosa ti serve

  1. PowerLead Puto PLD003 Back Buttons Replacement, Side Panel: passo 1, immagine 1 di 1
    • Slide the battery eject button open to release the battery door.

  2. PowerLead Puto PLD003 Back Buttons Replacement: passo 2, immagine 1 di 1
    • With the battery door open, carefully remove all four 5 mm Phillips #1 screws.

  3. PowerLead Puto PLD003 Back Buttons Replacement: passo 3, immagine 1 di 1
    • Rotate the camera so that the underside is facing up.

    • Remove the four 5 mm Phillips #1 screws.

  4. PowerLead Puto PLD003 Back Buttons Replacement: passo 4, immagine 1 di 1
    • Place the camera on a flat surface, with its underside facing you.

    • Gently pull up on the side panel to remove it from the camera.

  5. PowerLead Puto PLD003 Back Buttons Replacement, Back Buttons: passo 5, immagine 1 di 2 PowerLead Puto PLD003 Back Buttons Replacement, Back Buttons: passo 5, immagine 2 di 2
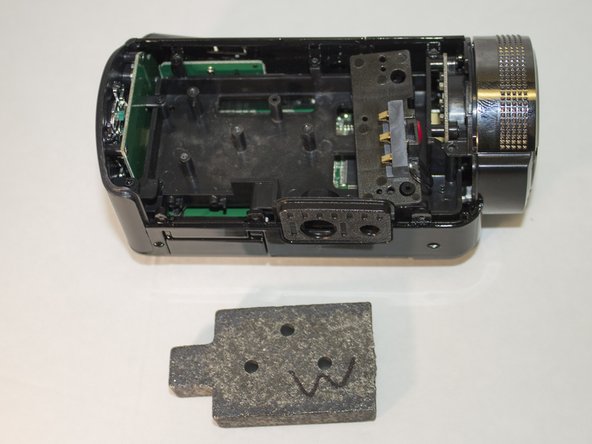
    • Remove the three 4 mm Phillips #1 screws holding the weight.

    • Remove the weight.

  6. PowerLead Puto PLD003 Back Buttons Replacement: passo 6, immagine 1 di 1
    • Remove the two 4 mm Phillips #1 screws holding the back panel in place.

  7. PowerLead Puto PLD003 Back Buttons Replacement: passo 7, immagine 1 di 1
    • Apply pressure to the back panel, away from the camera to remove.

  8. PowerLead Puto PLD003 Back Buttons Replacement: passo 8, immagine 1 di 2 PowerLead Puto PLD003 Back Buttons Replacement: passo 8, immagine 2 di 2
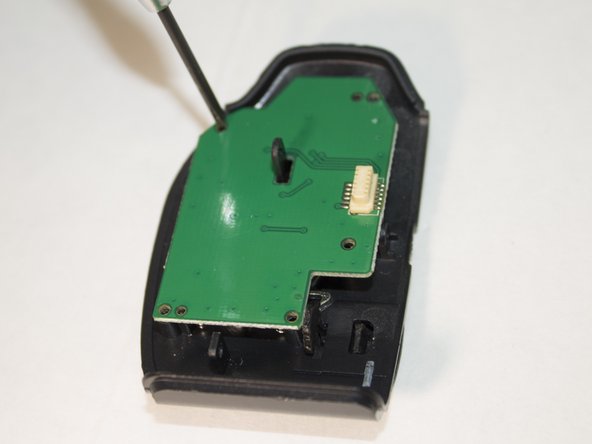
    • Place the back panel so the buttons are facing down and the circuit board is facing up.

    • Remove the three 4 mm Phillips #1 screws holding the circuit board in place.

  9. PowerLead Puto PLD003 Back Buttons Replacement: passo 9, immagine 1 di 1
    • Set aside the circuit board.

    • These nubs are what is currently holding the buttons in place.

    • Carefully apply pressure and remove the set of buttons from the nubs.

Conclusione

To reassemble your device, follow these instructions in reverse order.

Un'altra persona ha completato questa guida.

0 Commenti

Aggiungi Commento

Visualizza Statistiche:

Ultime 24 Ore: 0

Ultimi 7 Giorni: 1

Ultimi 30 Giorni: 1

Tutti i Tempi: 146