Questa versione può contenere modifiche errate. Passa all'ultima istantanea verificata.
Cosa ti serve
-
-
Gira la vite che blocca lo schermo così che questa sia parallela alla barra spaziatrice.
-
Tira verso di te le alette di rilascio della tastiera e solleva la tastiera finché non si libera.
-
Solleva la tastiera e rimuovila tirandola su e via da te. Posa la tastiera, a faccia in giù, sopra al track pad.
-
-
-
-
Rimuovi le due viti a croce Phillips #1 d’argento che fissano lo scudo termico alla struttura metallica interna.
-
Solleva lo scudo termico e tiralo verso di te.
-
-
Questo passaggio è privo di traduzione. Aiuta a tradurlo
-
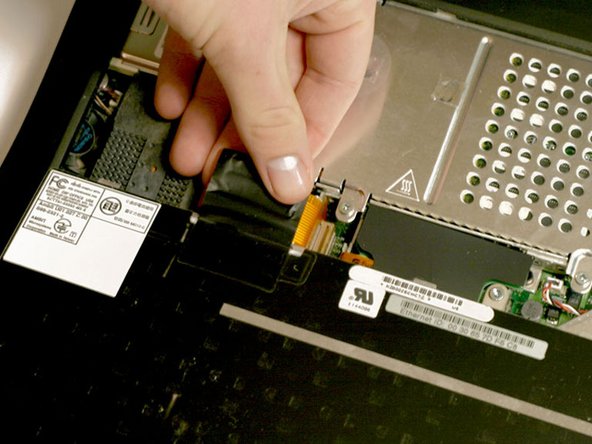
Firmly grasp the plastic tab attached to the Airport card and pull up and then to the right.
-
-
Questo passaggio è privo di traduzione. Aiuta a tradurlo
-
Disconnect the antenna cable from the Airport card.
-
-
Questo passaggio è privo di traduzione. Aiuta a tradurlo
-
Pull the battery cable directly up from the logic board.
-
Remove the battery from its holder by pulling up and to the left.
-
-
Questo passaggio è privo di traduzione. Aiuta a tradurlo
-
Your laptop should look approximately like this.
-


Annulla: non ho completato questa guida.
Altre 24 persone hanno completato questa guida.
Documenti Allegati

6 Commenti
Frankly speaking I do not have idea why do I need steps 2-7 to replace battery? Why I can't go directly to step 8 if it is possible? BTW - the battery seems to be composed from 4 standard batteries. Is anyone aware how to assembly new battery? It is not available as spare part (616-0108)
Agreed, I just successfully removed my PRAM battery skipping all those steps, just popped the keyboard out, removed the DVD drive from the right-hand out and popped that bad boy out, no problemo.
I read that you "removed the DVD drive from the right-hand out...." I'm baffled as to what you mean or how that is done. Can you explain that step?
Why do I need to remove the airport card? It's just like telling somebody to remove their shoes to take off their hat?