Introduzione
If you've been experiencing issues with the functionality of your L and R buttons while using your PowerA Enhanced Wireless Controller for Nintendo Switch, you're not alone. These buttons are crucial to the operation of the controller and can often become less responsive over time due to wear and tear. This guide will walk you through the necessary steps to access and replace or clean these buttons, restoring your controller to peak performance.
This repair will address common issues such as marginal response of the L and R buttons, L and R buttons sticking due to dust or residue build up and/or physical damage on the L and R buttons.
Before beginning the repair process, it's important to remove the batteries from your controller to ensure your safety during the repair and prevent any potential issues with the motherboard. Step 1 of this guide will show you how to access the battery compartment.
Cosa ti serve
-
-
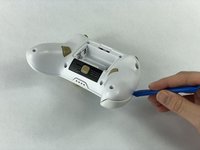
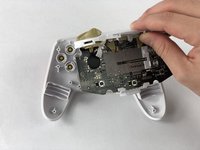
Remove the battery cover by pressing down on the lever located on the top of the cover.
-
Apply pressure until it clicks out of place, and pull it off.
-
-
-
-
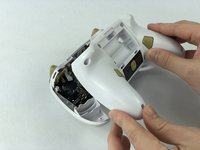
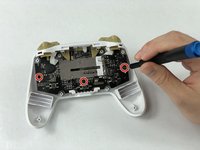
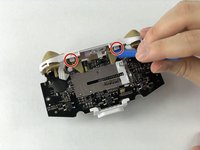
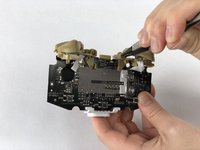
Lift the two white latches using the iFixit opening tool.
-
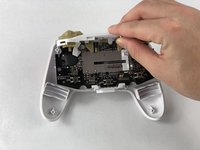
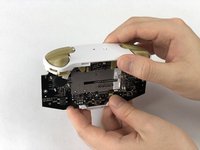
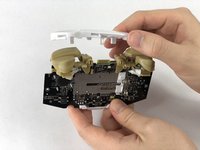
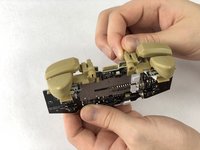
Lift the white covering off.
-


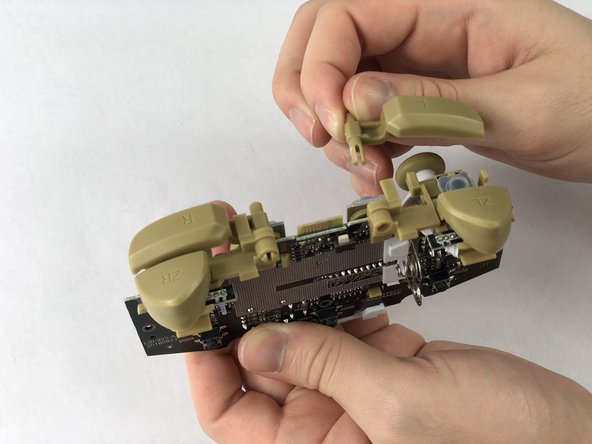


To reassemble your device, follow these instructions in reverse order.
Annulla: non ho completato questa guida.
Altre 2 persone hanno completato questa guida.
Team

USF Tampa, Team S1-G5, Leahy Fall 2019 Membro di USF Tampa, Team S1-G5, Leahy Fall 2019
USFT-LEAHY-F19S1G5
3 Membri
11 Guide realizzate
2Commenti sulla guida
I need to know how to fix the ZR and the ZL buttons, like a faster response time