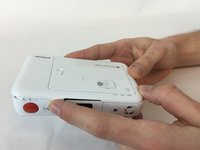
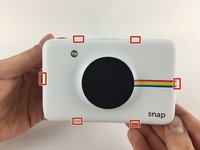
Salta al contenuto principale

Polaroid SNAP View Finder Replacement

Cosa ti serve

  1. Polaroid SNAP View Finder Replacement, Polaroid SNAP Front and Back Face Plate Removal: passo 1, immagine 1 di 1
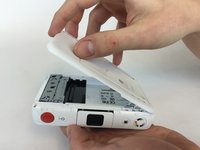
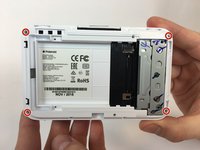
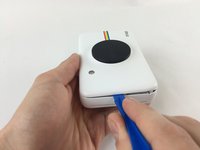
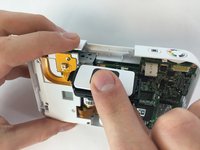
    • Open the paper door of the camera, then locate and remove the screws that are on the top and bottom edge of the inside of the camera.

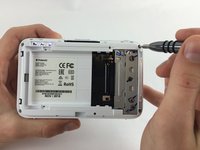
    • Screw head: Phillips, Screw length: 3mm

  2. Polaroid SNAP View Finder Replacement: passo 2, immagine 1 di 2 Polaroid SNAP View Finder Replacement: passo 2, immagine 2 di 2
    • Push the rear face plate from the short side nearest the screws you just removed towards the other short side of the camera. It should slide forward and unlock the clips holding it in place.

    • Then it should be easy to simply lift the rear face plate up and remove it.

  3. Polaroid SNAP View Finder Replacement: passo 3, immagine 1 di 2 Polaroid SNAP View Finder Replacement: passo 3, immagine 2 di 2
    • Locate and remove the four screws on the corners of the camera, they're quite small and may be difficult to remove.

    • Screw head: Philips, Screw length: 5mm

  4. Polaroid SNAP View Finder Replacement: passo 4, immagine 1 di 3 Polaroid SNAP View Finder Replacement: passo 4, immagine 2 di 3 Polaroid SNAP View Finder Replacement: passo 4, immagine 3 di 3
    • Once the screws are removed, flip the camera over

    • Use a plastic opening tool to disengage the six clips until the front face plate can be removed safely

  5. Polaroid SNAP View Finder Replacement: passo 5, immagine 1 di 1
    • The cameras innards should now be accessible to you

  6. Polaroid SNAP View Finder Replacement, View Finder: passo 6, immagine 1 di 2 Polaroid SNAP View Finder Replacement, View Finder: passo 6, immagine 2 di 2
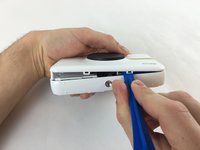
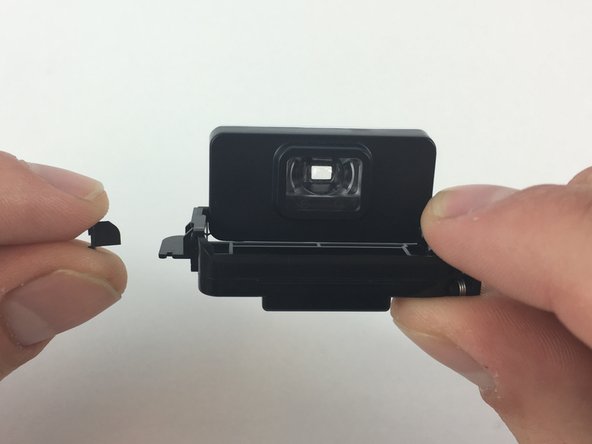
    • Gently grasp the view finder (while in the closed position) with your thumb and fore finger. Then carefully pull the viewfinder outwards.

  7. Polaroid SNAP View Finder Replacement: passo 7, immagine 1 di 2 Polaroid SNAP View Finder Replacement: passo 7, immagine 2 di 2
    • Once the view finder is out, a small black tab should come loose from the viewfinder. Insert this small black tab in to the hole on the side of the new view finder, with the round side up.

Conclusione

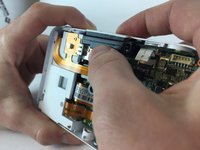
To reassemble your device, follow these instructions in reverse order.

Altre 2 persone hanno completato questa guida.

Team

USF Tampa, Team 7-3, Cheng Spring 2016 Membro di USF Tampa, Team 7-3, Cheng Spring 2016

USFT-CHENG-S16S7G3

4 Membri

18 Guide realizzate

Un commento

Where can I buy a replacement viewfinder for this camera?

Shelby Sisk - Replica

Aggiungi Commento

Visualizza Statistiche:

Ultime 24 Ore: 2

Ultimi 7 Giorni: 8

Ultimi 30 Giorni: 18

Tutti i Tempi: 3,461