Introduzione
This guide takes you through installing the directional pad (D-Pad) on the PlayStation Vita.
Cosa ti serve
-
-
Using a Phillips #00 screwdriver, remove the four 6.4mm screws on the back casing.
-
-
-
-
Pry up the left shoulder button casing with a spudger.
-
Remove the left shoulder button casing.
-
-
-
Release the left shoulder button flex cable socket by using a spudger to pry open the tab.
-
Using tweezers, slide the flex cable out of the socket. Do not pull on the black tab! Instead, pull the thin flex cable away from the connector (to the left in this image).
-
-
-
Using a spudger, lift and release the tab on the ZIF socket sitting on the SIM card reader.
-
Carefully pull the flex cable out of the ZIF socket, and rest it out of the way.
-
-
-
Using a Phillips #00 screwdriver, remove the six screws on the two metal brackets:
-
Two 5.0mm, blue screws on the L-bracket securing the upper left button board to the motherboard.
-
Four 5.0mm, blue screws on the square bracket securing the lower left button board to the motherboard.
-
-
-
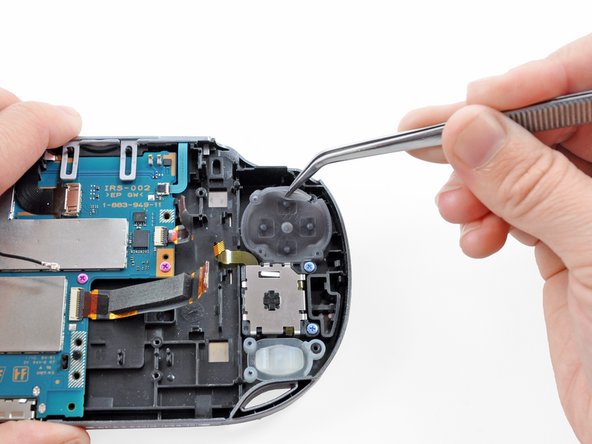
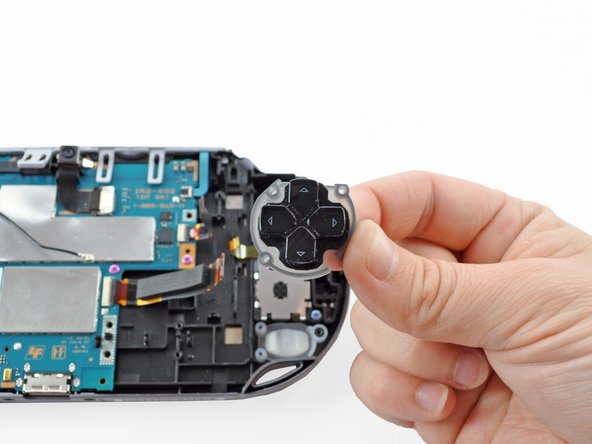
Using tweezers, peel up and remove the directional pad.
-
To reassemble your device, follow these instructions in reverse order.
To reassemble your device, follow these instructions in reverse order.
Annulla: non ho completato questa guida.
Altre 9 persone hanno completato questa guida.
Un commento
I read this guide from the first to the20th step I haven't tried it yet though


