Questa guida ha delle modifiche più recenti. Passa all'ultima versione non verificata.
Introduzione
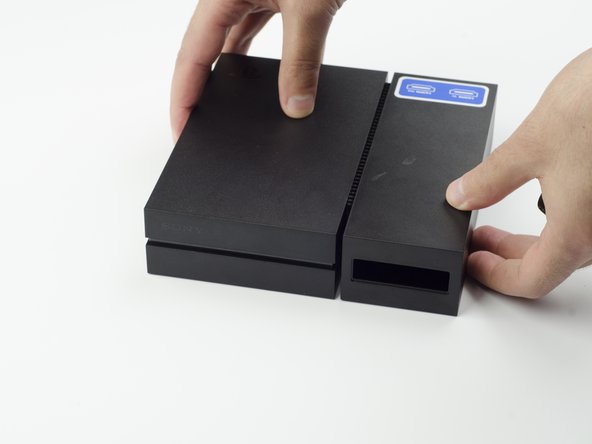
A damaged or broken cooling fan can make your system overheat so it is important to replace it if that happens in order to prevent any further damage to the system.
Cosa ti serve
-
-
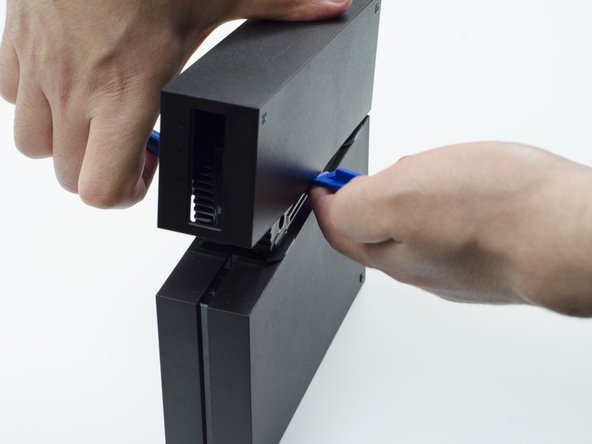
On one side of the console (the side adjacent to the fan vent), there will be two 6 mm screws. Unscrew them with a PH #000 screwdriver.
-
-


To reassemble your device, follow these instructions in reverse order.
To reassemble your device, follow these instructions in reverse order.
Annulla: non ho completato questa guida.
Altre 8 persone hanno completato questa guida.
Team

USF Tampa, Team S3-G1, Sullivan Spring 2017 Membro di USF Tampa, Team S3-G1, Sullivan Spring 2017
USFT-SULLIVAN-S17S3G1
3 Membri
13 Guide realizzate
4 Commenti
Where do I get a replacement fan tho?
5V is what i have read
Reference for fan when I have replaced mine : DELTA ELECTRONICS MODEL : ASB0305MA-01 DC 5V 0.19A