Questa versione può contenere modifiche errate. Passa all'ultima istantanea verificata.
Cosa ti serve
-
Questo passaggio è privo di traduzione. Aiuta a tradurlo
-
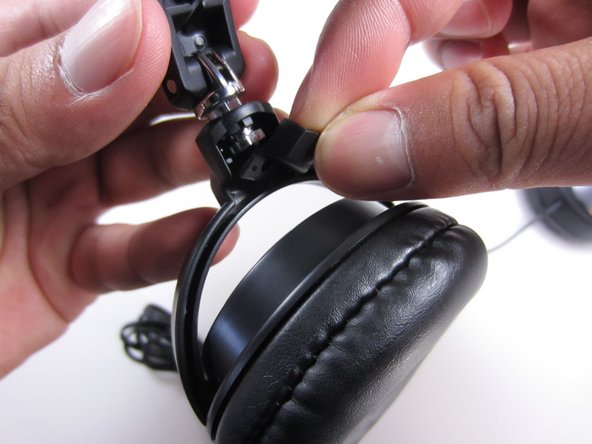
While holding the base of the headband with one hand, hold the ear cup with the other hand.
-
Pull them apart to reveal the screw.
-
-
Questo passaggio è privo di traduzione. Aiuta a tradurlo
-
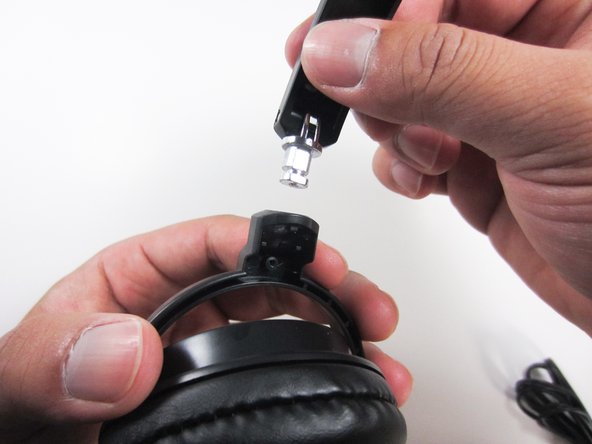
While apart, remove the screw from the headphone.
-
-
Questo passaggio è privo di traduzione. Aiuta a tradurlo
-
Loosen the plastic cover piece that protects the chrome folding hinge.
-
Remove the plastic cover piece.
-
-
-
Questo passaggio è privo di traduzione. Aiuta a tradurlo
-
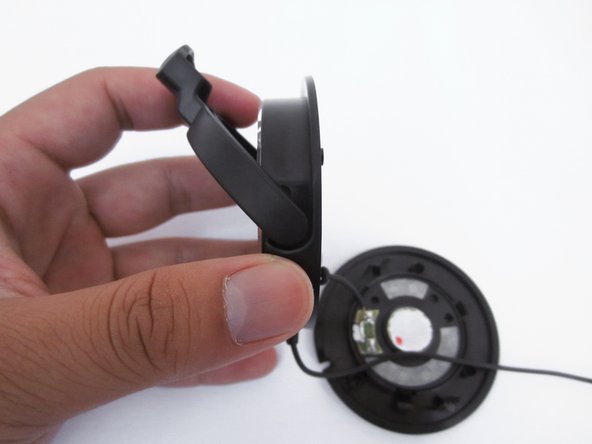
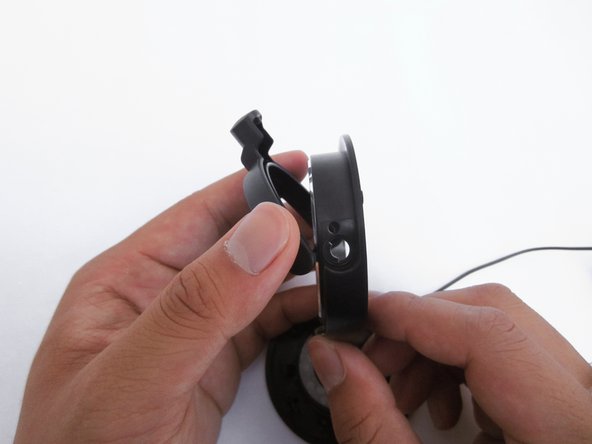
Holding the ear cup with one hand, pull up on the base of the headband with the other hand to release the folding hinge.
-
Repeat for the opposite side if necessary.
-
-
Questo passaggio è privo di traduzione. Aiuta a tradurlo
-
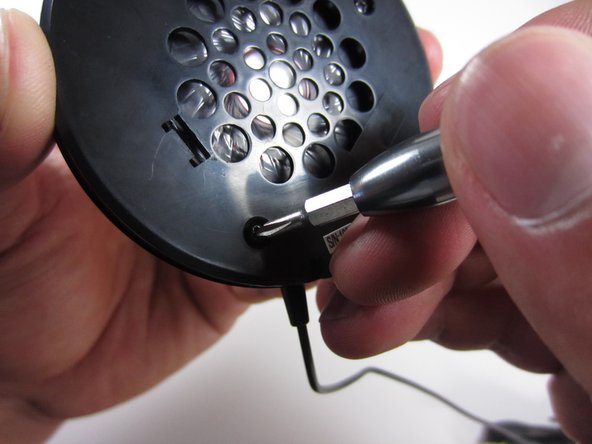
Remove the three screws located on the driver cover of the ear cup with the PH0 Phillips screw driver.
-
-
Questo passaggio è privo di traduzione. Aiuta a tradurlo
-
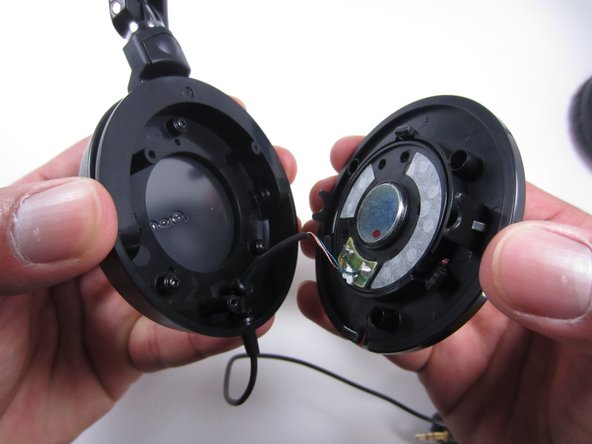
Pull the driver cover away from the headphone.
-
-
Questo passaggio è privo di traduzione. Aiuta a tradurlo
-
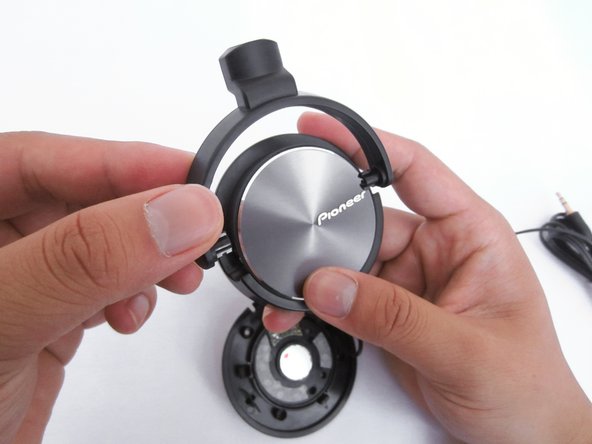
Grab the end of the swivel that is closest to "Pioneer" and pull outward.
-
-
Questo passaggio è privo di traduzione. Aiuta a tradurlo
-
Switch sides and grab the other end of the swivel and pull outward as well.
-


Team

Cal Poly, Team 10-40, Amido Spring 2013 Membro di Cal Poly, Team 10-40, Amido Spring 2013
CPSU-AMIDO-S13S10G40
4 Membri
37 Guide realizzate