Questa versione può contenere modifiche errate. Passa all'ultima istantanea verificata.
Cosa ti serve
-
Questo passaggio è privo di traduzione. Aiuta a tradurlo
-
Apply pressure to the tabs on each side using the plastic opening tool.
-
You will need to pull the face away from the frame while unhooking the tabs.
-
-
Questo passaggio è privo di traduzione. Aiuta a tradurlo
-
After removing the stereo face from the frame, it should look similar to this.
-
-
-
Questo passaggio è privo di traduzione. Aiuta a tradurlo
-
Remove the ribbon wire from where it is being held in place. This can be done by applying force upwards.
-
-
Questo passaggio è privo di traduzione. Aiuta a tradurlo
-
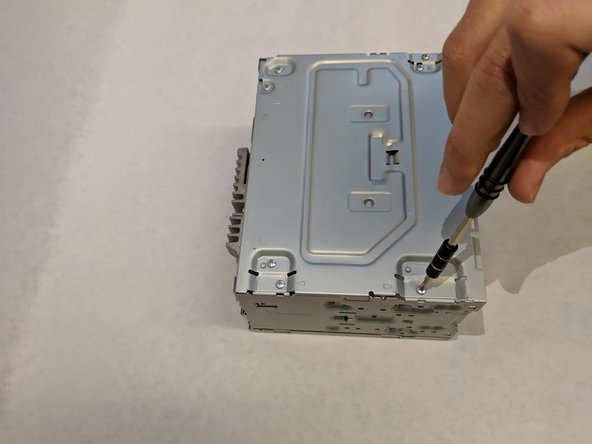
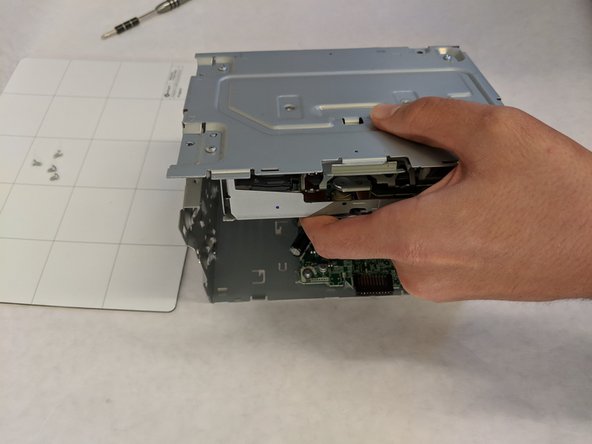
Unscrew the four 7.3 mm outer screws on the top to remove the top face from the rest of the frame.
-
-
Questo passaggio è privo di traduzione. Aiuta a tradurlo
-
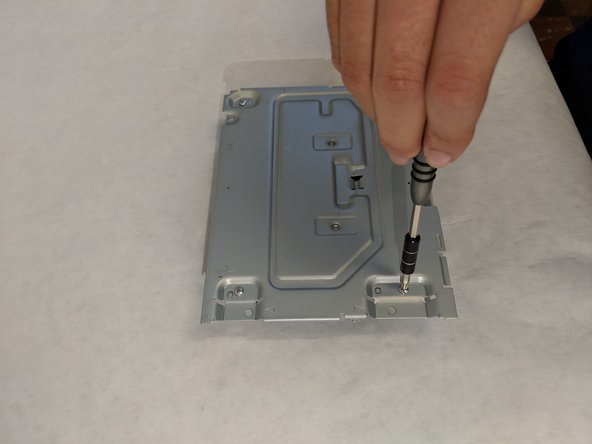
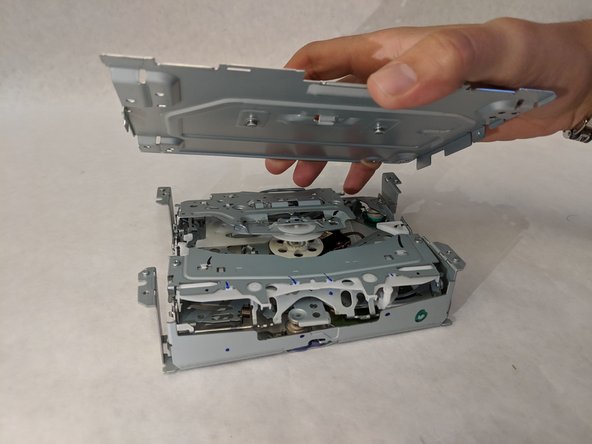
Unscrew the four inner screws that are 7.3 mm long using a Phillips #1 head screw driver to remove the disk drive from the top face plate.
-
Replace the old disk drive with a new one.
-


Team

Washington State, Team S2-G4, Hope Fall 2018 Membro di Washington State, Team S2-G4, Hope Fall 2018
WSU-HOPE-F18S2G4
3 Membri
6 Guide realizzate