Salta al contenuto principale

Philips Satinelle Tension Clip Replacement

Cosa ti serve

  1. Philips Satinelle Tension Clip Replacement, Tension Clip Replacement: passo 1, immagine 1 di 1
    • Remove Tweezer Head by pushing to the left with thumb.

  2. Philips Satinelle Tension Clip Replacement: passo 2, immagine 1 di 3 Philips Satinelle Tension Clip Replacement: passo 2, immagine 2 di 3 Philips Satinelle Tension Clip Replacement: passo 2, immagine 3 di 3
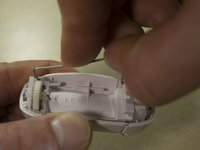
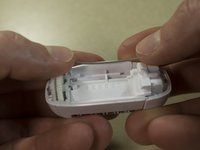
    • Locate the Tension Clip on the removable tweezer head.

    • Begin prying from the right side of the Tension Clip.

    • Finish removal by prying the left side of the Tension Clip.

  3. Philips Satinelle Tension Clip Replacement: passo 3, immagine 1 di 3 Philips Satinelle Tension Clip Replacement: passo 3, immagine 2 di 3 Philips Satinelle Tension Clip Replacement: passo 3, immagine 3 di 3
    • Replace the Tension Clip

    • Insert left side of clip roughly half way in.

    • Insert right side of clip and push both sides down with thumbs.

  4. Philips Satinelle Tension Clip Replacement: passo 4, immagine 1 di 2 Philips Satinelle Tension Clip Replacement: passo 4, immagine 2 di 2
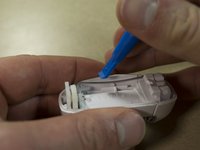
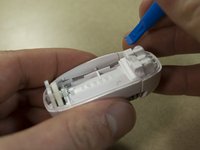
    • Use Opening Tool to fully depress Tension Clip in place.

Conclusione

Contact the manufacturer for a replacement Tension Clip.

To reassemble your device, follow these instructions in reverse order.

Team

IUPUI, Team S5-G5, Wilson Fall 2017 Membro di IUPUI, Team S5-G5, Wilson Fall 2017

IUPUI-WILSON-F17S5G5

3 Membri

4 Guide realizzate

0 Commenti

Aggiungi Commento

Visualizza Statistiche:

Ultime 24 Ore: 2

Ultimi 7 Giorni: 3

Ultimi 30 Giorni: 9

Tutti i Tempi: 875