Salta al contenuto principale

Philips DVP5992-F7 Audio Video Port Replacement

Cosa ti serve

  1. Philips DVP5992-F7 Audio Video Port Replacement, Audio/Video Port: passo 1, immagine 1 di 3 Philips DVP5992-F7 Audio Video Port Replacement, Audio/Video Port: passo 1, immagine 2 di 3 Philips DVP5992-F7 Audio Video Port Replacement, Audio/Video Port: passo 1, immagine 3 di 3
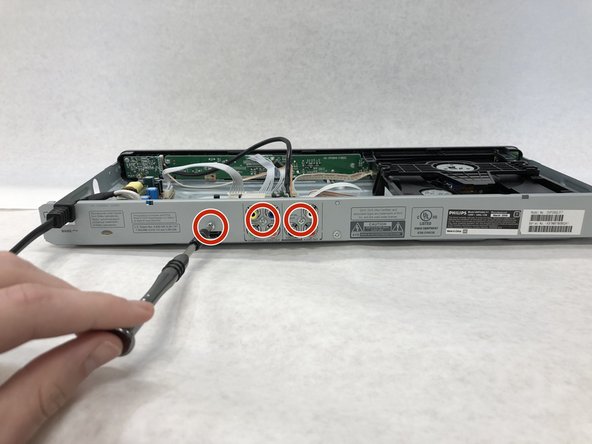
    • Remove the three 6.4 mm Phillips #1 screws on the back of the device with a Phillips head screwdriver.

    • Remove the 6.4 mm Phillips #1 screws on each side of the device.

  2. Philips DVP5992-F7 Audio Video Port Replacement: passo 2, immagine 1 di 2 Philips DVP5992-F7 Audio Video Port Replacement: passo 2, immagine 2 di 2
    • Remove the top plate of the DVD by firmly grasping the player on both sides.

    • Shift the top plate towards the backside of the player.

    • Lift the back half of the top plate up to remove it from the player.

  3. Philips DVP5992-F7 Audio Video Port Replacement: passo 3, immagine 1 di 3 Philips DVP5992-F7 Audio Video Port Replacement: passo 3, immagine 2 di 3 Philips DVP5992-F7 Audio Video Port Replacement: passo 3, immagine 3 di 3
    • Unplug the one ribbon wire and the five bundled cable connectors that are plugged into the motherboard.

  4. Philips DVP5992-F7 Audio Video Port Replacement: passo 4, immagine 1 di 1
    • Remove the three 4.76 mm #1 Phillips head screws located on the back of the DVD player.

  5. Philips DVP5992-F7 Audio Video Port Replacement: passo 5, immagine 1 di 1
    • Remove the two 7.94 mm #1 Phillips head screws from the motherboard.

  6. Philips DVP5992-F7 Audio Video Port Replacement: passo 6, immagine 1 di 1
    • Remove the motherboard from the DVD player.

Conclusione

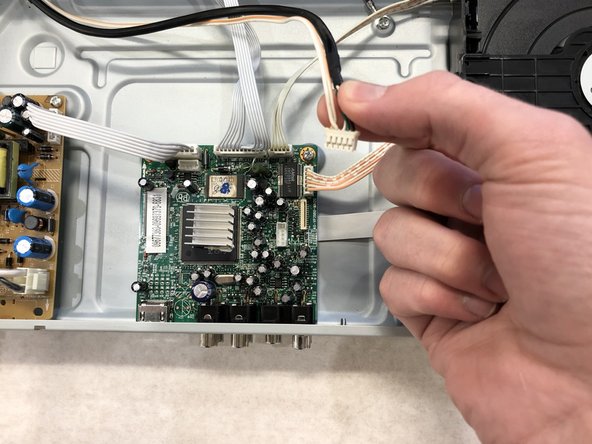
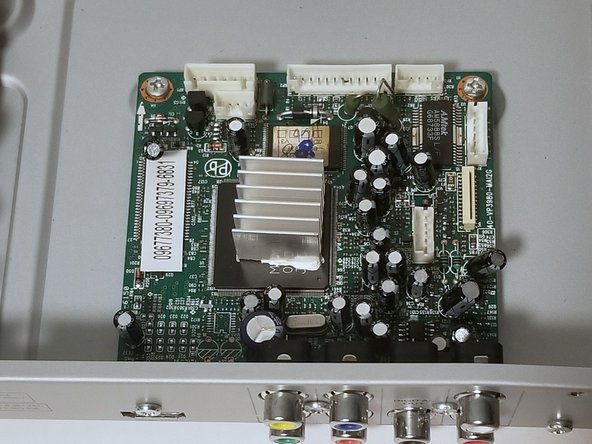
To reassemble your device, follow these instructions in reverse order.

Altre 3 persone hanno completato questa guida.

0 Commenti

Aggiungi Commento

Visualizza Statistiche:

Ultime 24 Ore: 0

Ultimi 7 Giorni: 0

Ultimi 30 Giorni: 14

Tutti i Tempi: 319