Questa versione può contenere modifiche errate. Passa all'ultima istantanea verificata.
Cosa ti serve
-
Questo passaggio è privo di traduzione. Aiuta a tradurlo
-
Pry off the four white feet with the pointed end of the spudger
-
-
Questo passaggio è privo di traduzione. Aiuta a tradurlo
-
Gently unscrew the four 15.5 mm Phillips #2 screws that hold the bottom panel to the dock.
-
-
Questo passaggio è privo di traduzione. Aiuta a tradurlo
-
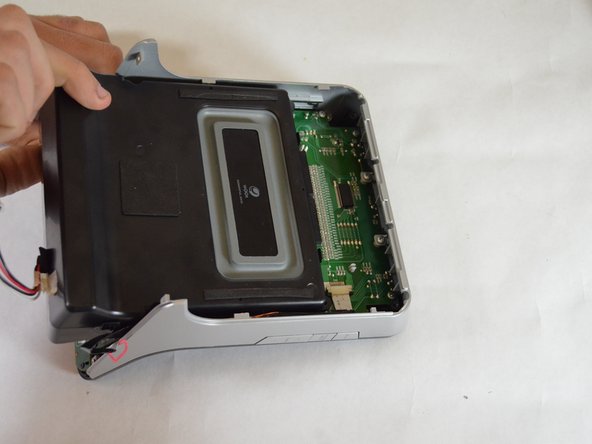
Use the flat end of the spudger to pry the lid off from the two connectors holding it to the body of the dock.
-
-
-
Questo passaggio è privo di traduzione. Aiuta a tradurlo
-
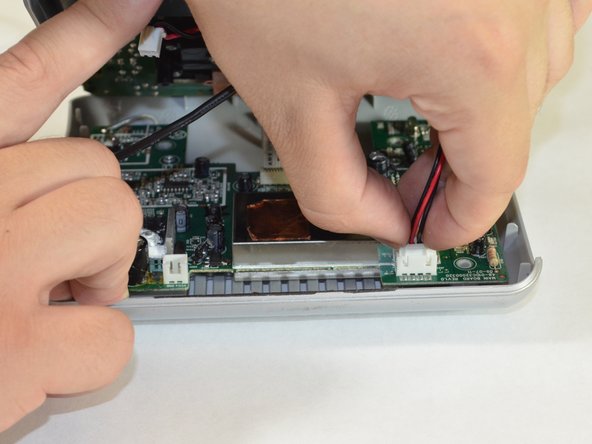
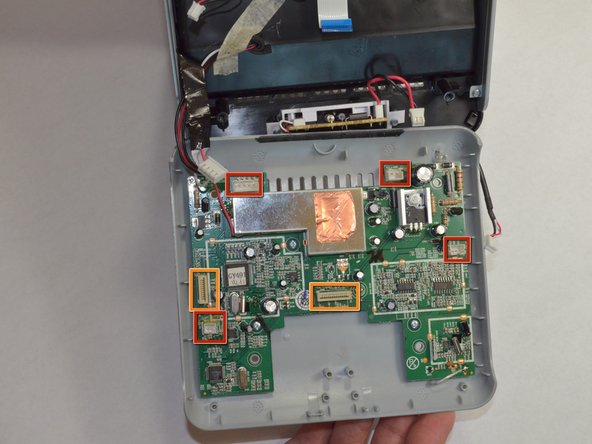
Carefully pull up and out the four electrical connectors and two ribbon connectors that connect the bottom panel to the dock.
-
Electrical Connectors
-
Ribbon Connectors
-
-
Questo passaggio è privo di traduzione. Aiuta a tradurlo
-
Unscrew the two 6 mm Phillips #00 screws attaching the back panel to device.
-
-
Questo passaggio è privo di traduzione. Aiuta a tradurlo
-
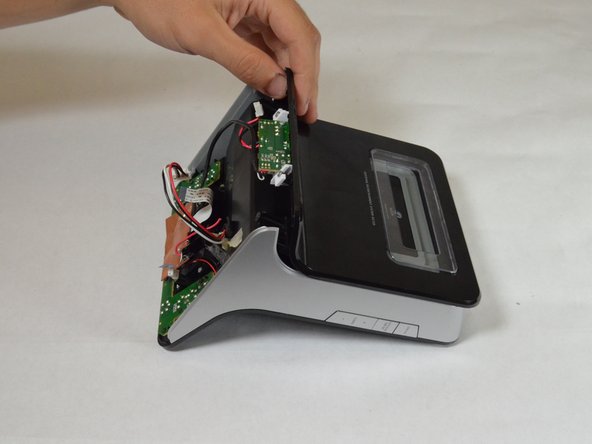
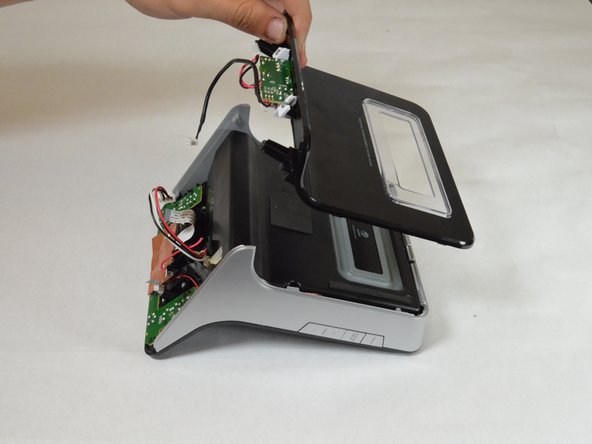
Slide the back panel towards top of the device and lift away from the device to detach back panel.
-
-
Questo passaggio è privo di traduzione. Aiuta a tradurlo
-
Unscrew the four 16 mm Phillips #2 screws attaching the speaker unit to device.
-
-
Questo passaggio è privo di traduzione. Aiuta a tradurlo
-
Slide the speaker towards the bottom of the device to remove.
-


Team

Cal Poly, Team 3-48, Amido Spring 2013 Membro di Cal Poly, Team 3-48, Amido Spring 2013
CPSU-AMIDO-S13S3G48
4 Membri
6 Guide realizzate