Salta al contenuto principale

Questa guida ha delle modifiche più recenti. Passa all'ultima versione non verificata.

Philips DC320 37 Speaker Replacement

Cosa ti serve

  1. Philips DC320 37 Speaker Replacement, Docking entertainment system: passo 1, immagine 1 di 1
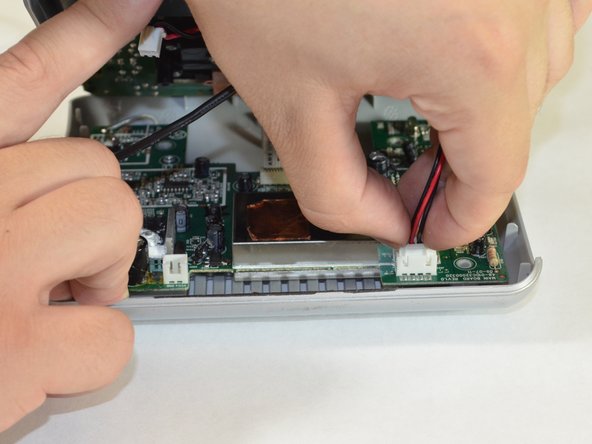
    • Pry off the four white feet with the pointed end of the spudger

  2. Philips DC320 37 Speaker Replacement: passo 2, immagine 1 di 1
    • Gently unscrew the four 15.5 mm Phillips #2 screws that hold the bottom panel to the dock.

  3. Philips DC320 37 Speaker Replacement: passo 3, immagine 1 di 1
    • Use the flat end of the spudger to pry the lid off from the two connectors holding it to the body of the dock.

    • The connectors on the panel are fragile and may break.

  4. Philips DC320 37 Speaker Replacement: passo 4, immagine 1 di 3 Philips DC320 37 Speaker Replacement: passo 4, immagine 2 di 3 Philips DC320 37 Speaker Replacement: passo 4, immagine 3 di 3
    • Carefully pull up and out the four electrical connectors and two ribbon connectors that connect the bottom panel to the dock.

    • Electrical Connectors

    • Ribbon Connectors

    • The cables do not have a lot of slack in them. Be careful not to break the connectors.

    • One wire is soldered onto the bottom panel. Be careful not to break this bond.

  5. Philips DC320 37 Speaker Replacement, Speaker: passo 5, immagine 1 di 1
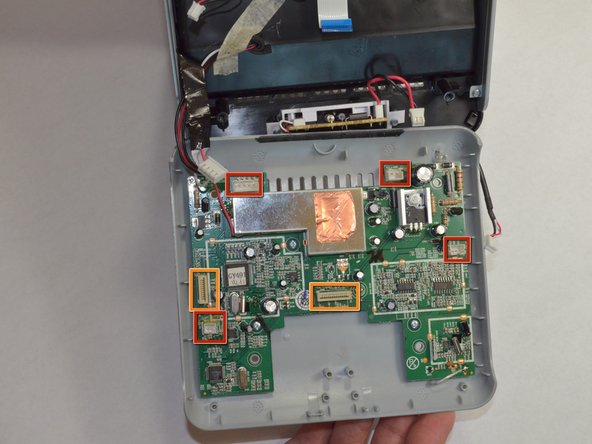
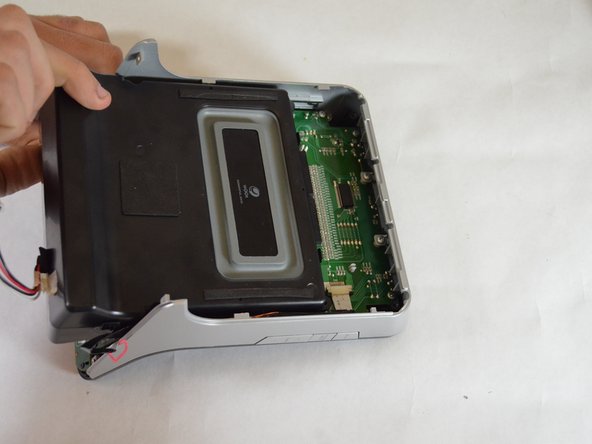
    • Unscrew the two 6 mm Phillips #00 screws attaching the back panel to device.

  6. Philips DC320 37 Speaker Replacement: passo 6, immagine 1 di 3 Philips DC320 37 Speaker Replacement: passo 6, immagine 2 di 3 Philips DC320 37 Speaker Replacement: passo 6, immagine 3 di 3
    • Slide the back panel towards top of the device and lift away from the device to detach back panel.

  7. Philips DC320 37 Speaker Replacement: passo 7, immagine 1 di 1
    • Unscrew the four 16 mm Phillips #2 screws attaching the speaker unit to device.

  8. Philips DC320 37 Speaker Replacement: passo 8, immagine 1 di 2 Philips DC320 37 Speaker Replacement: passo 8, immagine 2 di 2
    • Slide the speaker towards the bottom of the device to remove.

Conclusione

To reassemble your device, follow these instructions in reverse order.

Graham Rolph

Membro da: 04/18/13

1 Reputazione

2 Guide realizzate

Team

Cal Poly, Team 3-48, Amido Spring 2013 Membro di Cal Poly, Team 3-48, Amido Spring 2013

CPSU-AMIDO-S13S3G48

4 Membri

6 Guide realizzate

0 Commenti

Aggiungi Commento

Visualizza Statistiche:

Ultime 24 Ore: 0

Ultimi 7 Giorni: 0

Ultimi 30 Giorni: 2

Tutti i Tempi: 900