Salta al contenuto principale
Pantech Matrix Camera Button Replacement

Pantech Matrix Camera Button Replacement

Zeel Patel

Zeel Patel e 3 altri collaboratori

Ultimo aggiornamento il 23 apr 2018

10 - 15 minuti
Moderato

Introduzione

Vai al passo 1

The camera button of Pantech Matrix C740 functions as the mechanism by which the camera is activated; however, faulty functioning of the camera button may cause the device to not allow picture-taking. Therefore, this guide serves as an aid in the replacement of the camera button for the Pantech Matrix C740.

Cosa ti serve

Strumenti

Mostra di più…

  1. Pantech Matrix Camera Button Replacement, Phone Orientation: passo 1, immagine 1 di 1
    • Place phone with screen side facing toward you.

  2. Pantech Matrix Camera Button Replacement, Phone Orientation: passo 2, immagine 1 di 1
    • Flip phone over so screen side is now facing down.

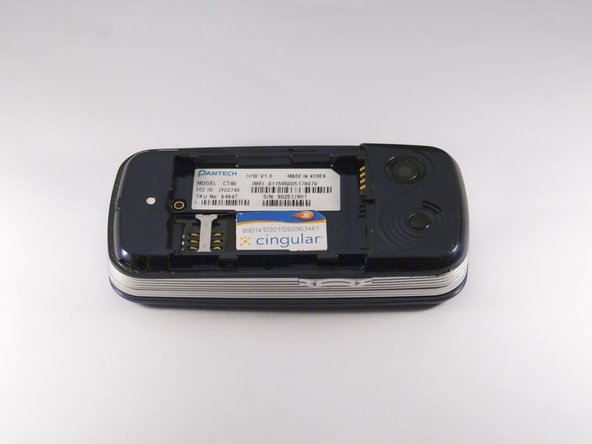
  3. Pantech Matrix Camera Button Replacement, Remove Back Cover: passo 3, immagine 1 di 2 Pantech Matrix Camera Button Replacement, Remove Back Cover: passo 3, immagine 2 di 2
    • Gently slide the backside phone cover off exposing the battery underneath.

  4. Pantech Matrix Camera Button Replacement, Lift Battery: passo 4, immagine 1 di 1
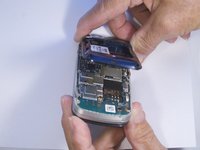
    • Carefully lift the battery up from where the spudger is pointed.

  5. Pantech Matrix Camera Button Replacement, Remove Battery: passo 5, immagine 1 di 1
    • Remove the battery from its dock.

  6. Pantech Matrix Camera Button Replacement, Slide SIM Card Out: passo 6, immagine 1 di 3 Pantech Matrix Camera Button Replacement, Slide SIM Card Out: passo 6, immagine 2 di 3 Pantech Matrix Camera Button Replacement, Slide SIM Card Out: passo 6, immagine 3 di 3
    • Slide the SIM Card out of its dock.

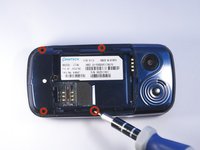
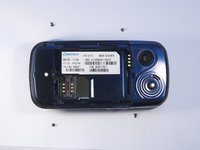
  7. Pantech Matrix Camera Button Replacement, Remove Phone Screws: passo 7, immagine 1 di 2 Pantech Matrix Camera Button Replacement, Remove Phone Screws: passo 7, immagine 2 di 2
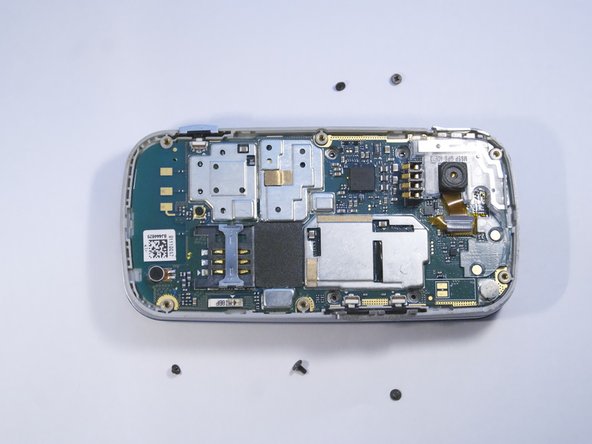
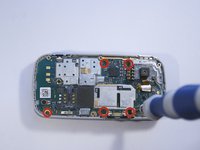
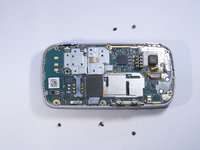
    • Use a Phillips screwdriver to remove the four 2mm Phillips #000 screws from each corner of the device.

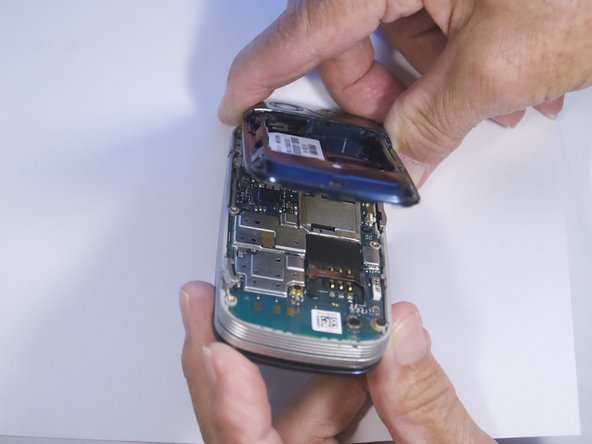
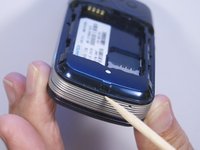
  8. Pantech Matrix Camera Button Replacement, Identify and Remove Phone Casing: passo 8, immagine 1 di 2 Pantech Matrix Camera Button Replacement, Identify and Remove Phone Casing: passo 8, immagine 2 di 2
    • Rotate the phone so the base is facing you.

    • Use spudger to separate phone casing and inside as shown.

    • Remove the casing carefully and set aside.

  9. Pantech Matrix Camera Button Replacement, Remove Camera Screws: passo 9, immagine 1 di 2 Pantech Matrix Camera Button Replacement, Remove Camera Screws: passo 9, immagine 2 di 2
    • Place phone with exposed motherboard facing you.

    • Use a Phillips screwdriver to remove the five 2mm Phillips #000 screws holding the camera in place.

  10. Pantech Matrix Camera Button Replacement, Identify and Remove Camera Button: passo 10, immagine 1 di 2 Pantech Matrix Camera Button Replacement, Identify and Remove Camera Button: passo 10, immagine 2 di 2
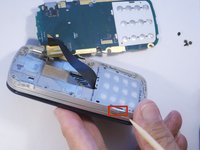
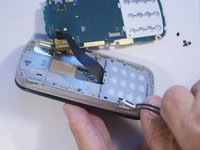
    • Carefully remove the motherboard to expose the camera button.

    • Grasp the camera button with a polypus and pull gently to remove the camera button.

Conclusione

To reassemble your device, follow these instructions in reverse order.

Un'altra persona ha completato questa guida.

Zeel Patel

Membro da: 10/13/14

1.096 Reputazione

9 Guide realizzate

0Commenti sulla guida

Aggiungi Commento

Visualizza Statistiche:

Ultime 24 Ore: 0

Ultimi 7 Giorni: 0

Ultimi 30 Giorni: 4

Tutti i Tempi: 168