Introduzione
Unable to connect to the wireless internet or having difficulty streaming the internet? Or troubleshooting Wi-Fi connectivity was unsuccessful? You might need to replace the Wi-Fi card in your Panasonic Toughbook CF-53. Replacing the Wi-Fi card is a relatively simple process and poses little hazardous risk to the user. Before starting, ensure you have purchased the correct and appropriate replacement card. Incorrect card types will result in faulty internet connections or failure to connect at all.
Cosa ti serve
-
-
Turn the laptop to its back side and align it so that the handle is facing away from you.
-
Remove the single 4 mm Phillips #00 screw from the Wi-Fi card/optical drive cover and remove the plastic cover.
-
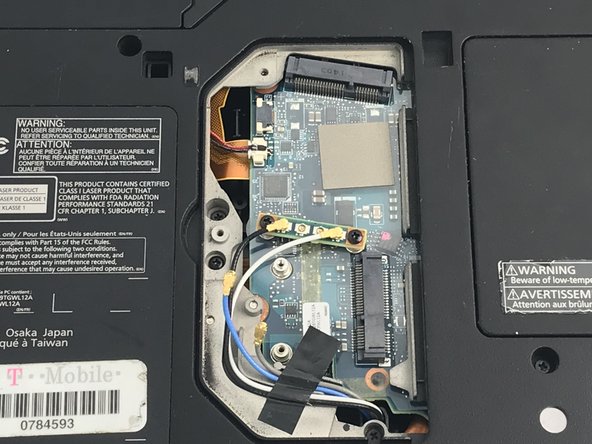
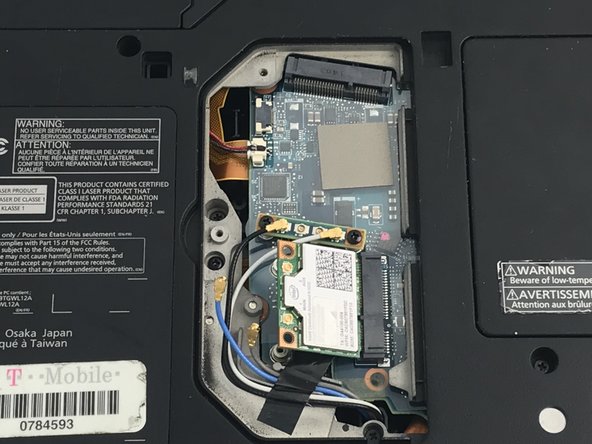
The Wi-Fi card is located closest to you , below the little strip-sized circuit board.
-
-


To reassemble your device, follow these instructions in reverse order.
To reassemble your device, follow these instructions in reverse order.

Team

Embry-Riddle Aeronautical University, Team S6-G4, Salas Fall 2019 Membro di Embry-Riddle Aeronautical University, Team S6-G4, Salas Fall 2019
ERAU-SALAS-F19S6G4
3 Membri
7 Guide realizzate