Questa guida ha delle modifiche più recenti. Passa all'ultima versione non verificata.
Introduzione
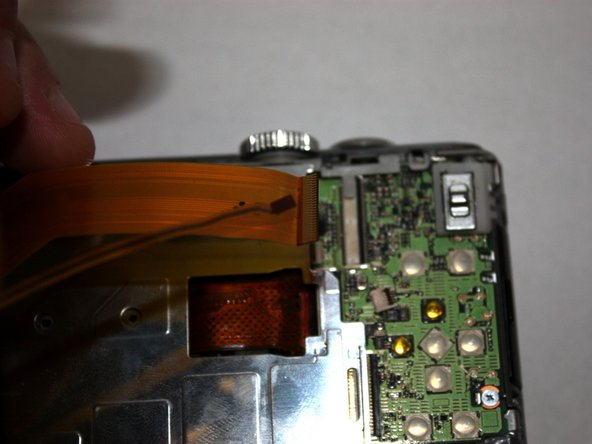
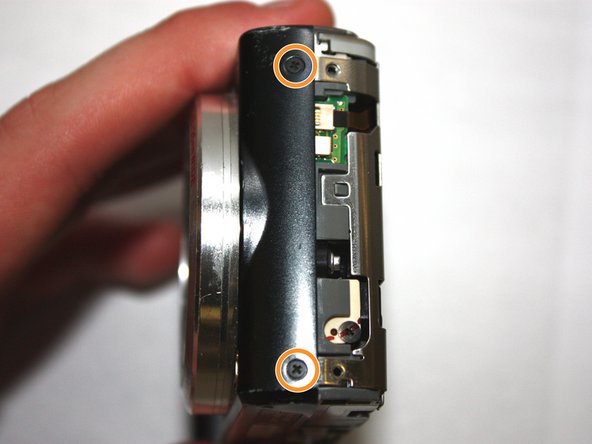
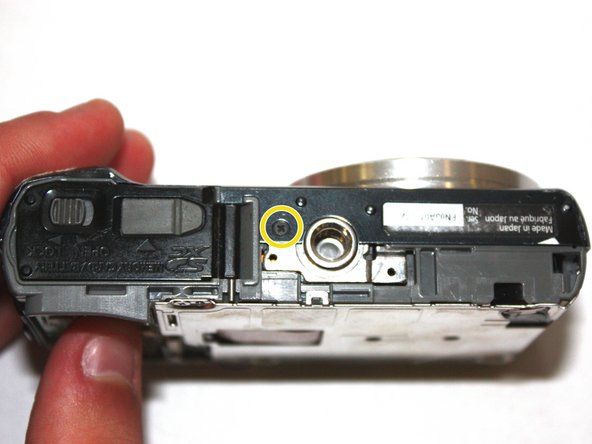
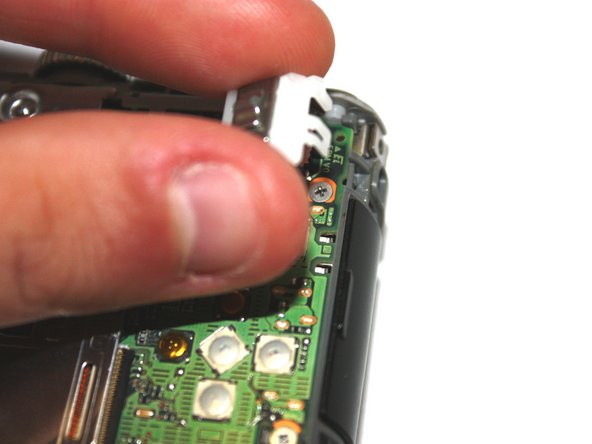
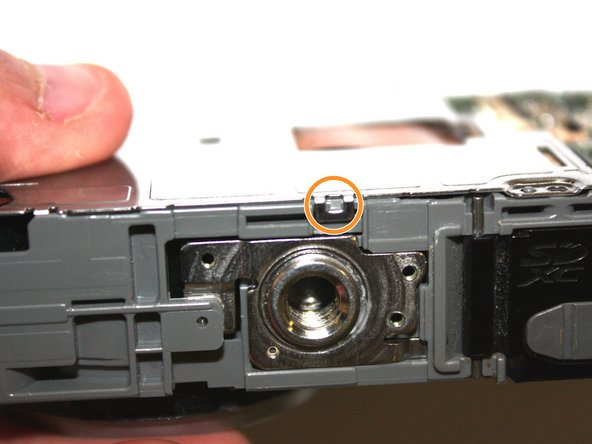
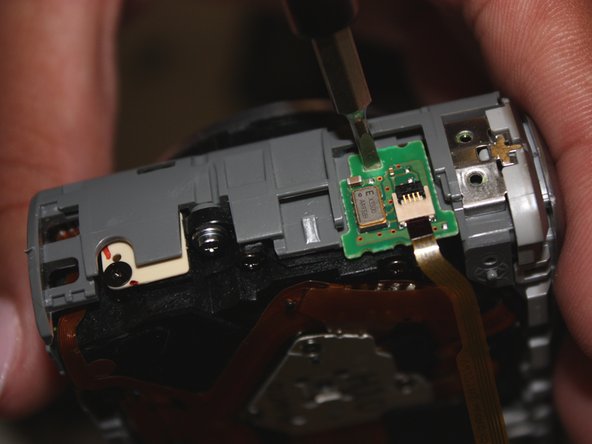
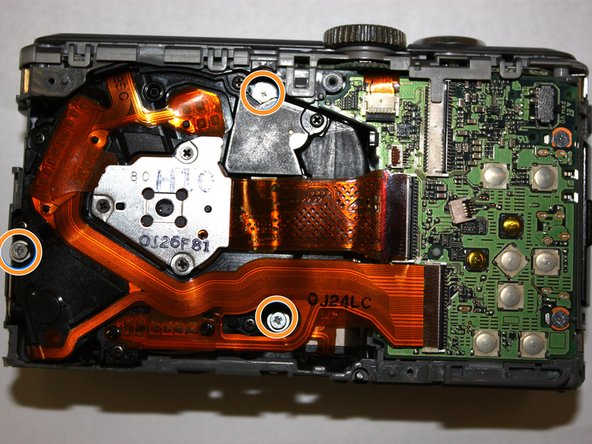
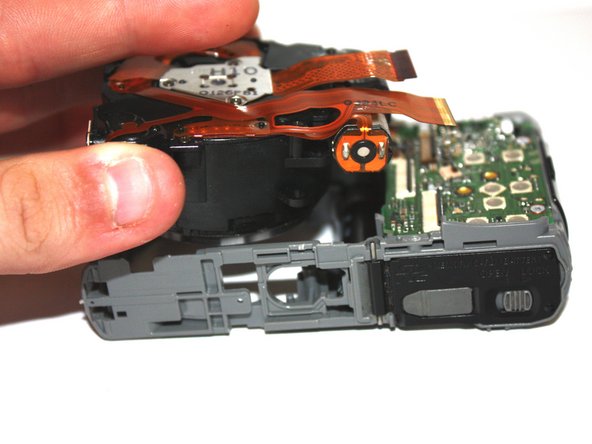
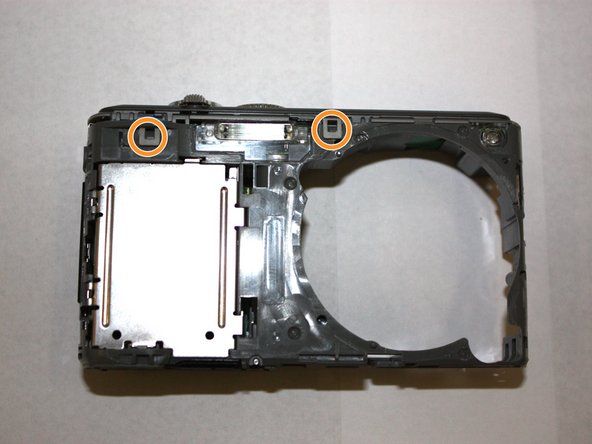
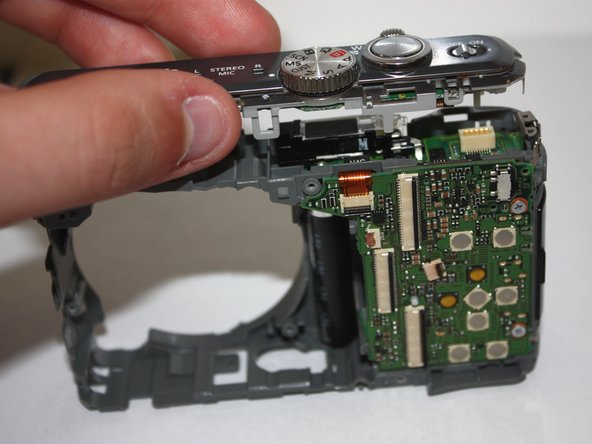
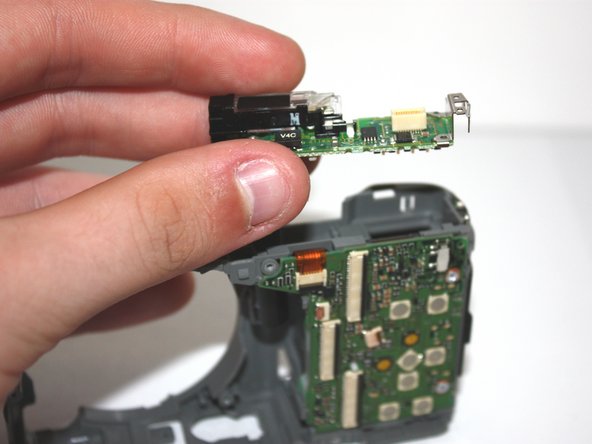
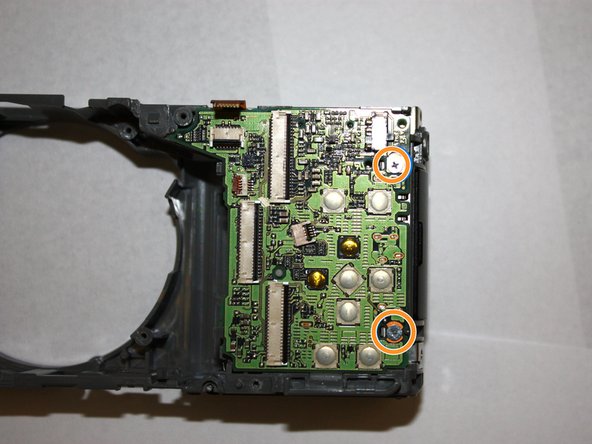
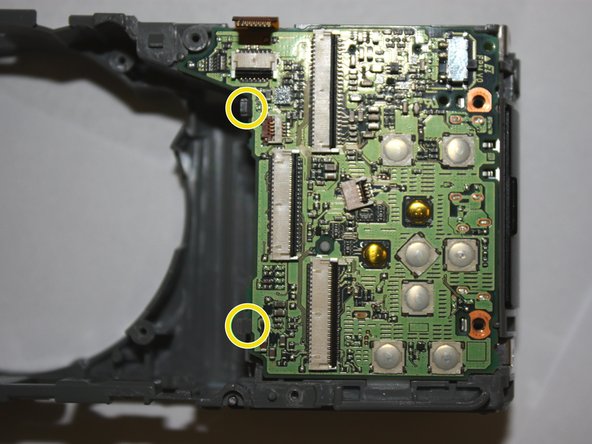
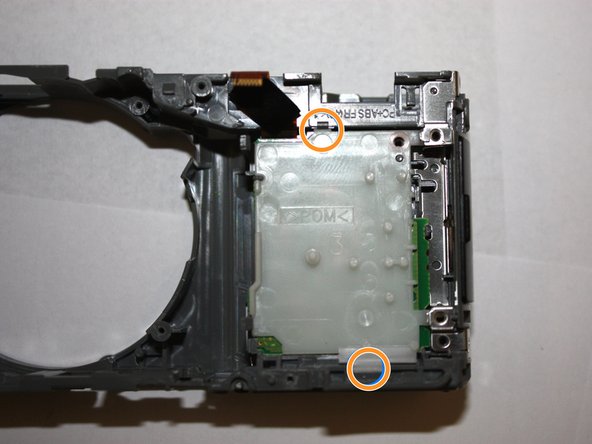
This step-by-step guide will help you replace any damaged or malfunctioning SD card reader from your camera correctly.
Cosa ti serve


Quasi finito!
To reassemble your device, follow these instructions in reverse order.
Conclusione
To reassemble your device, follow these instructions in reverse order.

Team

Baylor, Team S2-G5, Johnson Spring 2018 Membro di Baylor, Team S2-G5, Johnson Spring 2018
BU-JOHNSON-S18S2G5
3 Membri
10 Guide realizzate