Introduzione
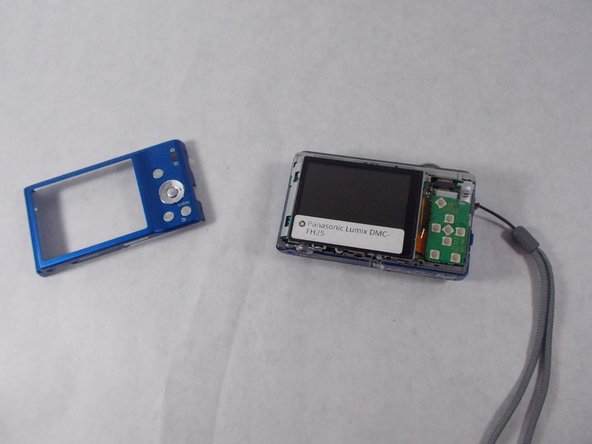
If your screen becomes damaged or broken it may need replacement. Removing the screen is an easy task involving the removal of a few screws and two cables. It is also necessary to remove the screen in order to access several parts beneath, such as the flash battery and lens assembly. Be careful not to tear the ribbon cables when the first screw on the screen is removed.
Cosa ti serve
-
-
Remove 5 screws attached to the back case using a 00 Phillips head screwdriver.
-
-
-
-
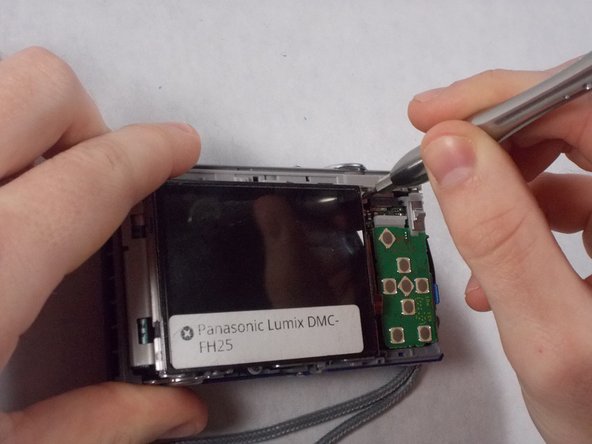
Using a 00 Phillips head screwdriver, remove a screw from the top right corner of the screen.
-
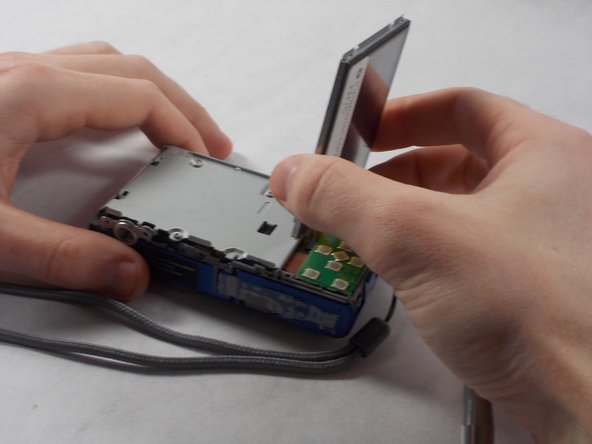
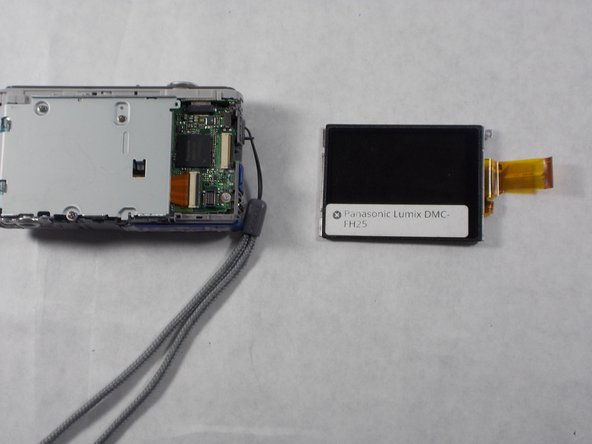
Lift the screen, being careful not to tear the ribbon cables on the right side.
-
-
-
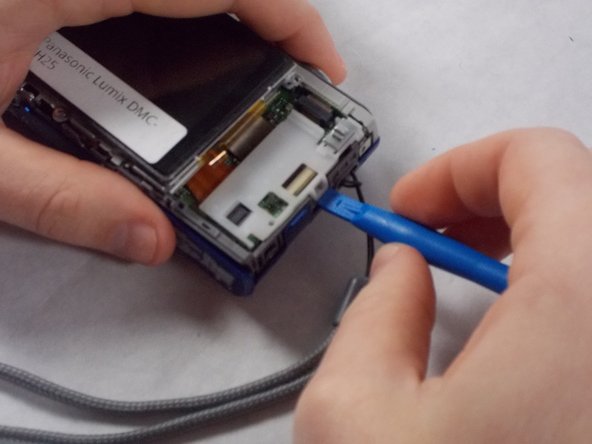
Access the ribbon cables by removing the green button receiver panel using a plastic opening tool. There is a white panel beneath. Carefully remove this using a plastic opening tool. The white panel may require some elbow grease to get it off, and the panel may make a snapping sound as it comes off.
-


To reassemble your device, follow these instructions in reverse order.
To reassemble your device, follow these instructions in reverse order.
Annulla: non ho completato questa guida.
Altre 2 persone hanno completato questa guida.
Team

UMass Dartmouth, Team S6-G6, Isaacson Spring 2017 Membro di UMass Dartmouth, Team S6-G6, Isaacson Spring 2017
UMASSD-ISAACSON-S17S6G6
3 Membri
10 Guide realizzate