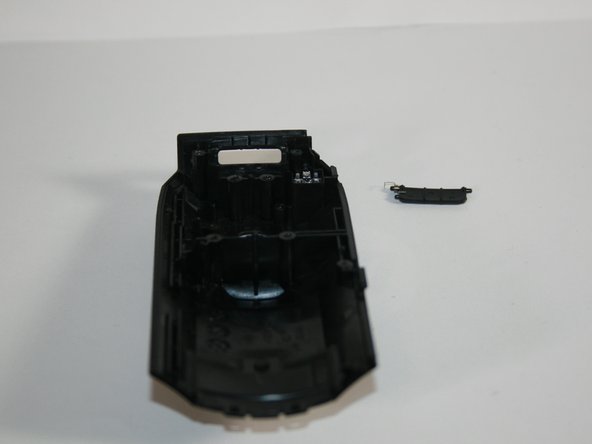
Salta al contenuto principale

Panasonic HC‑VX870 Shoe Adapter Replacement

Cosa ti serve

  1. Panasonic HC‑VX870 Shoe Adapter Replacement, Side Cover: passo 1, immagine 1 di 3 Panasonic HC‑VX870 Shoe Adapter Replacement, Side Cover: passo 1, immagine 2 di 3 Panasonic HC‑VX870 Shoe Adapter Replacement, Side Cover: passo 1, immagine 3 di 3
    • Unscrew the J1 screws on the left side of the camcorder.

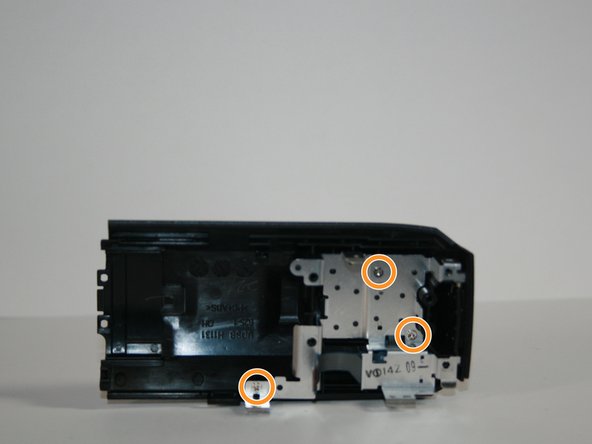
    • Unscrew the marked screws on the bottom of the camcorder.

    • Unscrew the marked screws on the back of the camcorder.

  2. Panasonic HC‑VX870 Shoe Adapter Replacement: passo 2, immagine 1 di 2 Panasonic HC‑VX870 Shoe Adapter Replacement: passo 2, immagine 2 di 2
    • Pull off the left side of the camcorder. You may have to use a little force but don't worry about breaking anything in the camcorder.

  3. Panasonic HC‑VX870 Shoe Adapter Replacement, Shoe Adapter: passo 3, immagine 1 di 2 Panasonic HC‑VX870 Shoe Adapter Replacement, Shoe Adapter: passo 3, immagine 2 di 2
    • Unscrew the indicated screw on the right side of the camcorder.

    • Unscrew the indicated screw on the back of the camcorder.

  4. Panasonic HC‑VX870 Shoe Adapter Replacement: passo 4, immagine 1 di 1
    • Unscrew indicated screw on the inside of the left side of the camcorder.

  5. Panasonic HC‑VX870 Shoe Adapter Replacement: passo 5, immagine 1 di 1
    • Remove the top cover of the camcorder by lightly lifting up on the back end of the top and tugging away from the lens (don't be afraid to use force).

  6. Panasonic HC‑VX870 Shoe Adapter Replacement: passo 6, immagine 1 di 2 Panasonic HC‑VX870 Shoe Adapter Replacement: passo 6, immagine 2 di 2
    • Unscrew the indicated screws and remove the piece they hold in place.

    • Unscrew the indicated screws and remove the piece they hold in place.

  7. Panasonic HC‑VX870 Shoe Adapter Replacement: passo 7, immagine 1 di 2 Panasonic HC‑VX870 Shoe Adapter Replacement: passo 7, immagine 2 di 2
    • Remove the shoe adapter by simply pulling it out of its place.

    • Be sure not to loose the tiny spring that is attached to the shoe adapter as you are removing it.

Conclusione

To reassemble your device, follow these instructions in reverse order.

Team

Cal Poly, Team 13-6, Banghart Winter 2017 Membro di Cal Poly, Team 13-6, Banghart Winter 2017

CPSU-BANGHART-W17S13G6

4 Membri

10 Guide realizzate

0 Commenti

Aggiungi Commento

Visualizza Statistiche:

Ultime 24 Ore: 0

Ultimi 7 Giorni: 6

Ultimi 30 Giorni: 26

Tutti i Tempi: 1,058