Introduzione
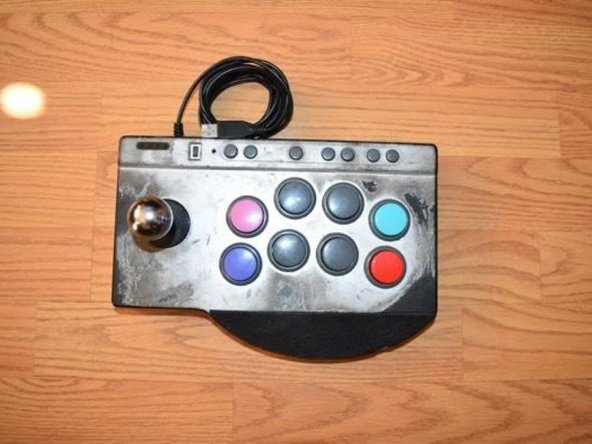
Many buttons become unresponsive after time, especially for a controller built for fighting games. This guide is for replacing any buttons on your PXN Arcade Stick.
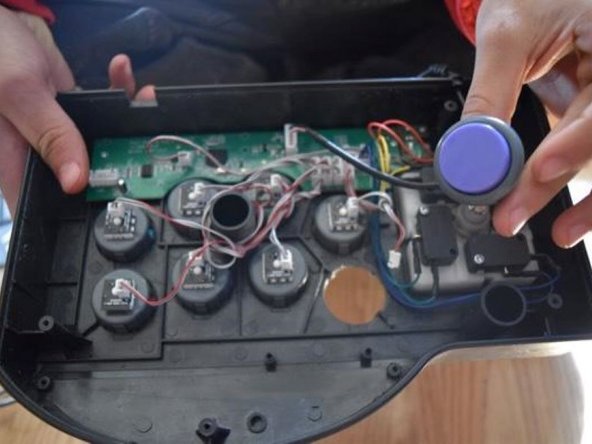
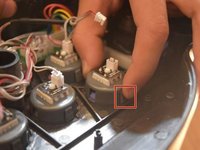
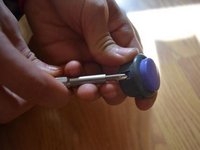
This guide applies to all buttons from any position on the controller.
Cosa ti serve


Conclusione
To reassemble your device, follow these instructions in reverse order.
Team

CSU Los Angeles, Team 3-7, Harris Fall 2024 Membro di CSU Los Angeles, Team 3-7, Harris Fall 2024
CSULA-HARRIS-F24S3G7
1 Membro
2 Guide realizzate