Salta al contenuto principale
Unisciti alla Community delle riparazioni - Crea un account
PDP Rematch Advanced Back Shell Replacement

PDP Rematch Advanced Back Shell Replacement

Angel Velasquez

Angel Velasquez e 3 altri collaboratori

Ultimo aggiornamento il 18 nov 2024

4 - 5 minuti
Moderato

Introduzione

Vai al passo 1

The back shell of your PDP Rematch Advanced should be replaced if it's damaged or if you want to swap it out for a different color shell. If you need to replace the back shell, take out the motherboard with this guide.

Cosa ti serve

Strumenti

Mostra di più…

  1. PDP Rematch Advanced Back Shell Replacement, Joystick Cover: passo 1, immagine 1 di 3 PDP Rematch Advanced Back Shell Replacement, Joystick Cover: passo 1, immagine 2 di 3 PDP Rematch Advanced Back Shell Replacement, Joystick Cover: passo 1, immagine 3 di 3
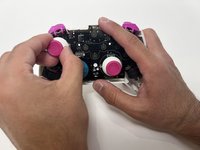
    • Orient the controller so the back side is facing you.

    • Use a Phillips #000 screwdriver to remove the seven 9 mm screws that secure the back shell.

  2. PDP Rematch Advanced Back Shell Replacement: passo 2, immagine 1 di 3 PDP Rematch Advanced Back Shell Replacement: passo 2, immagine 2 di 3 PDP Rematch Advanced Back Shell Replacement: passo 2, immagine 3 di 3
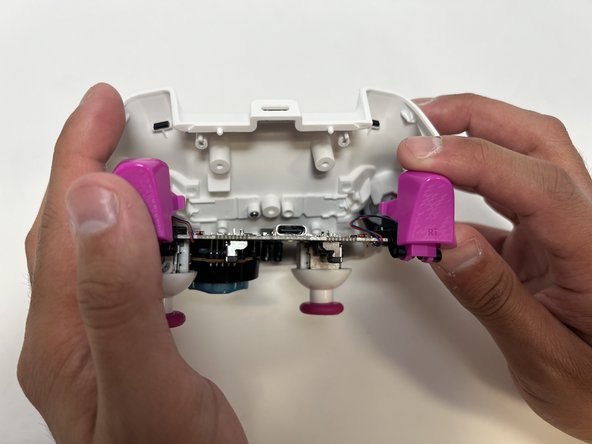
    • Pull apart the controller's front and back shells with moderate force.

    • Orient the controller so that the front shell is facing the floor to prevent the face buttons from falling out.

  3. PDP Rematch Advanced Back Shell Replacement: passo 3, immagine 1 di 2 PDP Rematch Advanced Back Shell Replacement: passo 3, immagine 2 di 2
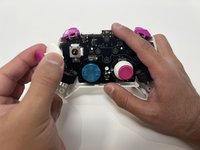
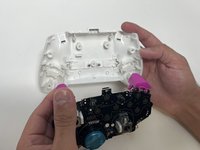
    • Twist the thumbstick to remove it from the motherboard. Repeat this step if both thumbsticks need to be replaced.

  4. PDP Rematch Advanced Back Shell Replacement, Back Shell: passo 4, immagine 1 di 2 PDP Rematch Advanced Back Shell Replacement, Back Shell: passo 4, immagine 2 di 2
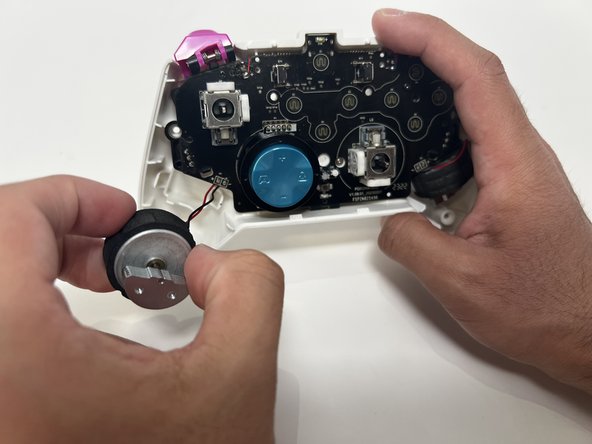
    • Grab the motor and pull away from the back shell. Repeat for both motors.

  5. PDP Rematch Advanced Back Shell Replacement: passo 5, immagine 1 di 2 PDP Rematch Advanced Back Shell Replacement: passo 5, immagine 2 di 2
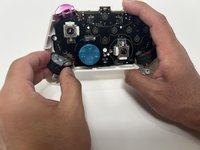
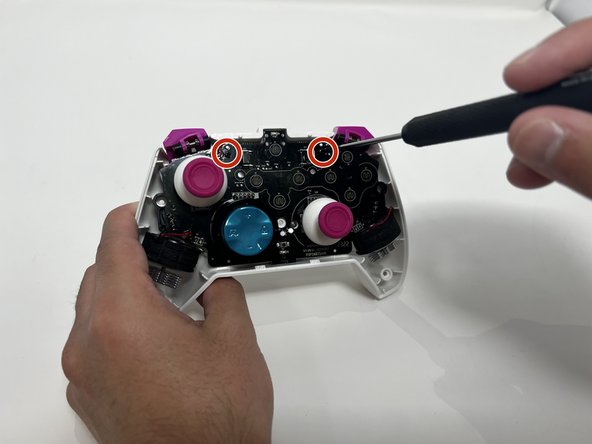
    • Use a Phillips #00 Screwdriver to remove the two 5mm screws from the motherboard.

  6. PDP Rematch Advanced Back Shell Replacement: passo 6, immagine 1 di 3 PDP Rematch Advanced Back Shell Replacement: passo 6, immagine 2 di 3 PDP Rematch Advanced Back Shell Replacement: passo 6, immagine 3 di 3
    • Remove the motherboard from the back shell using moderate force.

Conclusione

To reassemble your device, follow these instructions in reverse order.

0Commenti sulla guida

Aggiungi Commento

Visualizza Statistiche:

Ultime 24 Ore: 0

Ultimi 7 Giorni: 0

Ultimi 30 Giorni: 7

Tutti i Tempi: 223