Questa guida ha delle modifiche più recenti. Passa all'ultima versione non verificata.
Introduzione
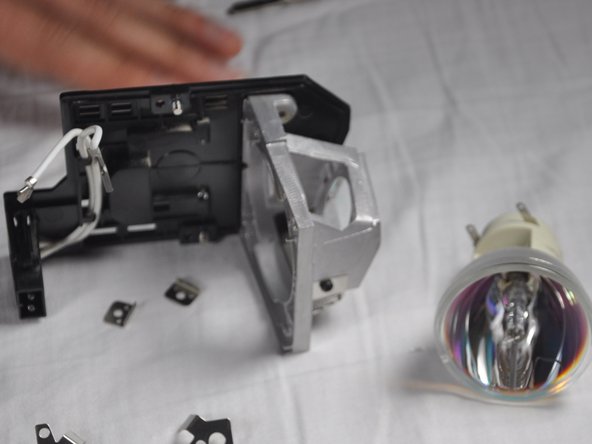
Use this guide to remove the light bulb from your Optoma HD20.
Cosa ti serve
-
-
Use a Phillips #1 screwdriver to loosen the screws that secure the panel on the bottom of the Optoma HD20.
-
-
-
Use a Phillips #1 screwdriver to loosen the two screws securing the black casing.
-
-


To reassemble your device, follow these instructions in reverse order.
To reassemble your device, follow these instructions in reverse order.
Annulla: non ho completato questa guida.
Altre 7 persone hanno completato questa guida.
Team

Cal Poly, Team 21-23, Maness Winter 2015 Membro di Cal Poly, Team 21-23, Maness Winter 2015
CPSU-MANESS-W15S21G23
4 Membri
6 Guide realizzate
5 Commenti
king@okinlamps.com
Need LAD60 20PCS
The manual says the new light won’t come back on until a lamp reset I’d done via menu , but how can you see the text if the light isn’t on?????