Questa versione può contenere modifiche errate. Passa all'ultima istantanea verificata.
Cosa ti serve
-
Questo passaggio è privo di traduzione. Aiuta a tradurlo
-
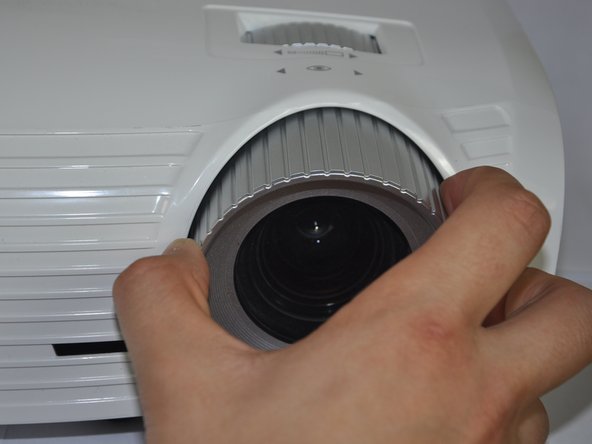
Twist the focal cap clockwise until it is fully extended.
-
Remove the focal cap by pulling it straight out.
-
-
Questo passaggio è privo di traduzione. Aiuta a tradurlo
-
Use a Phillips #1 screwdriver to remove the three 7.5mm screws on the bottom of the device.
-
-
-
Questo passaggio è privo di traduzione. Aiuta a tradurlo
-
Use a plastic opening tool to gently pry the top cover off of the device.
-
-
Questo passaggio è privo di traduzione. Aiuta a tradurlo
-
Remove the ribbon by disconnecting it from the main circuit board.
-
Lift up the clip holding it down and pull the ribbon out.
-
-
Questo passaggio è privo di traduzione. Aiuta a tradurlo
-
Use a Phillips #1 screwdriver to unscrew the small black 2 mm screw on the side of the focal lens.
-
-
Questo passaggio è privo di traduzione. Aiuta a tradurlo
-
Remove the focal lens by twisting it clockwise until it comes off.
-
Annulla: non ho completato questa guida.
Un'altra persona ha completato questa guida.


