Introduzione
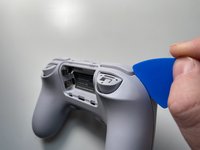
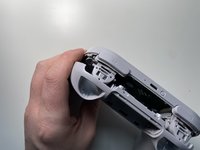
This Prerequisite-Only guide shows how to open and butterfly the 8BitDo SN30 Pro+
Cosa ti serve
-
-
Place the controller face down.
-
Remove the battery cover.
-
Remove rechargeable battery or AA batteries.
-
-
-
Remove L2 and R2 trigger buttons by pushing them away from the grips.
-
-
-
Attrezzo utilizzato in questo passaggio:Tweezers$4.99
-
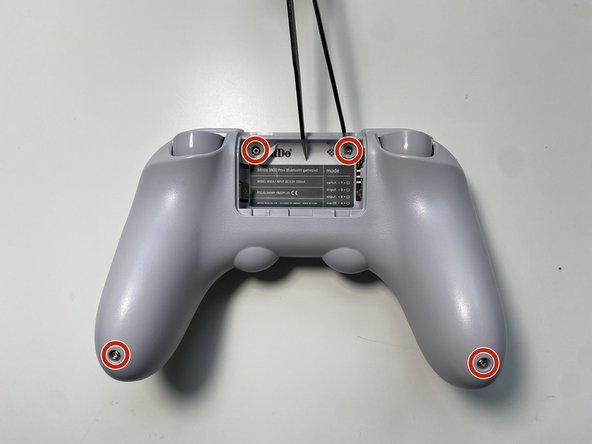
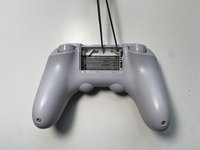
Use Tweezers to uncover two screws under the label in the battery compartment.
-
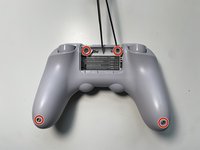
Use a T6 screwdriver to remove the four 7.3 mm screws securing the rear cover.
-
-
-
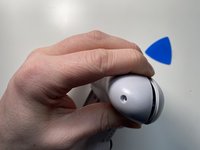
At the end of each grip, pry apart the covers.
-
Use fingernail or opening pick to undo the two top clips.
-
One clip next to L button.
-
One clip next to R button
-
Undo the final clip between the joysticks.
-
-
-
Carefully move the rear cover away and from the front cover. Place it to the left.
-
To reassemble your device, follow these instructions in reverse order.
Annulla: non ho completato questa guida.
Altre 4 persone hanno completato questa guida.


